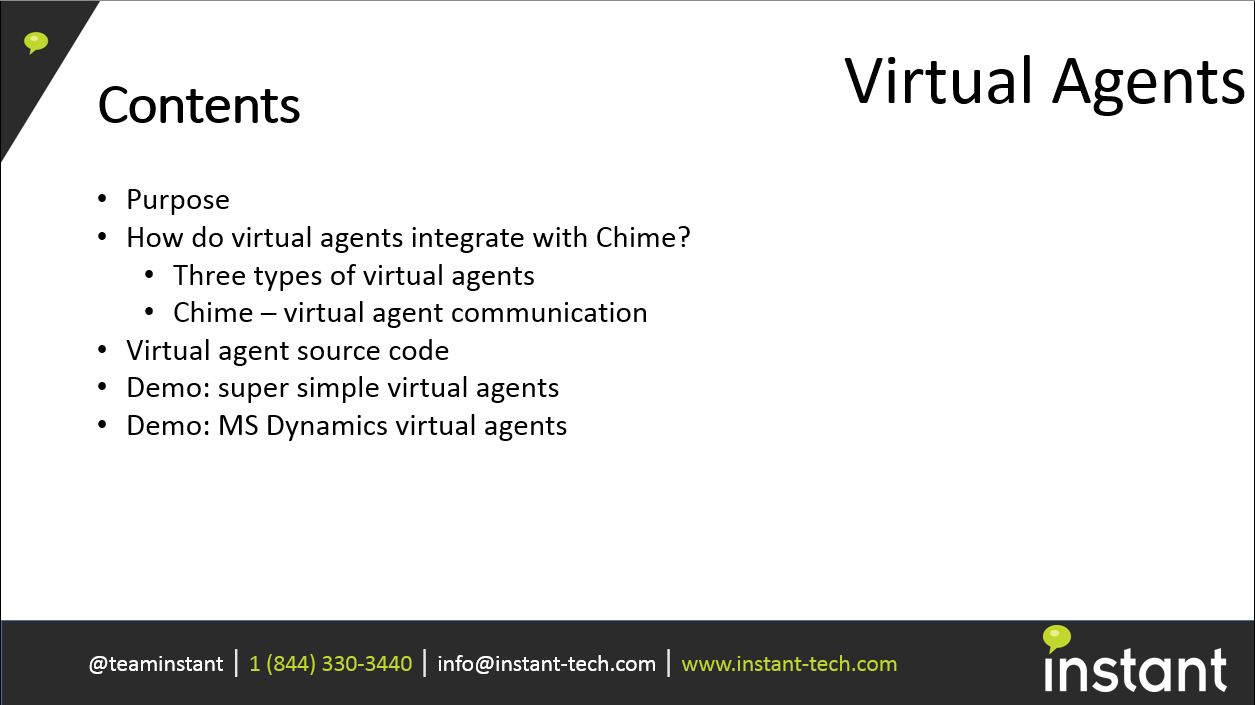
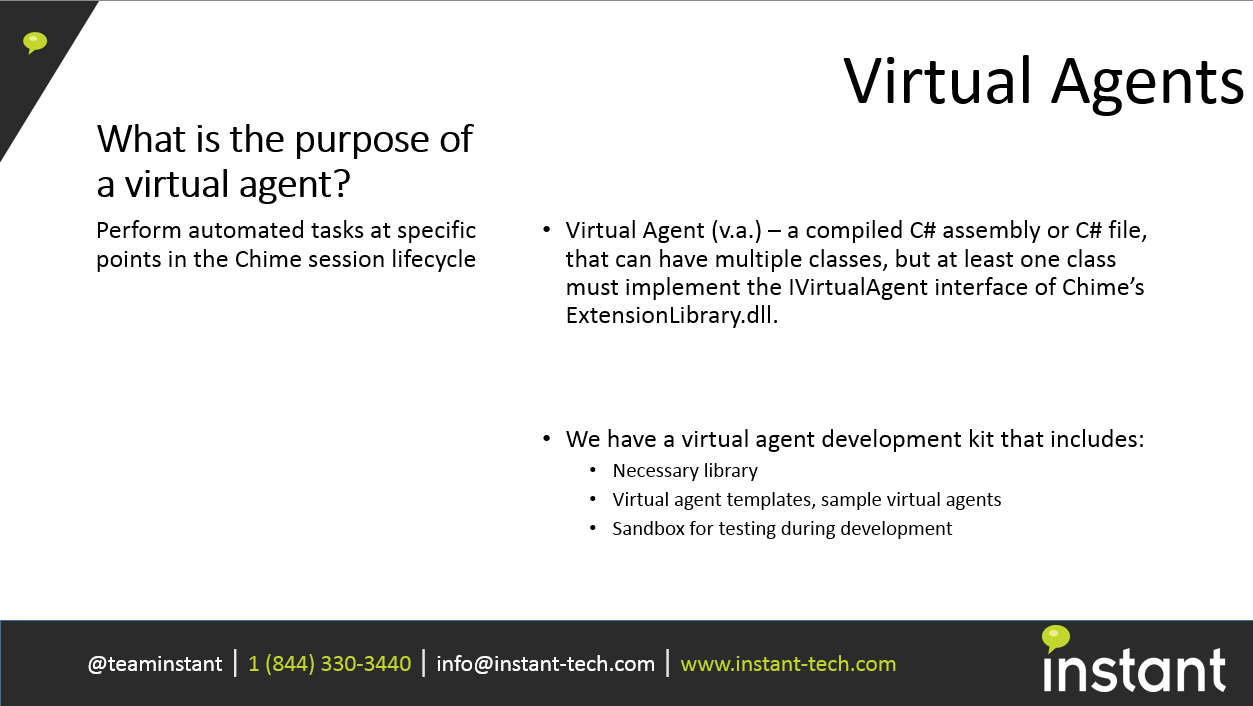
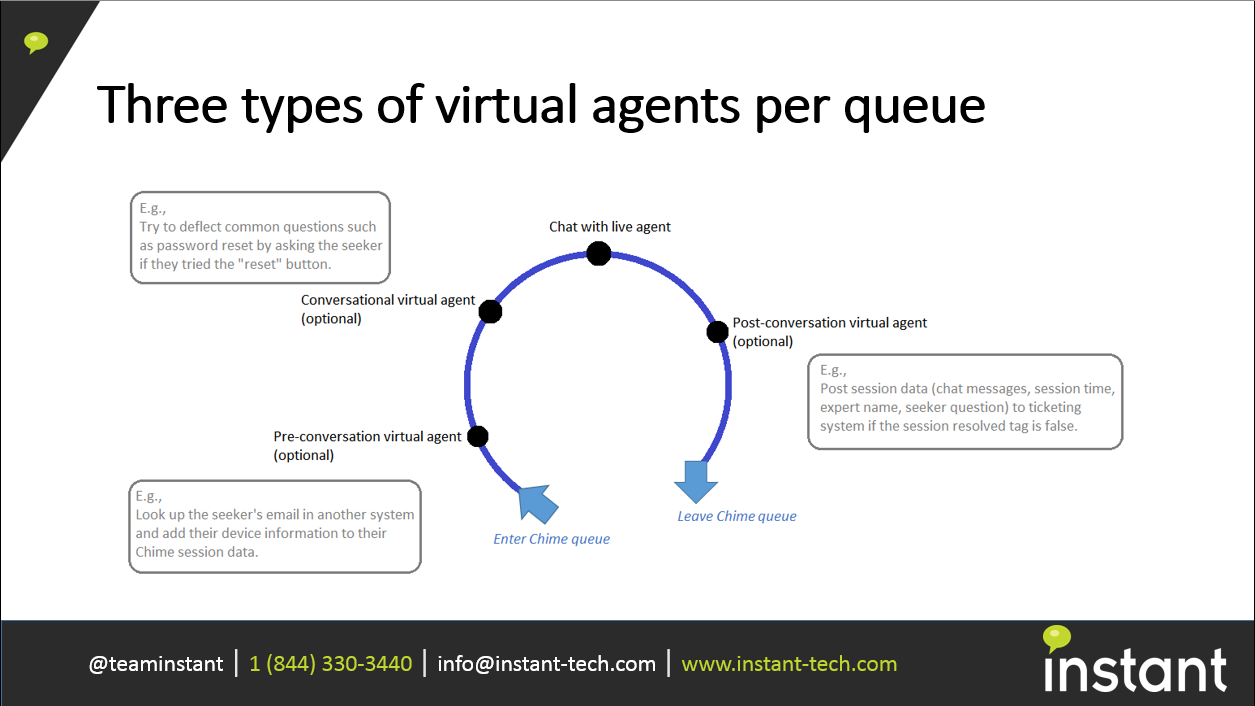
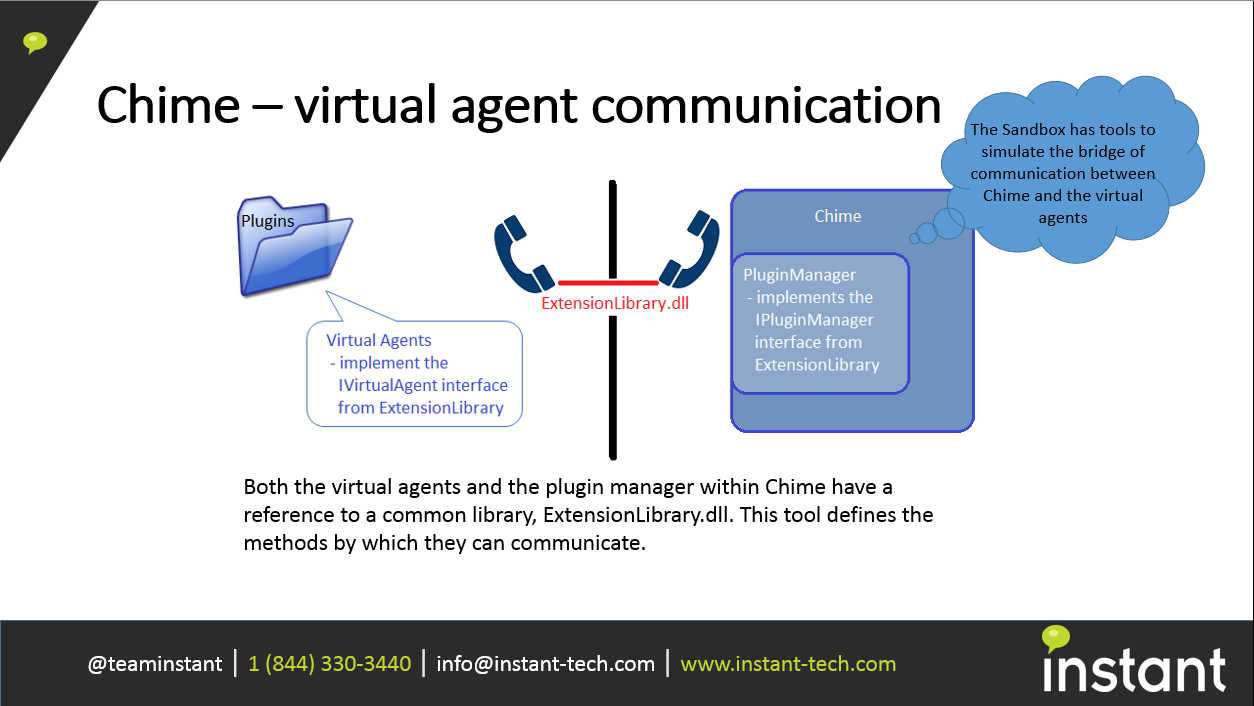
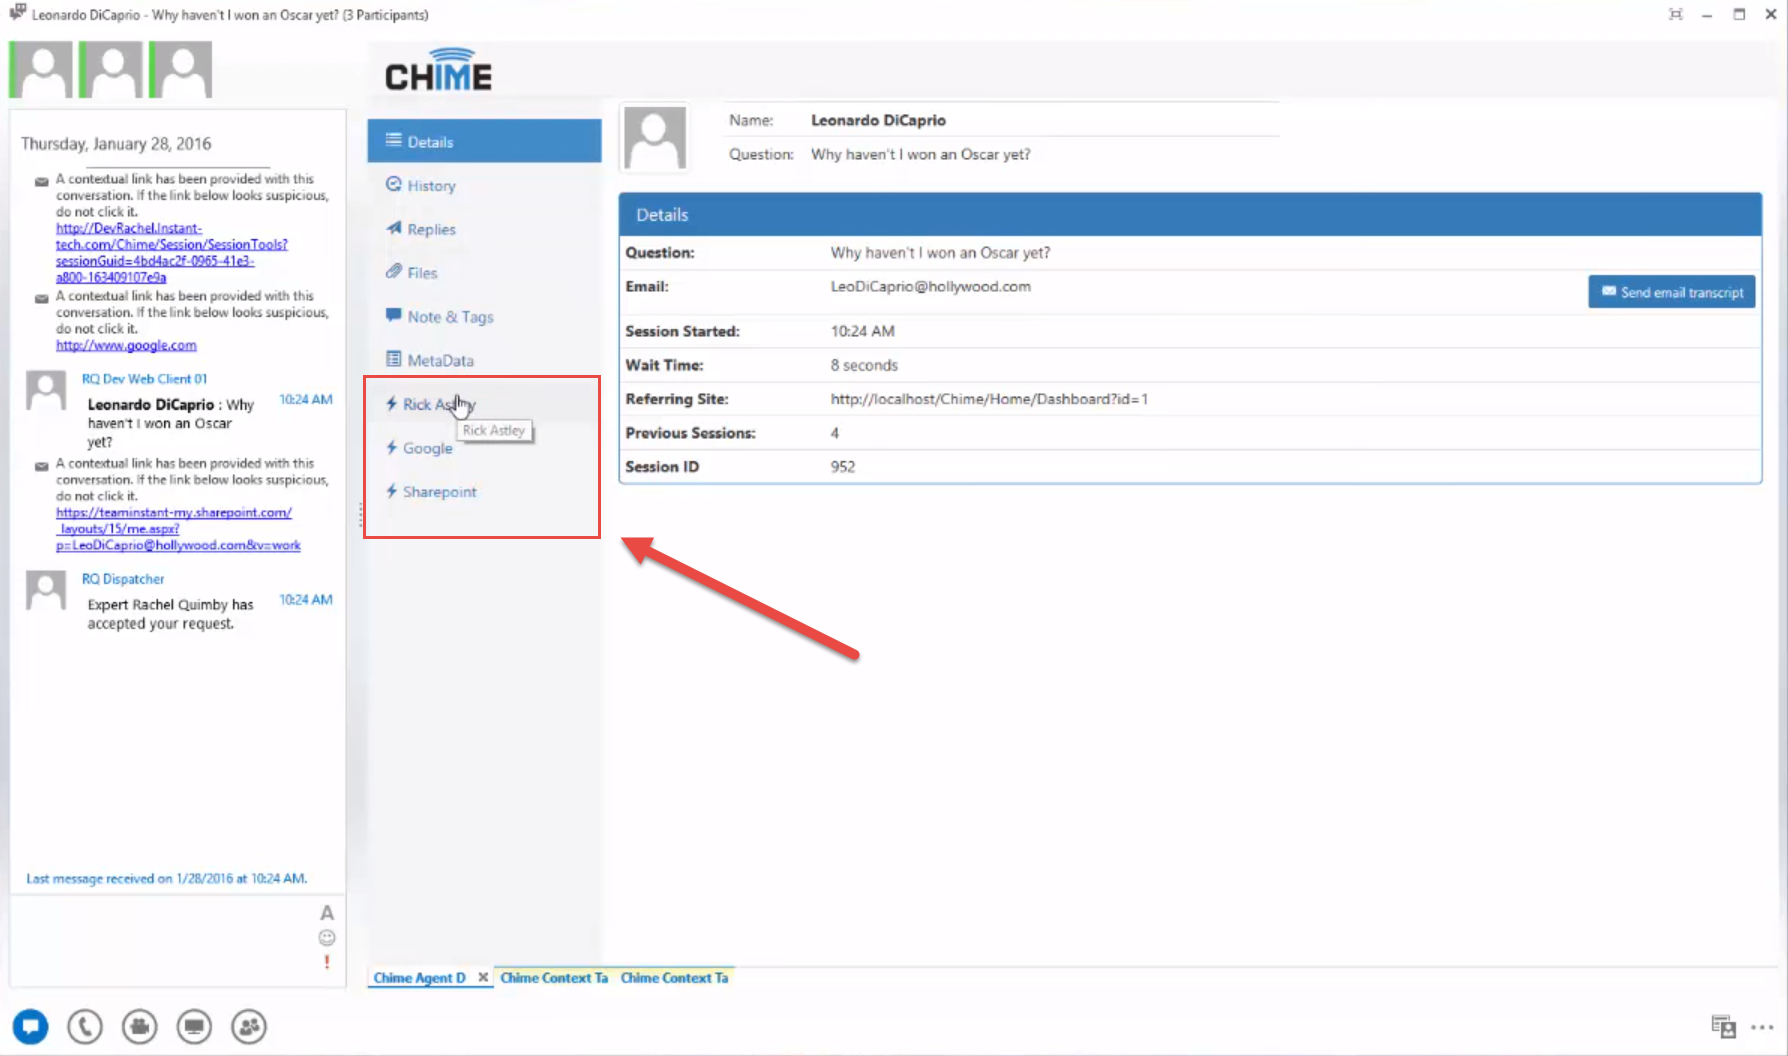
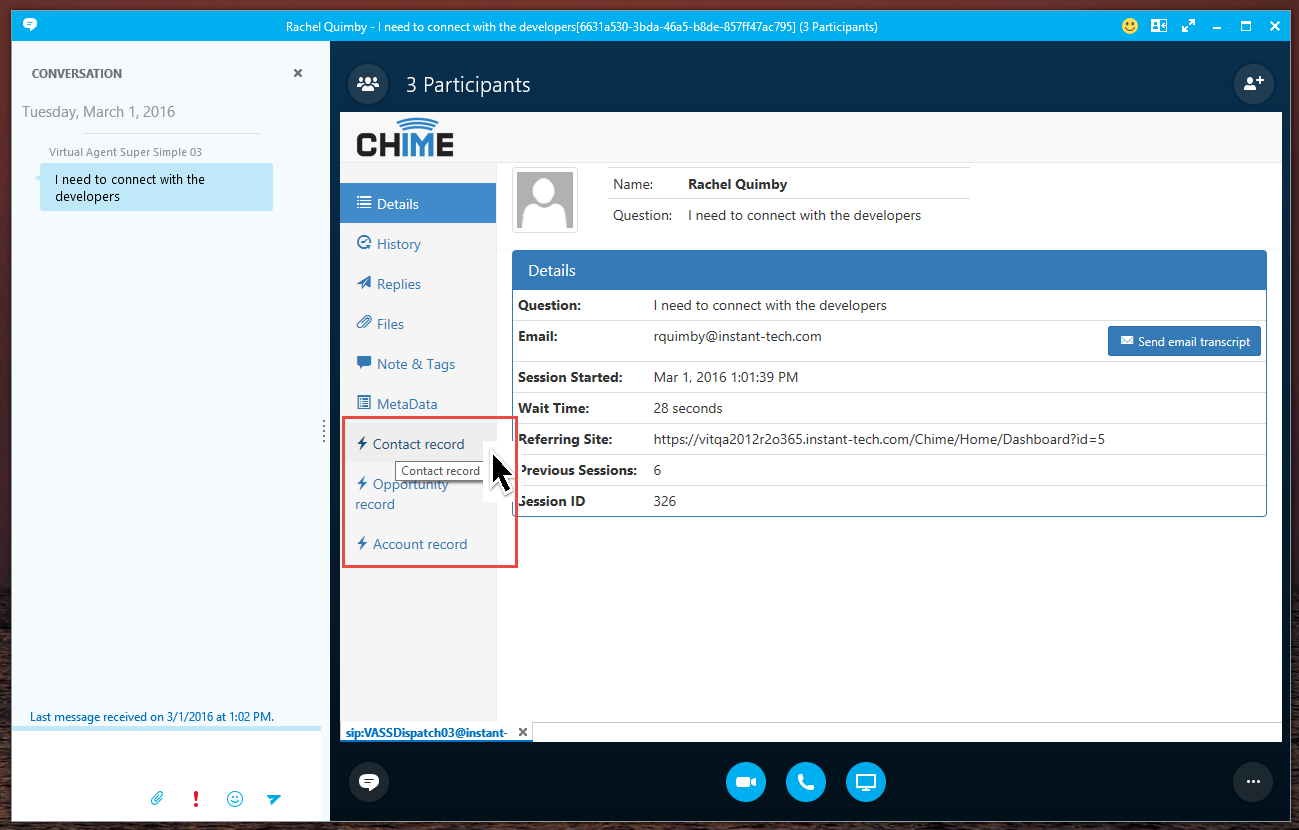
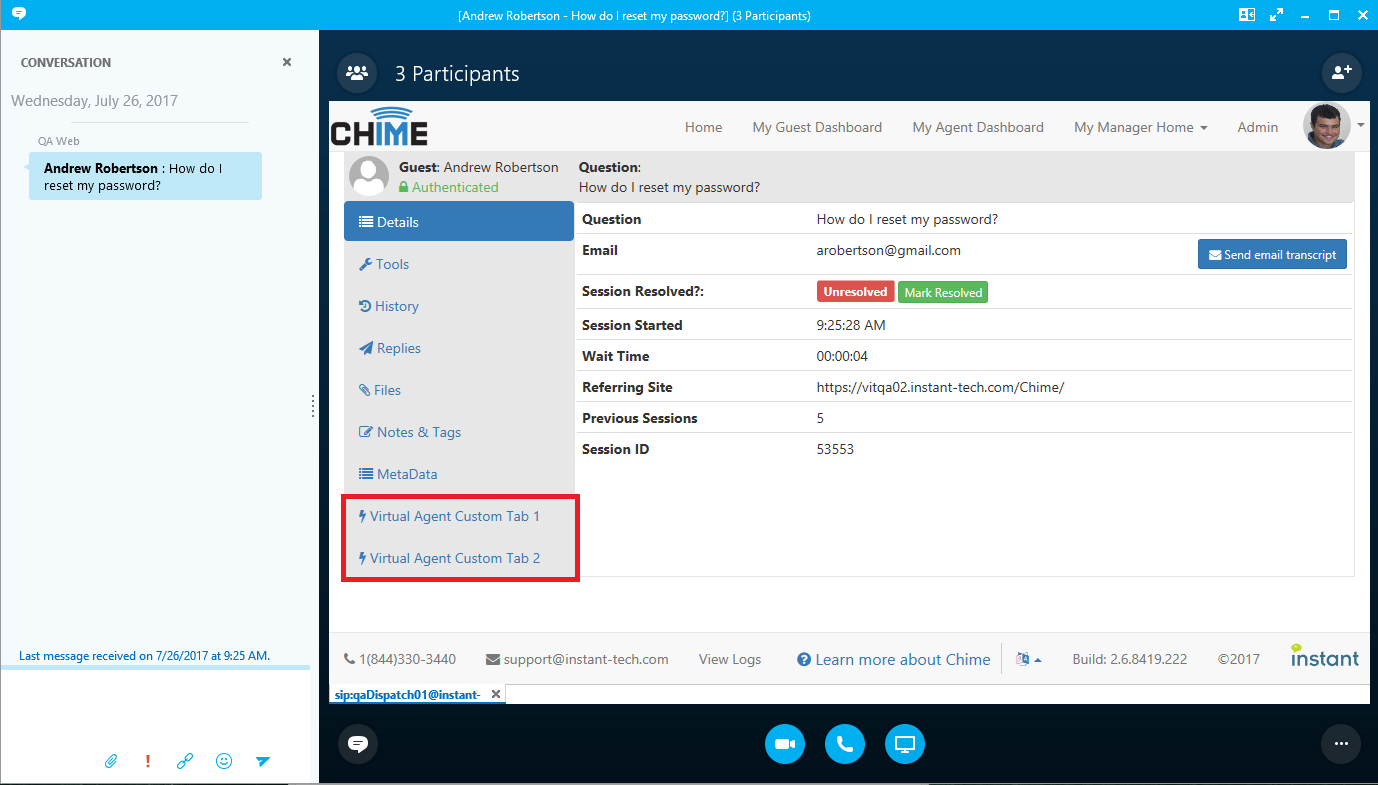
A Chime virtual agent is a compiled C# assembly or C# file that's read like a scripting file and implements a specific interface from Chime's ExtensionLibrary.dll. The purpose of a virtual agent is to perform automated tasks at specific points in the Chime session life cycle. There are three types of virtual agents per queue, all of which are optional.
We have a virtual agent SDK that includes necessary libraries, virtual agent templates, sample virtual agents, and a sandbox for testing during development. Currently we have examples of virtual agent integration with Salesforce®, Microsoft Dynamics®, ServiceNow®, and Alchemy®. You can find integration examples using their API's below.
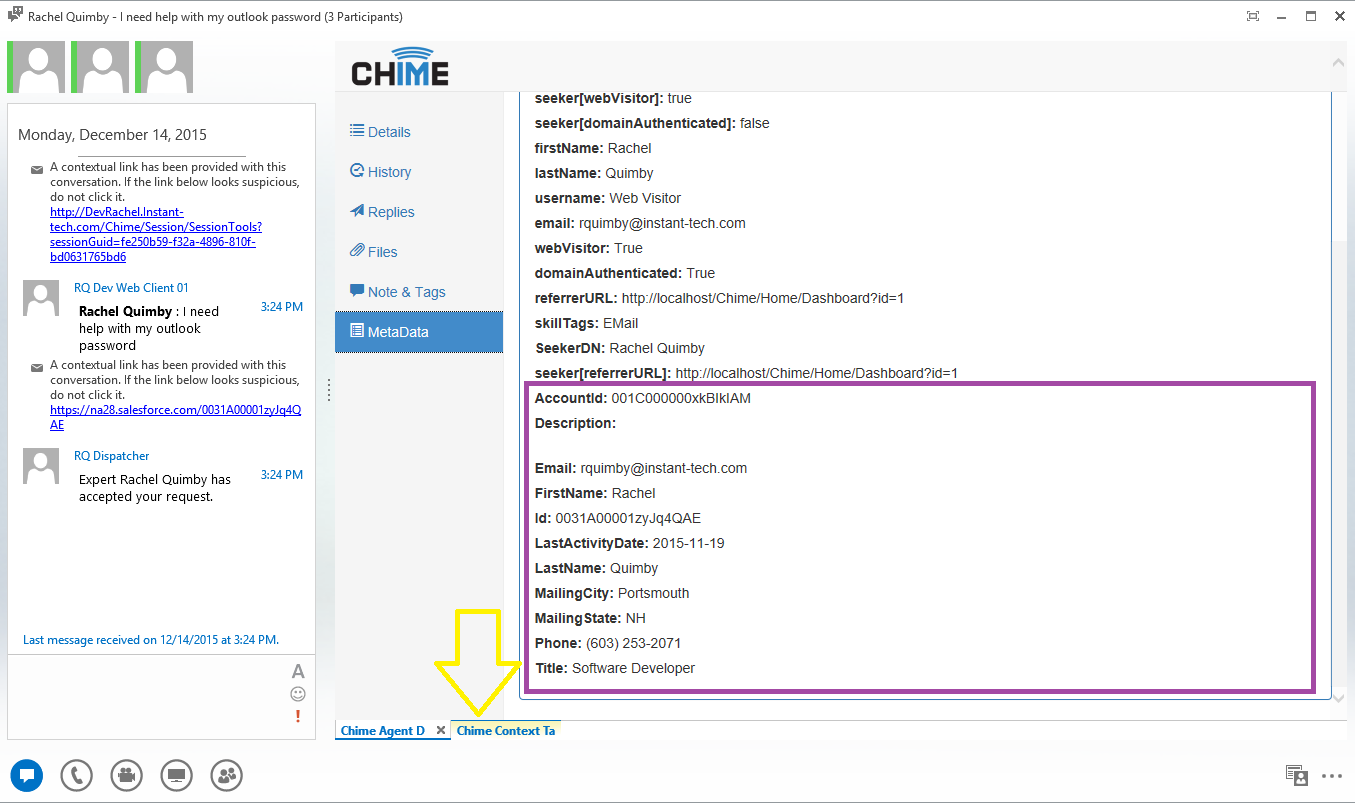
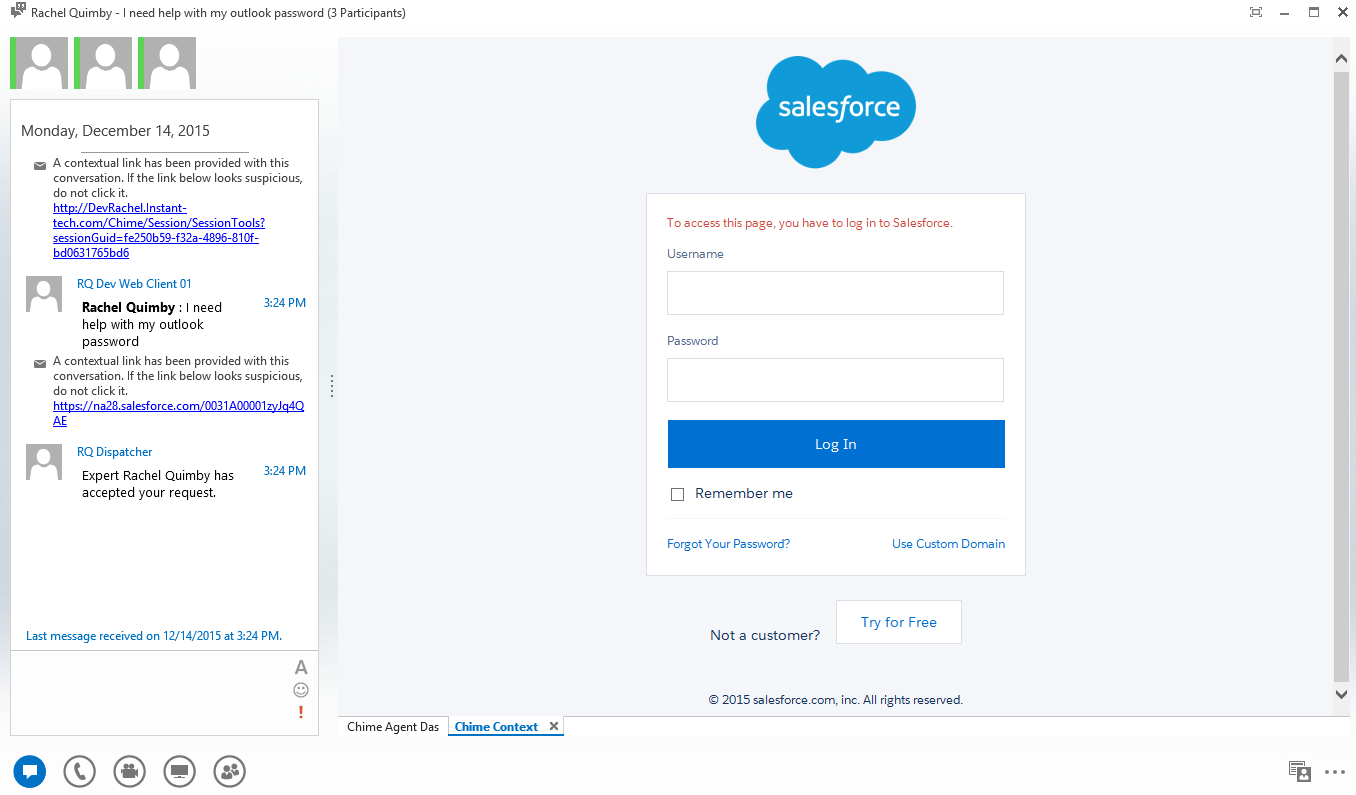
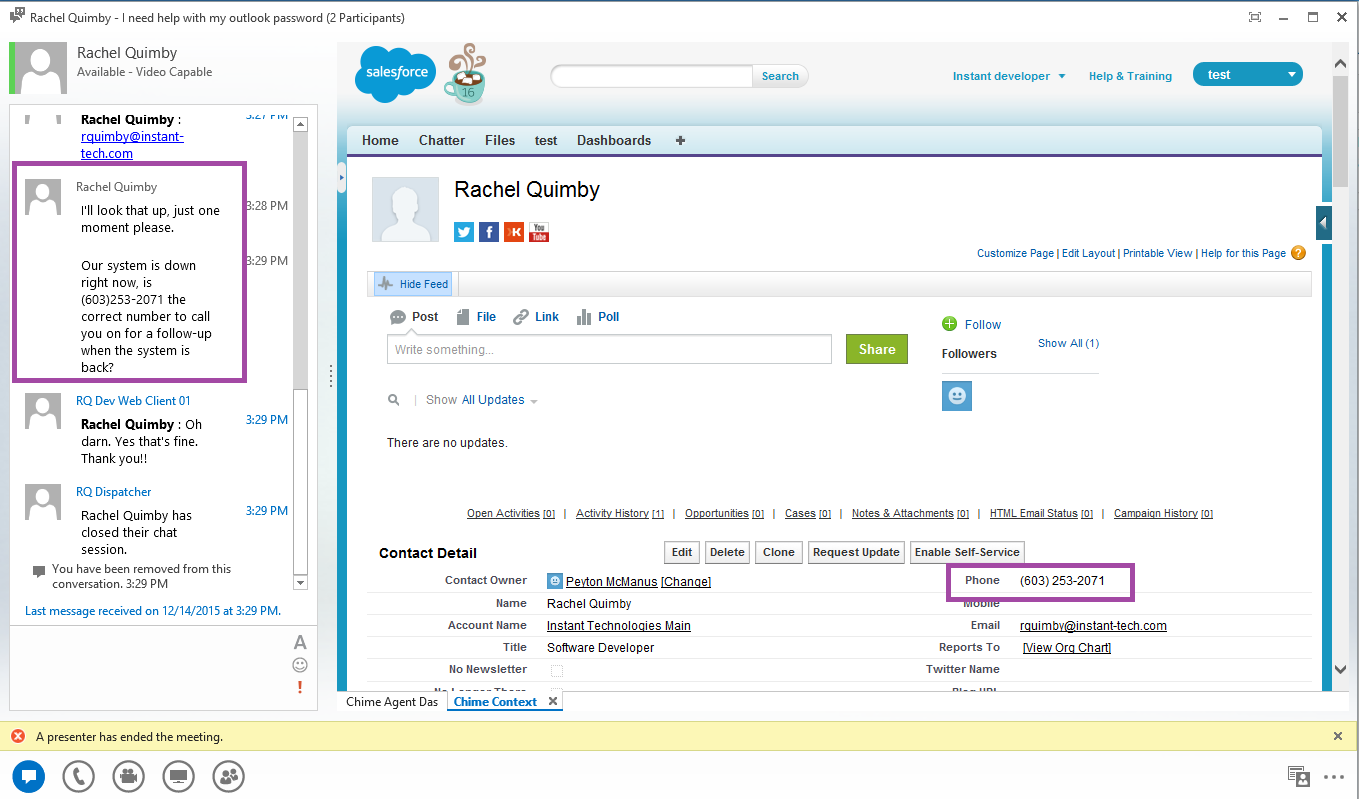
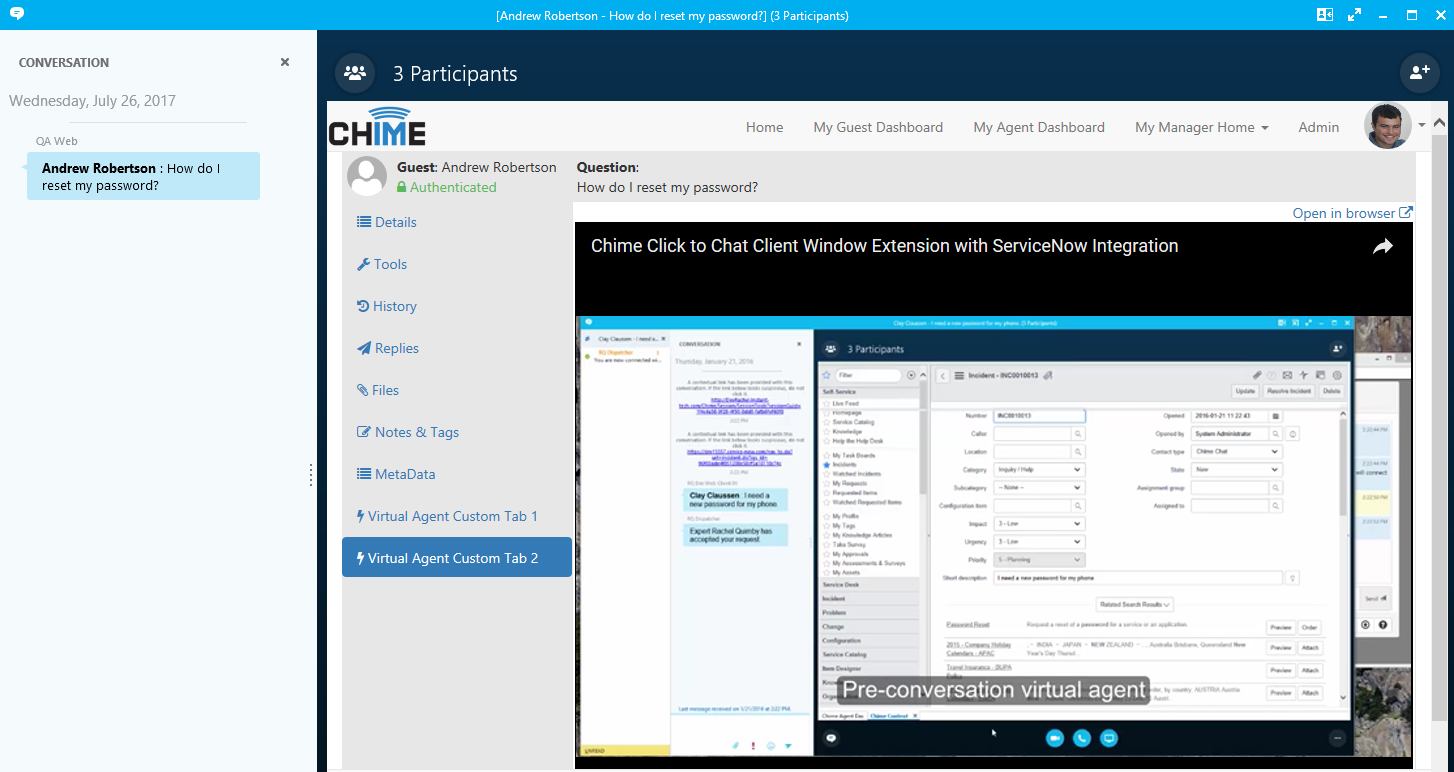
To deploy a virtual agent from the collection of samples from the Virtual Agent SDK, first understand what the sample does by click on any of the Individual Pages on the left-hand side. Watch the Integration video, or click-through the slide show of screen shots to understand what the "out of the box" sample is programmed to do. Next open the sample (Virtual Agent SDK\Samples) in Visual Studio and (if applicable) change the credentials XML file to have your organizations credentials. Once the credentials are saved, build the project and the resulting DLL file (along with credentials file and any dependent references) can be dragged to the Plugins folder ("C:\ Program Files\Instant Technologies\Chime For Lync\Plugins") to be loaded into Chime. When the virtual agent file and any dependent files are in the Plugins folder, go to the Chime Admin section, sub-section Virtual Agents, to turn on the Extension Manager or reload the Virtual Agents to load them into Chime. Next enable a virtual agent to make it available to assign to a queue in Queue Settings sub-section People. Read the Virtual Agent SDK document HowToIntegrateWithChime for more information about any of these steps.
Note: The following steps can be downloaded here » SalesforceIntegrationDoc.docx
The following examples use these references. These examples use Newtonsoft Json library to deserialize the responses from Salesforce, and Microsoft Visual Studio Web API library to make a Patch HTTP request.
using Microsoft.VisualStudio.Services.WebApi;
using Newtonsoft.Json;
using System;
using System.Collections.Generic;
using System.IO;
using System.Linq;
using System.Net.Http;
using System.Net.Http.Headers;
using System.Text;
using System.Xml.Linq;
This code snippet shows you how to use your salesforce credentials to retrieve an access token and construct an authentication header for making subsequent HTTP requests to the Salesforce REST API.
public class SFResponse
{
    public string access_token = "";
    public string instance_url = "";
    public string token_type = "";
}
public static async void ConnectToSalesForce()
    {
        StringBuilder body = new StringBuilder();
        body.Append("?grant_type=password&");
        body.Append("client_id=" + client_id + "&");
        body.Append("client_secret=" + client_secret + "&");
        body.Append("username=" + username + "&");
        body.Append("password=" + password + security_token);

        using (var client = new HttpClient())
        {
            AuthURL = "https://login.salesforce.com/services/oauth2/token";
            var values = new Dictionary<string, string>();
            var content = new FormUrlEncodedContent(values);
            var response = client.PostAsync(AuthURL + body, content).Result;
            if (response.IsSuccessStatusCode)
            {
                var jsonString = await response.Content.ReadAsStringAsync();
                SFResponse dataObjects = JsonConvert.DeserializeObject<SFResponse>(jsonString);
                authHeaders = new AuthenticationHeaderValue(dataObjects.token_type, dataObjects.access_token);
                isConnectedToSF = true;
                return;
            }
            Console.WriteLine("{0} ({1})", (int)response.StatusCode, response.ReasonPhrase);
            isConnectedToSF = false;
        }
    }
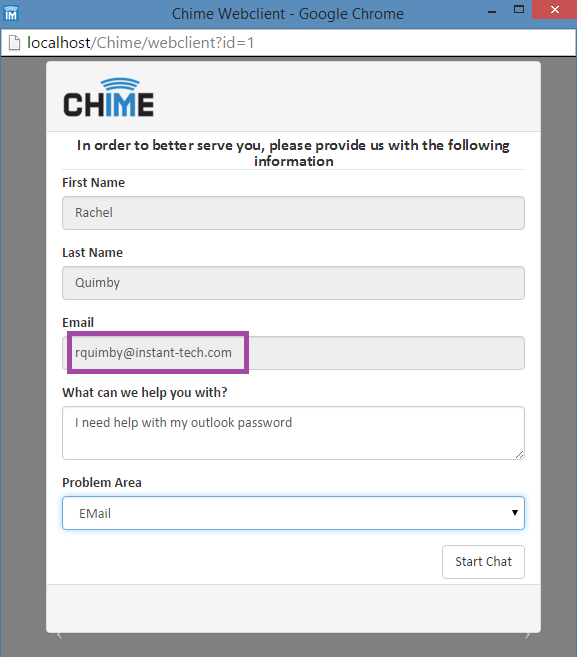
This example shows you how to query the Salesforce Contact table for records that match the provided e-mail address, and receive the Department and Title fields from those record. We’re using the authentication header created in the first example.
public class QueryResponse
{
    public List<Contact> records;
}
public class Contact
{
    public string Department = "";
    public string Title = "";
}
public static async void QuerySalesforce(string email)
    {
        using (var client = new HttpClient())
        {
            client.DefaultRequestHeaders.Authorization = authHeaders;
            var query = "SELECT Department , Title FROM Contact WHERE Email = \'" + email + "\'";
            var requestURL = instance_url + "/services/data/v20.0/query?q=" + query.Replace(" ", "+");
            var response = client.GetAsync(requestURL).Result;
            if (response.IsSuccessStatusCode)
            {
                var jsonString = await response.Content.ReadAsStringAsync();
                QueryResponse data = JsonConvert.DeserializeObject<QueryResponse>(jsonString);
                Contact seeker = data.records.FirstOrDefault();
                if (seeker != null)
                {
                    recordID = seeker.Id;
                }
            }
        }
    }
This example shows how you can update a record field in Salesforce, given that record’s ID. This sample will update the description field of a Contact record.
public static void UpdateSalesforce(string recordId, string description)
{
    using (var client = new HttpClient())
    {
        client.DefaultRequestHeaders.Authorization = authHeaders;
        var values = new Dictionary<string, string>();
        values.Add("Description", description);
        var stringPayload = JsonConvert.SerializeObject(values);
        var content = new StringContent(stringPayload, Encoding.UTF8, "application/json");
        var requestUrl = instance_url + "/services/data/v20.0/sobjects/Contact/" + recordId;
        var response = client.PatchAsync(requestUrl, content).Result;
        if (response.IsSuccessStatusCode)
        {
            Console.WriteLine("Success patching Contact object in salesforce");
            didUpdateSF = true;
        }
        else
        {
            Console.WriteLine(response.StatusCode + " " + response.ReasonPhrase);
        }
    }
}
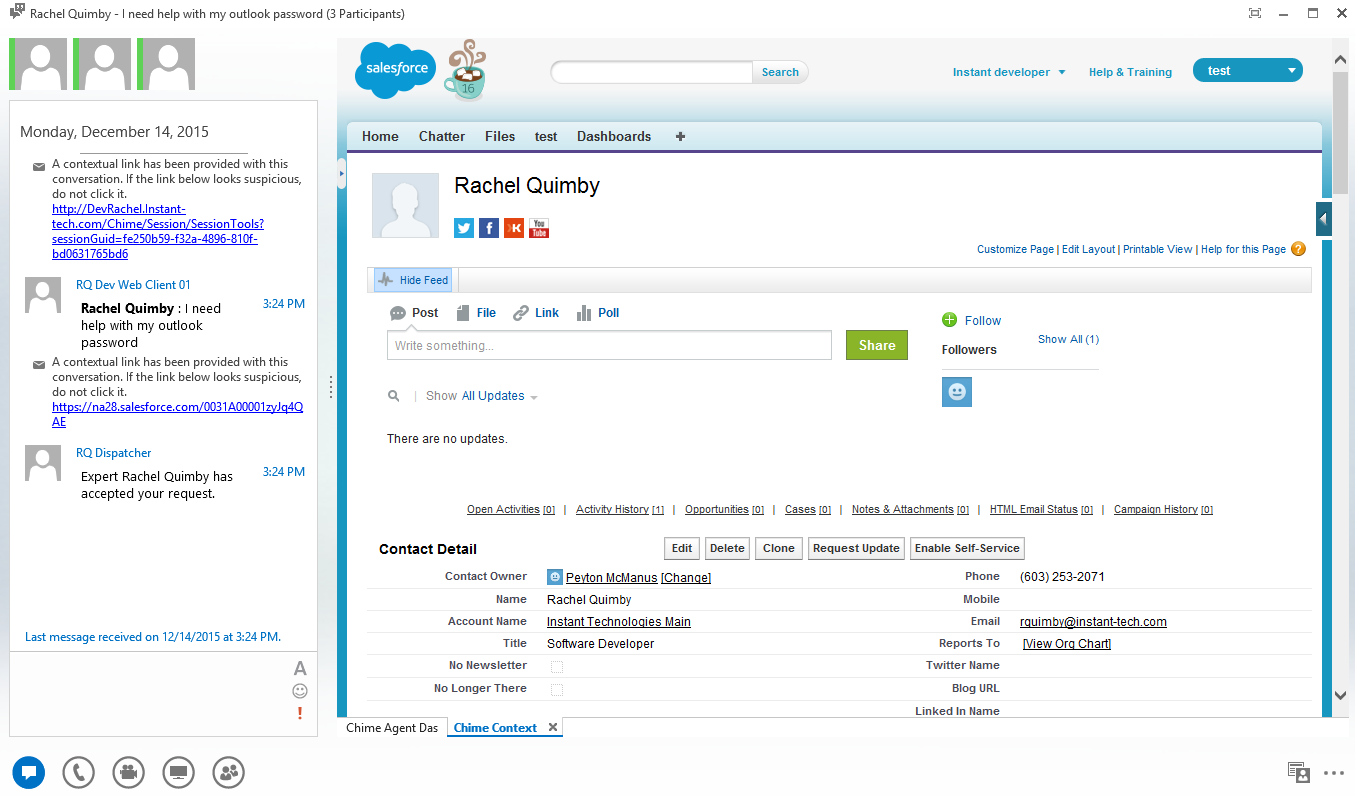
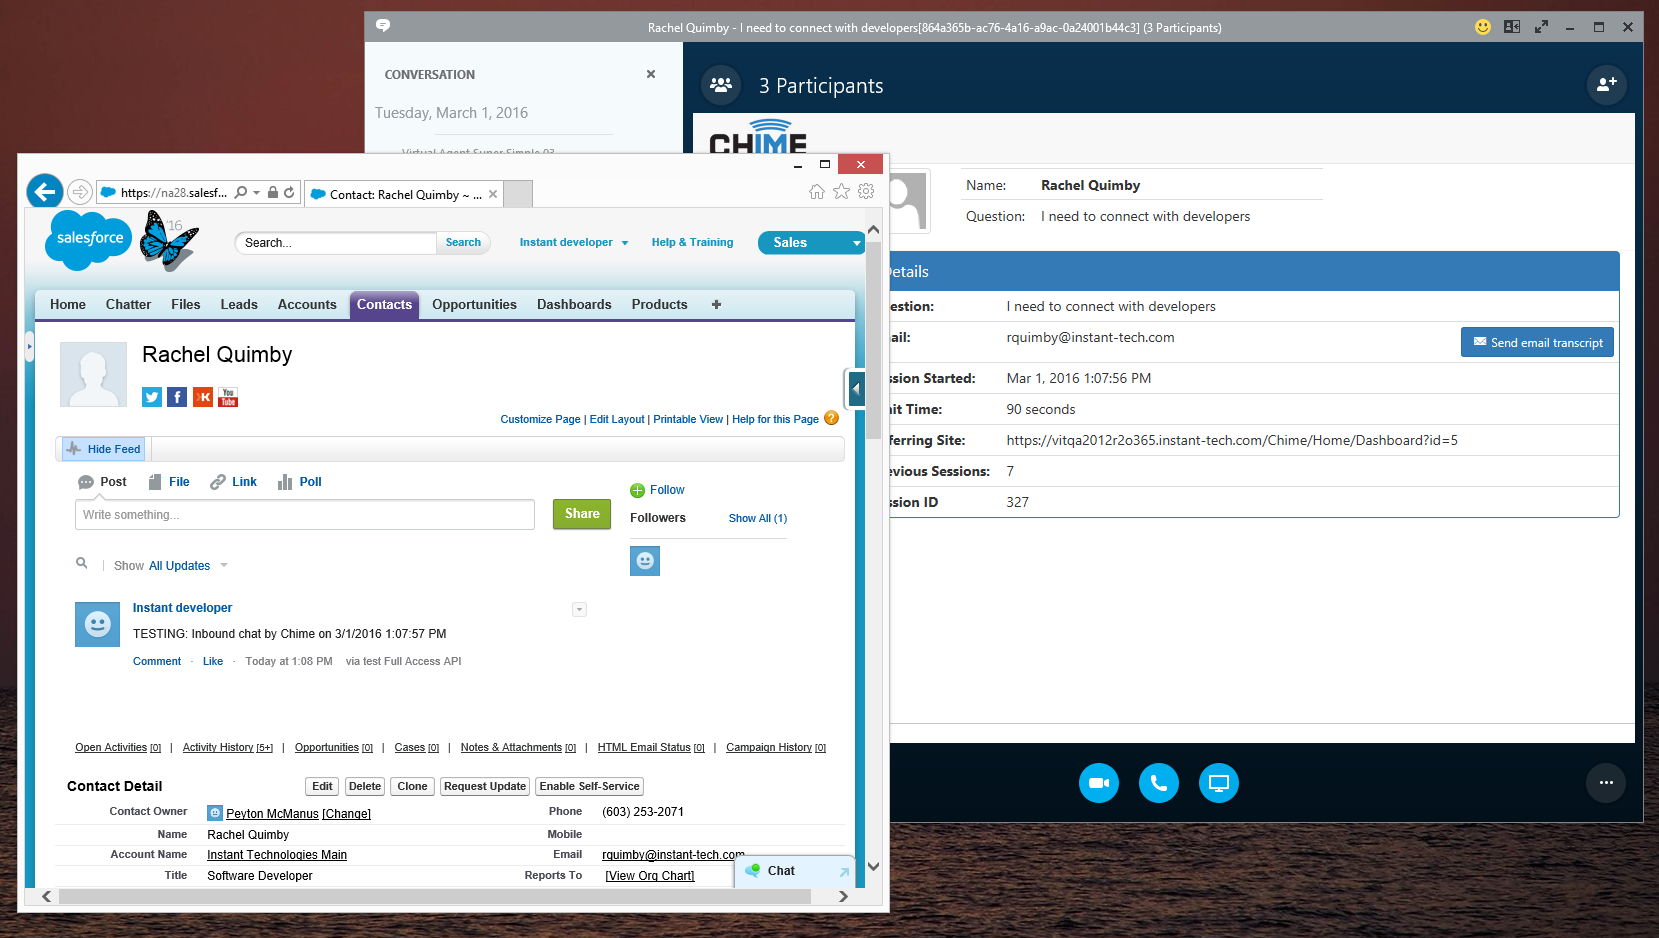
This example will show you how, given a record ID, you can post a Chatter feed item directly to that Contact record’s page. The feed item will show up as being posted by the entity you have authenticated yourself as in Step 1.
public class FeedItem
{
    public Body body = new Body();
    public string feedElementType = "FeedItem";
    public string subjectId = Program.recordID;

    public FeedItem(string descr)
    {
        body.messageSegments.Add(new MessageSegment() { text = descr });
    }
    public class Body
    {
        public List<MessageSegment> messageSegments = new List<MessageSegment>();
    }
    public class MessageSegment
    {
        public string type = "Text";
        public string text;
    }
}

    public static void PostChatterFeed(string recordID, string description)
    {
        string chatterUrl = instance_url + "/services/data/v35.0/chatter/feed-elements?feedElementType=FeedItem&subjectId="+recordID+"&text=New+post";

        using (var client = new HttpClient())
        {
            client.DefaultRequestHeaders.Authorization = authHeaders;
            FeedItem values = new FeedItem(description);
            var stringPayload = JsonConvert.SerializeObject(values);
            var content = new StringContent(stringPayload, Encoding.UTF8, "application/json");
            var response = client.PostAsync(chatterUrl, content).Result;
            if (response.IsSuccessStatusCode)
            {
                Console.WriteLine("Success posting Chatter Feed object to salesforce");
                didUpdateSF = true;
            }
            else
            {
                Console.WriteLine(response.StatusCode + " " + response.ReasonPhrase);
            }
        }
    }
Have a question about Chime integration with Salesforce®? Ask one of our developers at InstantDev@instant-tech.com.


 Salesforce® Integration (7)
 Virtual Agent Presentation (11)