Getting Started with Chime 2.6
High-Level Installation and Setup Road Map
1. System Requirements and Machine Prep (~3 hours - 1 day)
2. Download and Basic Installation (~1 hour)
3. Chime Application Setup (~1 hour)
4. Configure First Queue (~1 hour)
5. Cool New Features Setup (optional)
Step 1: System Requirements and Machine Prep (~3 hours - 1 day)
For Chime to run, you will need the following:
-
1 standard physical or virtual machine
- Can be installed on common platforms including: Microsoft HyperV, Microsoft Azure, Amazon AWS, and Google
-
64-bit Windows Server 2008R2+
- Chime should not be installed on the same server hosting Microsoft Lync/S4B
- Microsoft IIS not required
- SQL Server 2008 R2+ (SQL Express, Standard, Enterprise...)
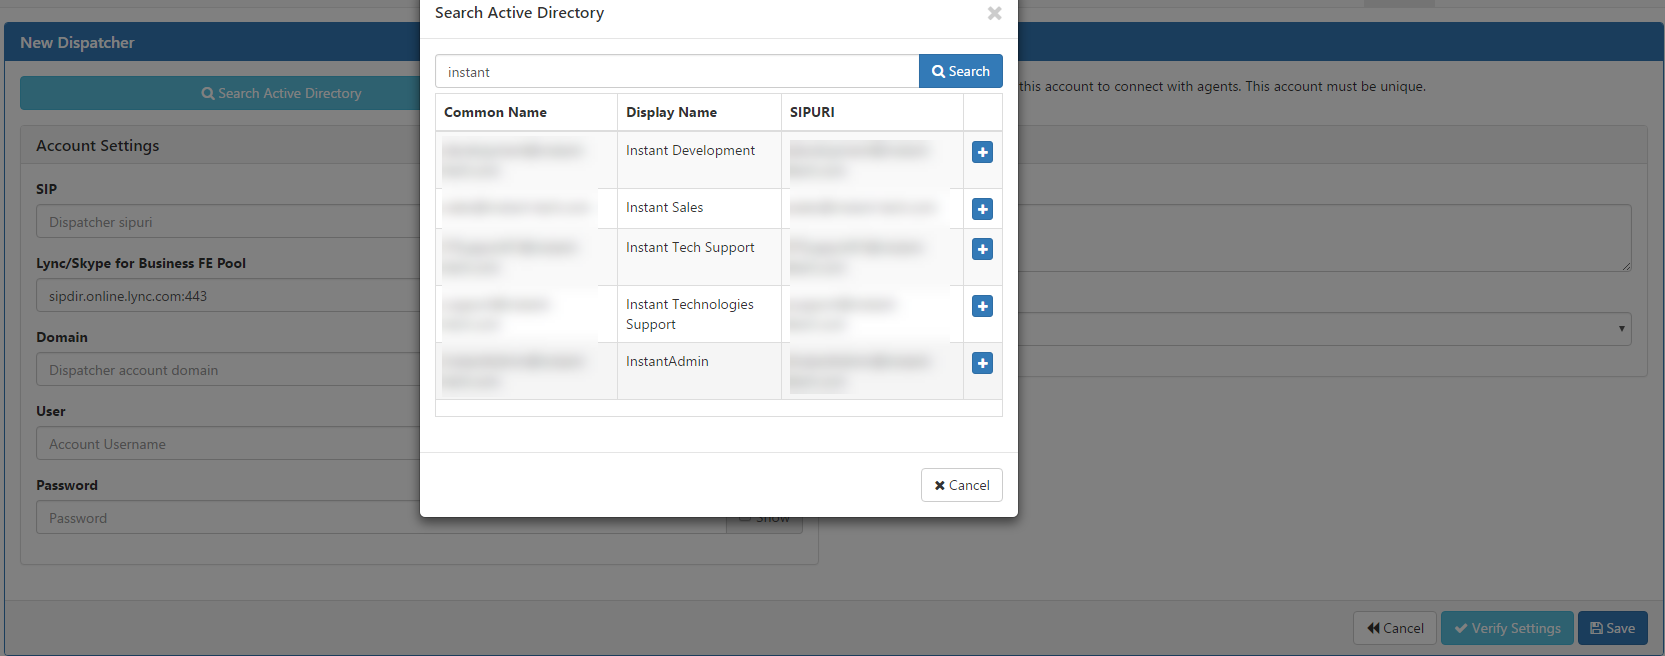
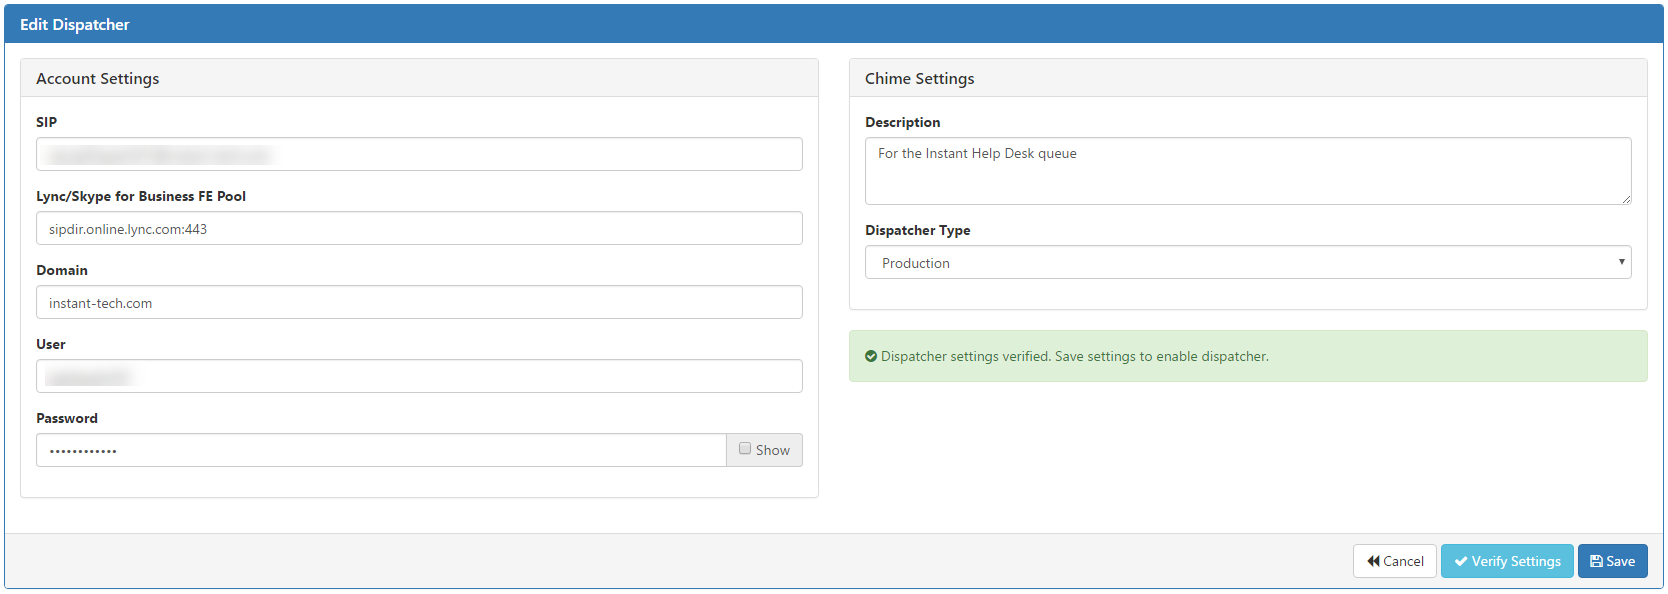
- 1 local admin service account with Active Directory and SQL access
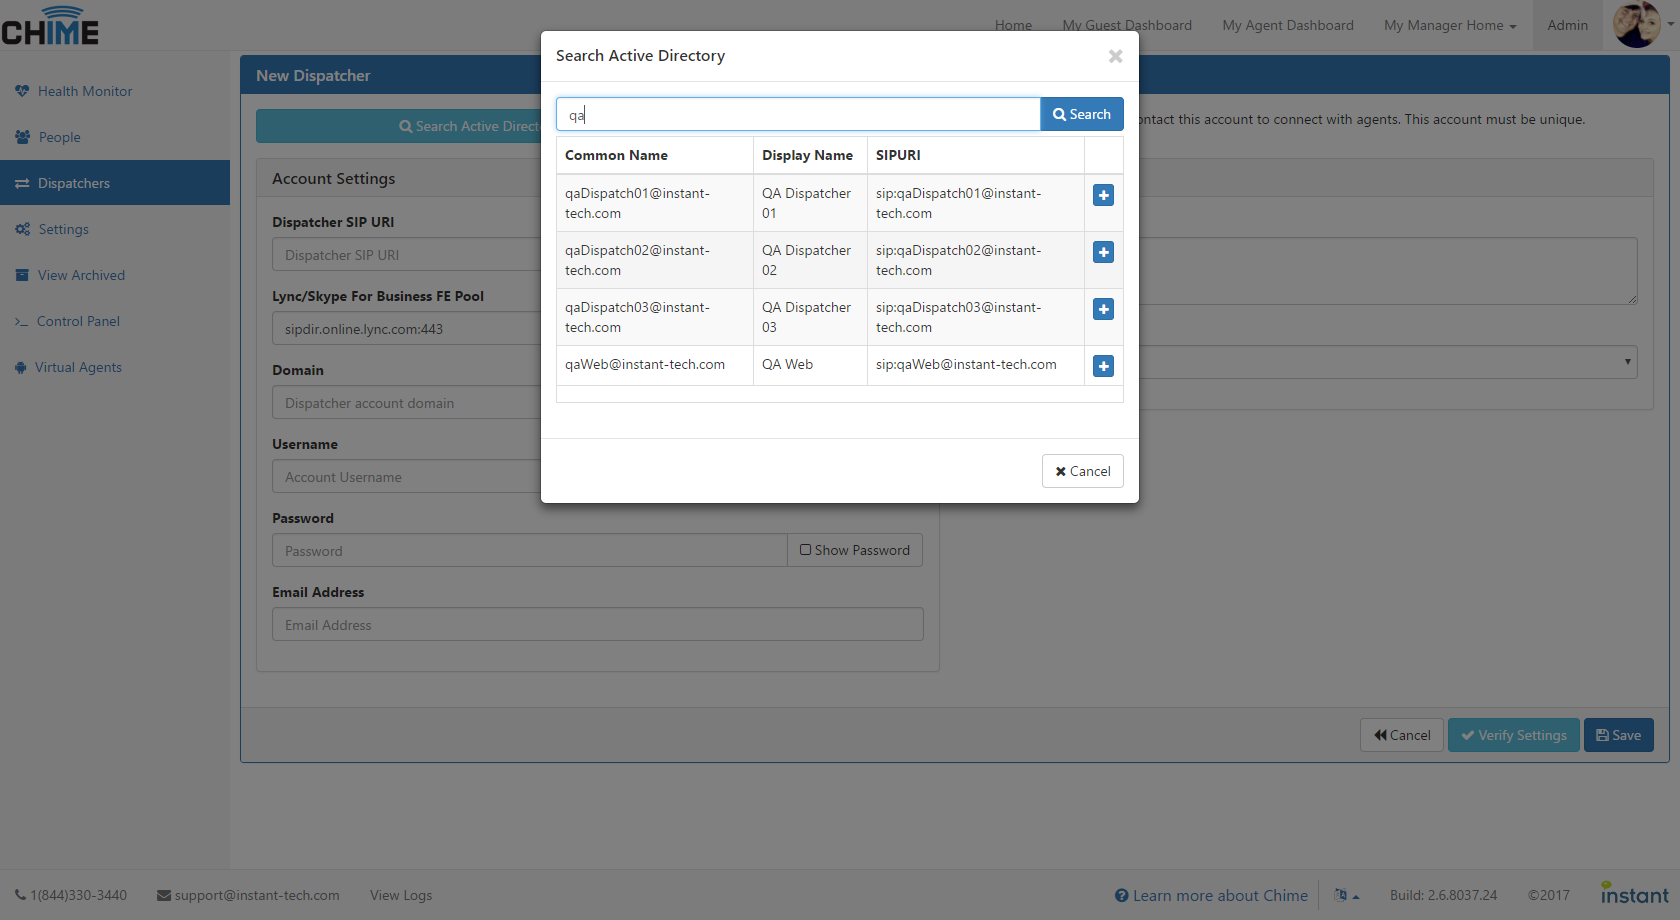
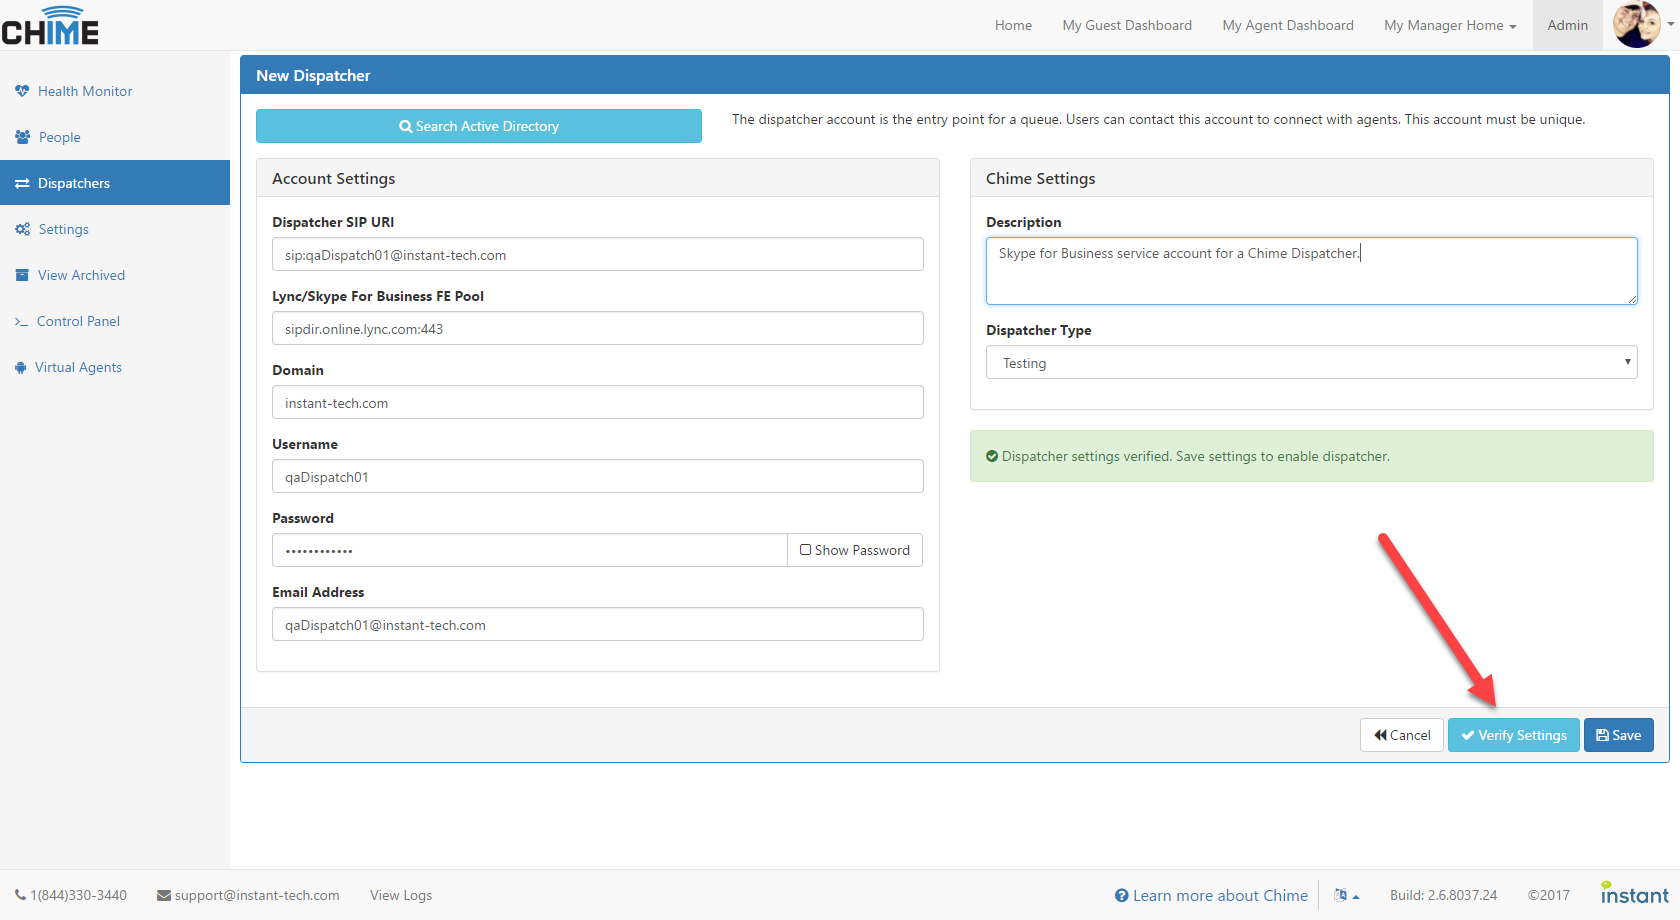
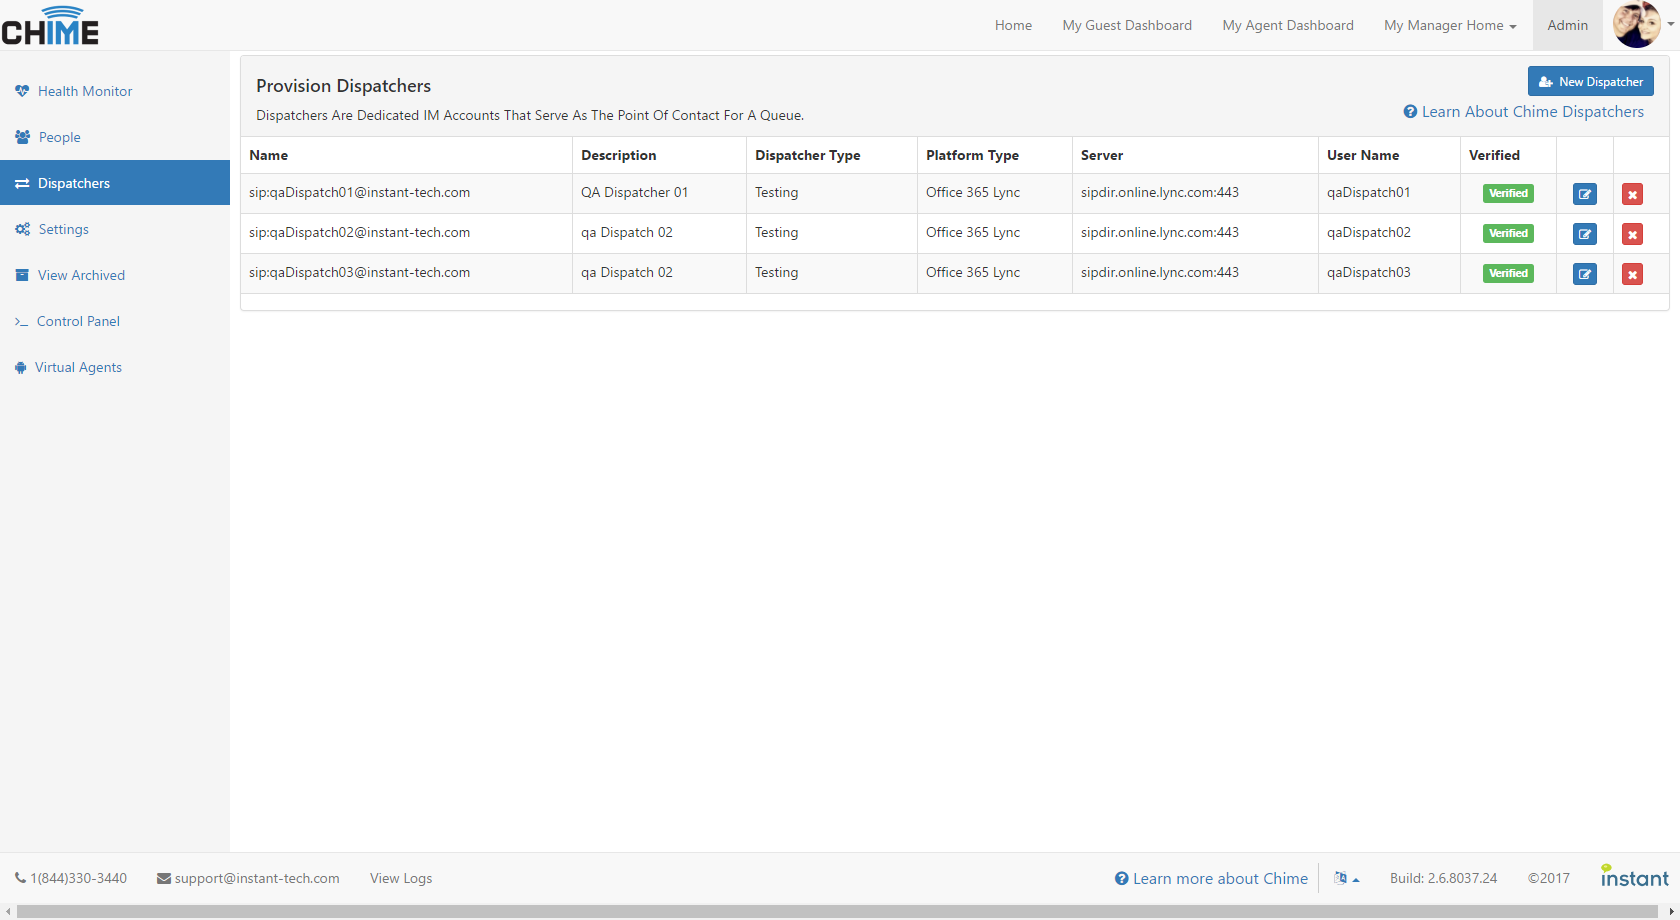
- 1 Lync/S4B account per queue for the queue dispatcher
- 1 Lync/S4B account for the web client
For a complete list of the system requirements, visit the Chime System Requirements page.
Please ensure that you have all of the necessary accounts by following the Chime Accounts Checklist with the required permissions before trying to install Chime. It will drastically reduce the amount of time it takes to get everything installed and running.
Step 2: Download and Basic Installation (~1 hour)
Please ensure you have completed Step 1 above before attempting to install Chime. Many common installation issues have arisen from things such as not having all the service accounts with the required permissions.
During the installation process, you will walk through a very standard Windows installation. You will provide Chime with account information, automatically create the Chime database, and provide the core configuration necessary for Chime to connect with Active Directory and the Chime Database.
Chime Downloads Page Install Guide (pdf)Common Installation Issues
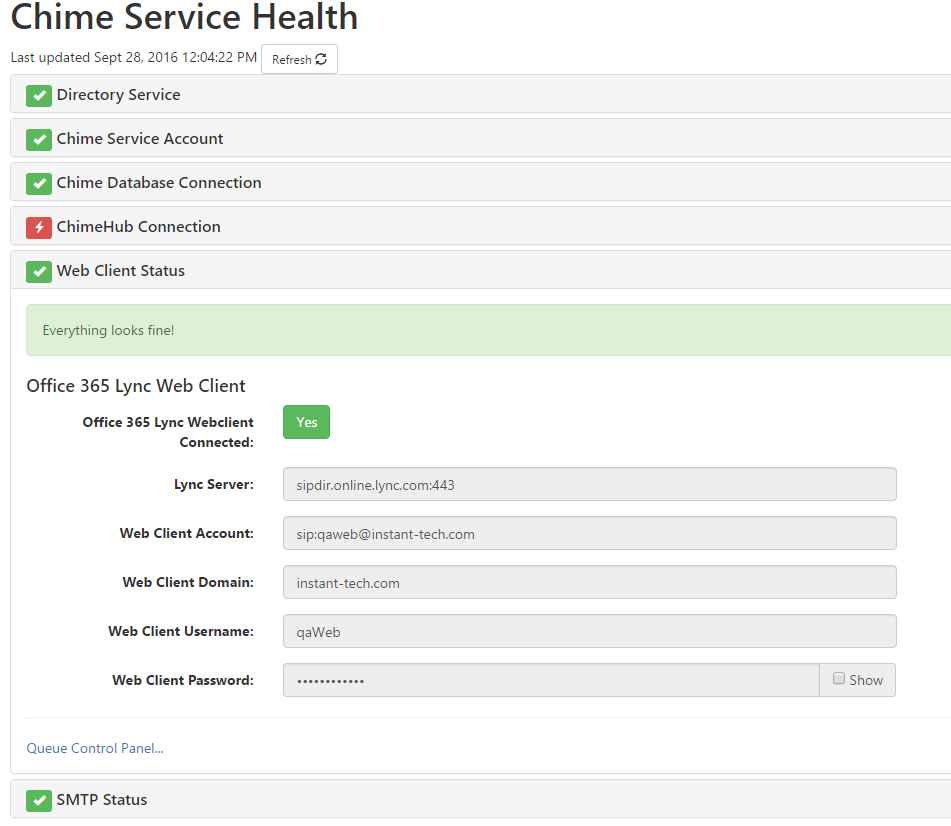
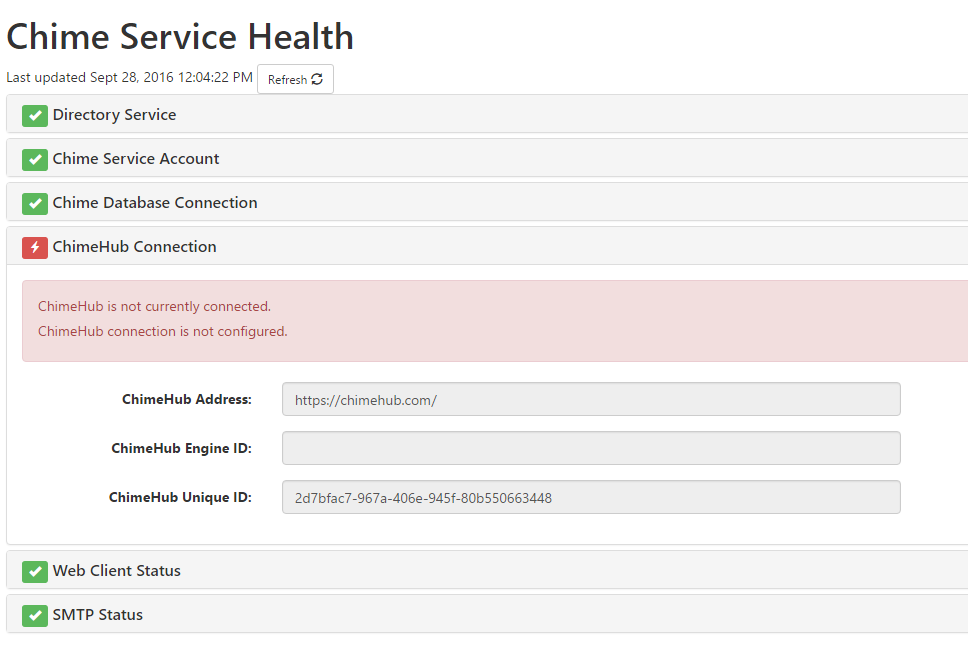
If you run into a problem while installing Chime, please send us the logs so we can diagnose the issue and help get you back on track as quickly as possible.
For more on how to get the installation logs and any pertinent screenshots, see the Chime Installer Logs Guide .
Step 3: Chime Application Setup (~1 hour)
Please ensure you have completed Steps 1 & 2 above before attempting to complete these steps.
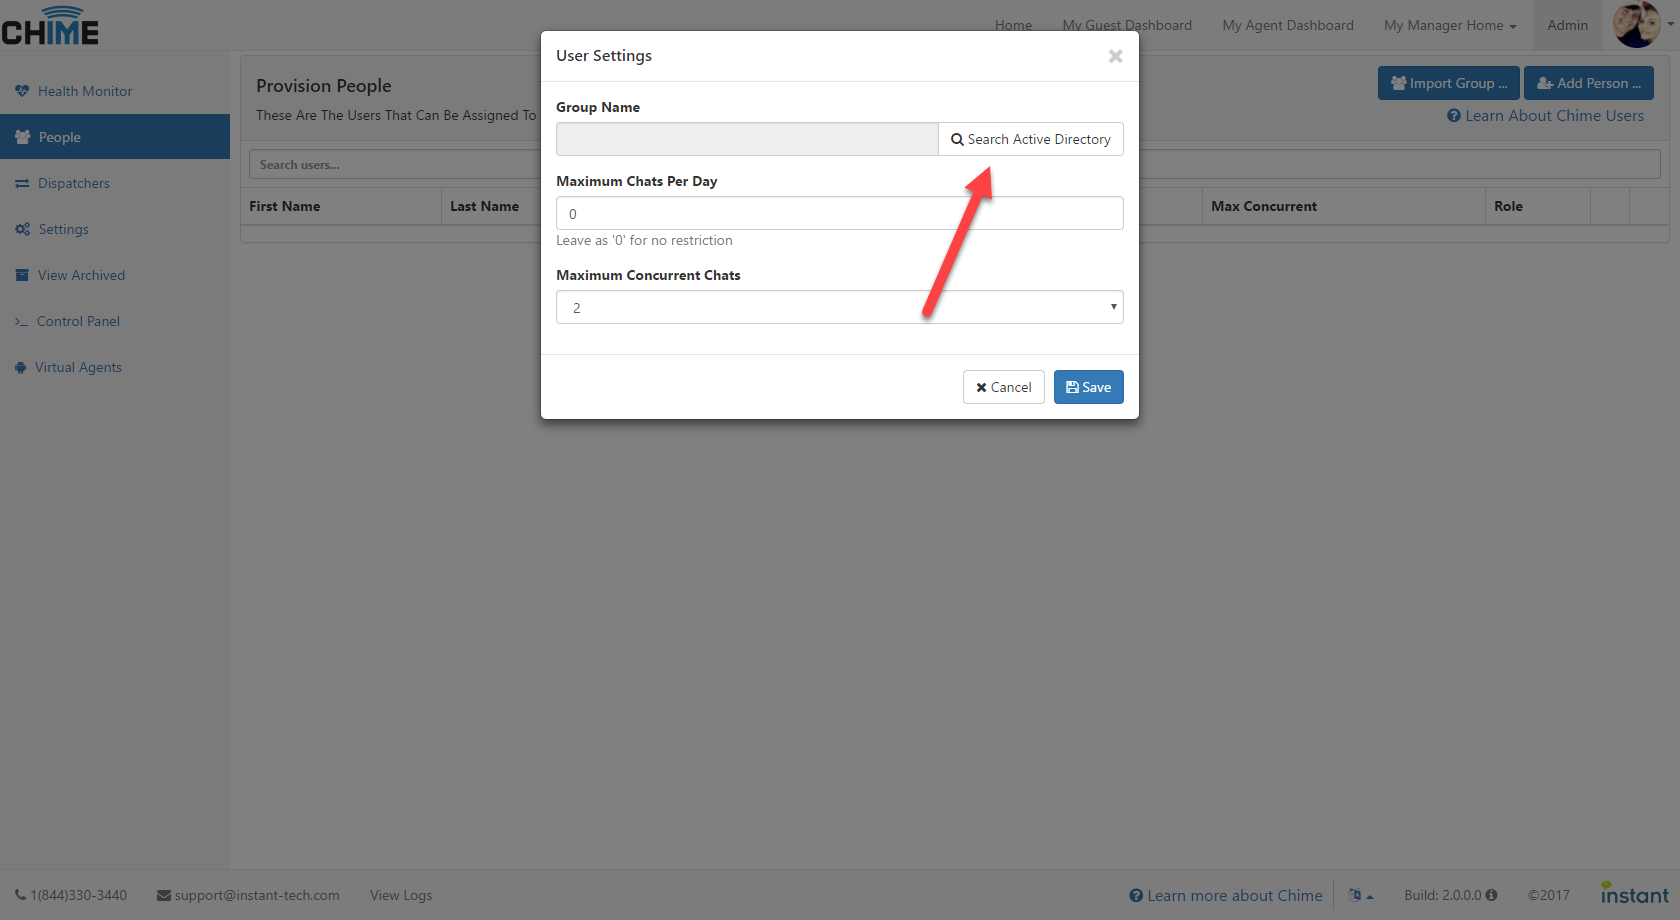
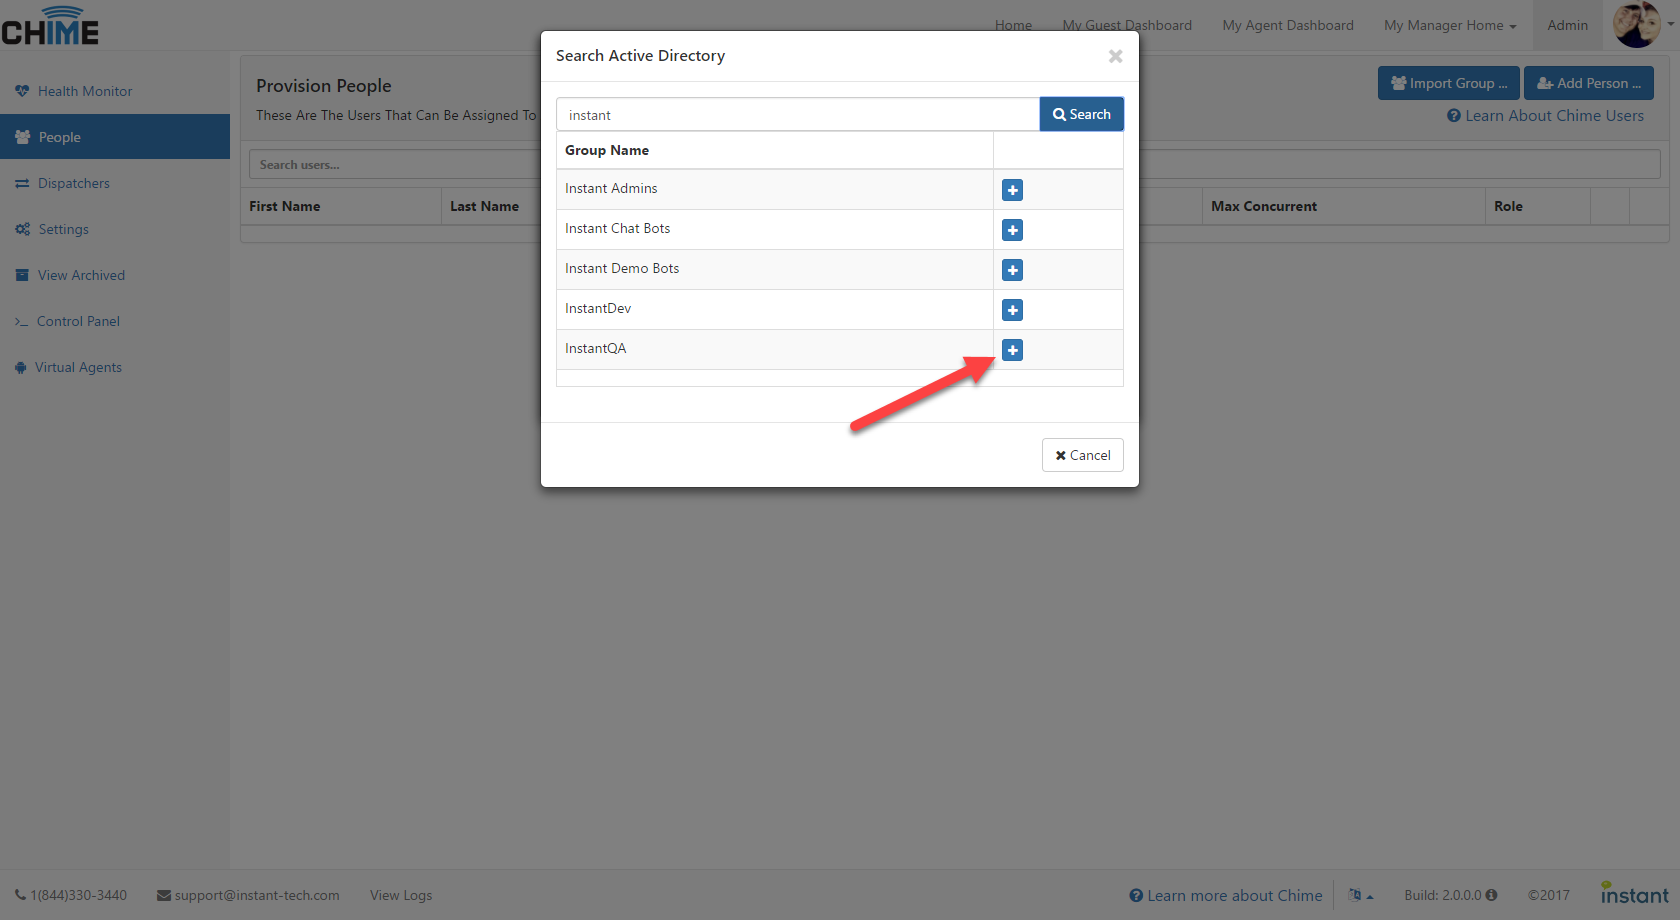
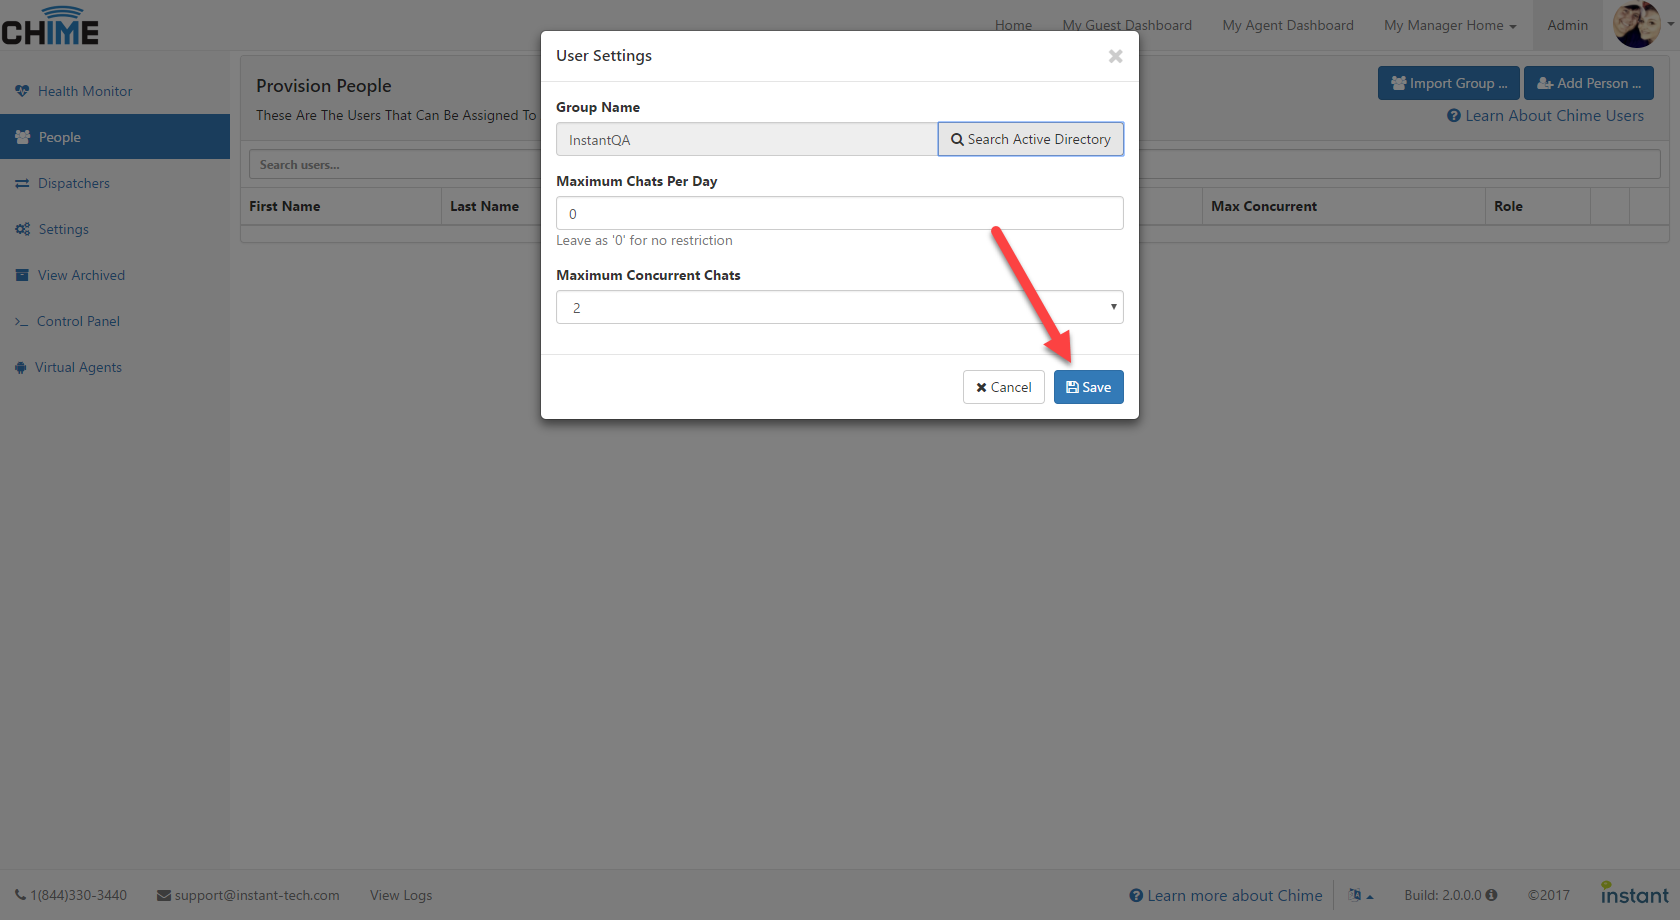
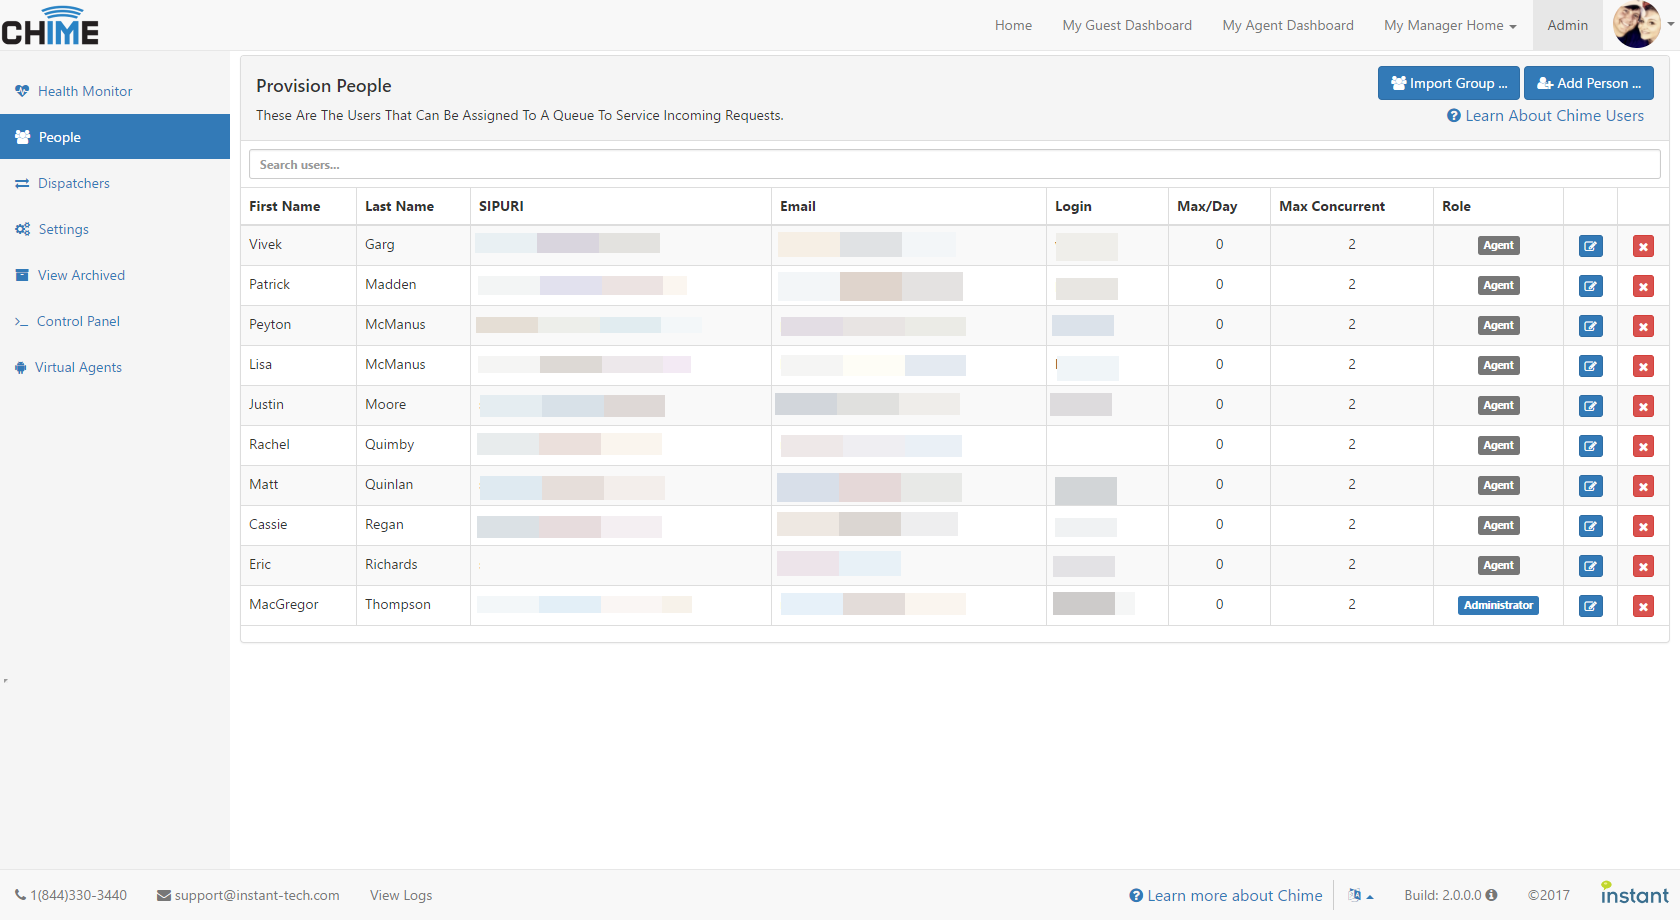
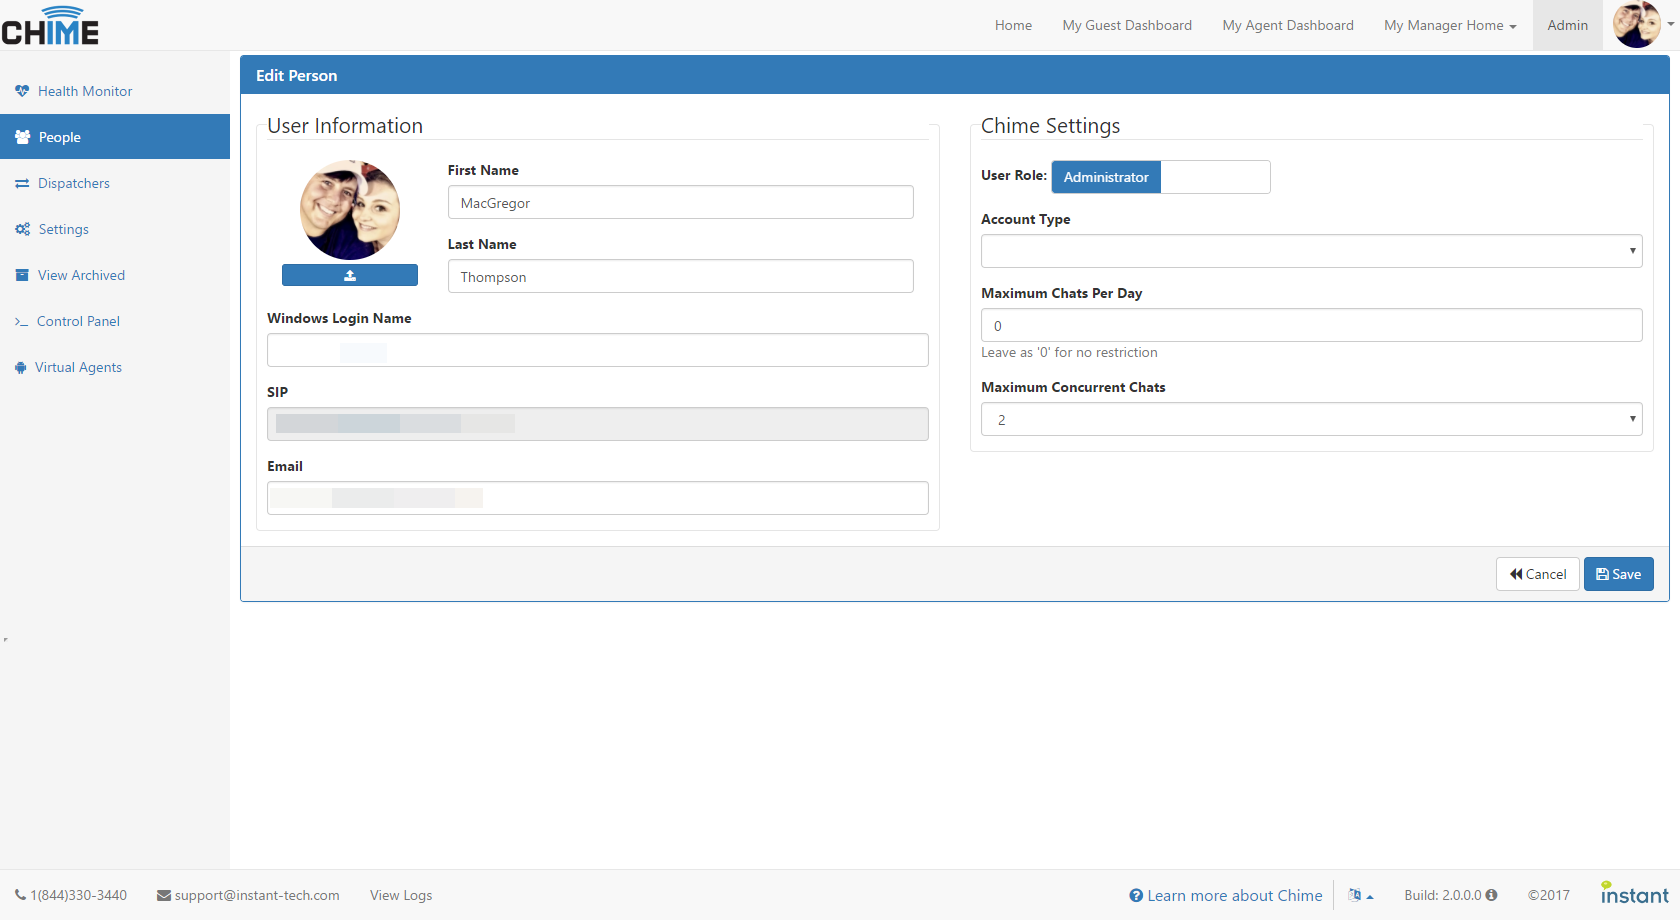
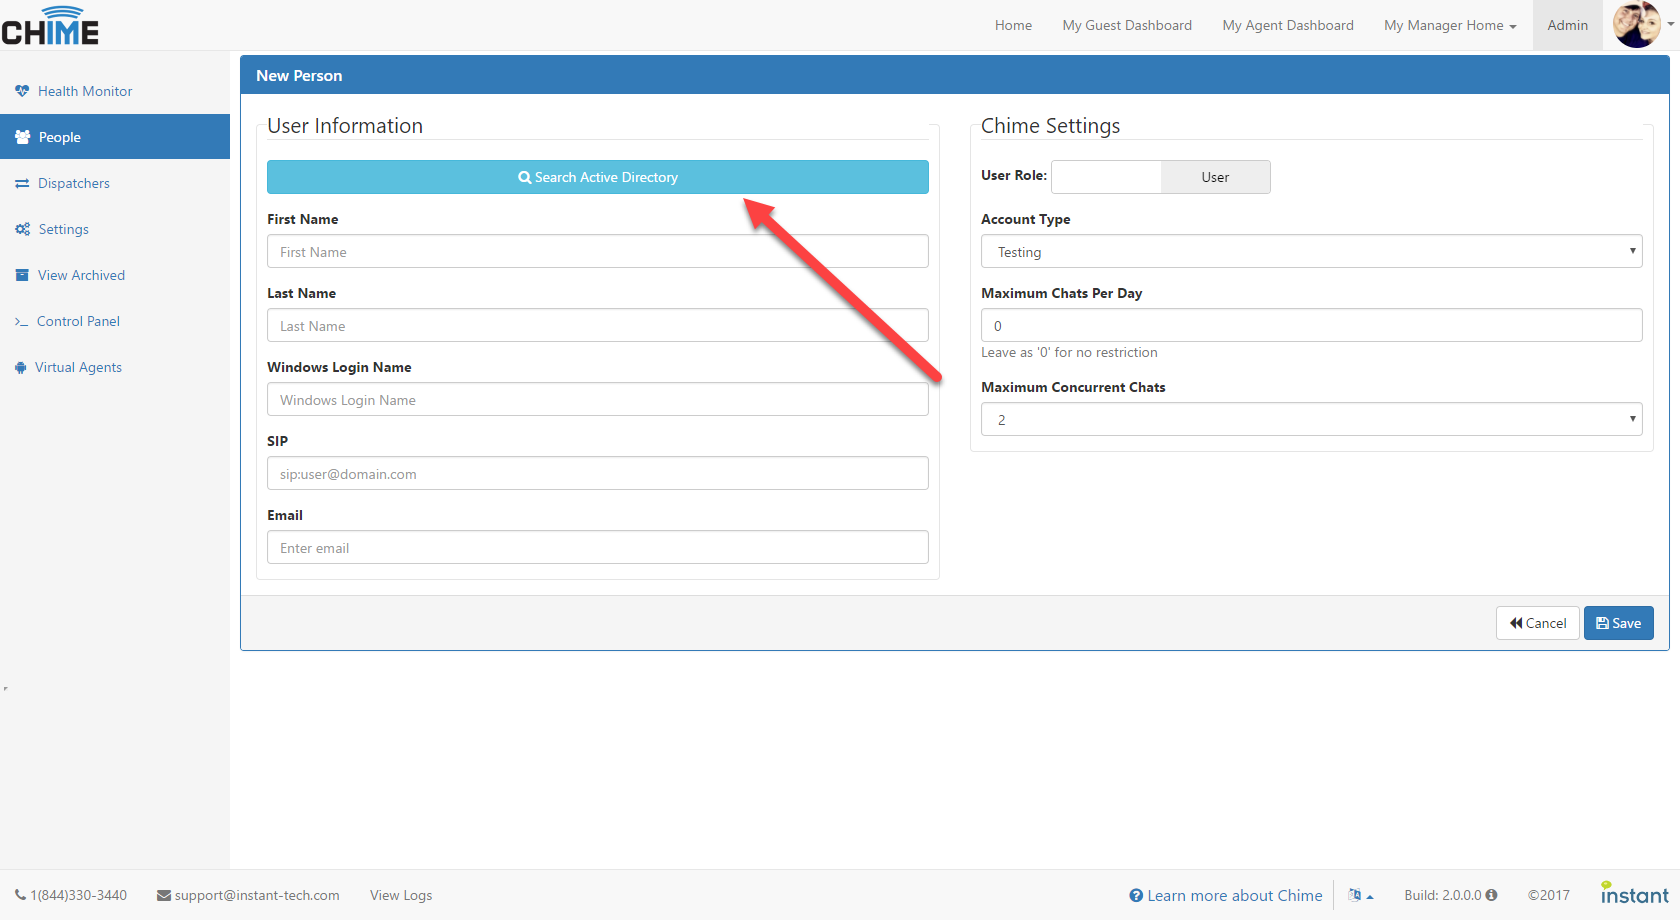
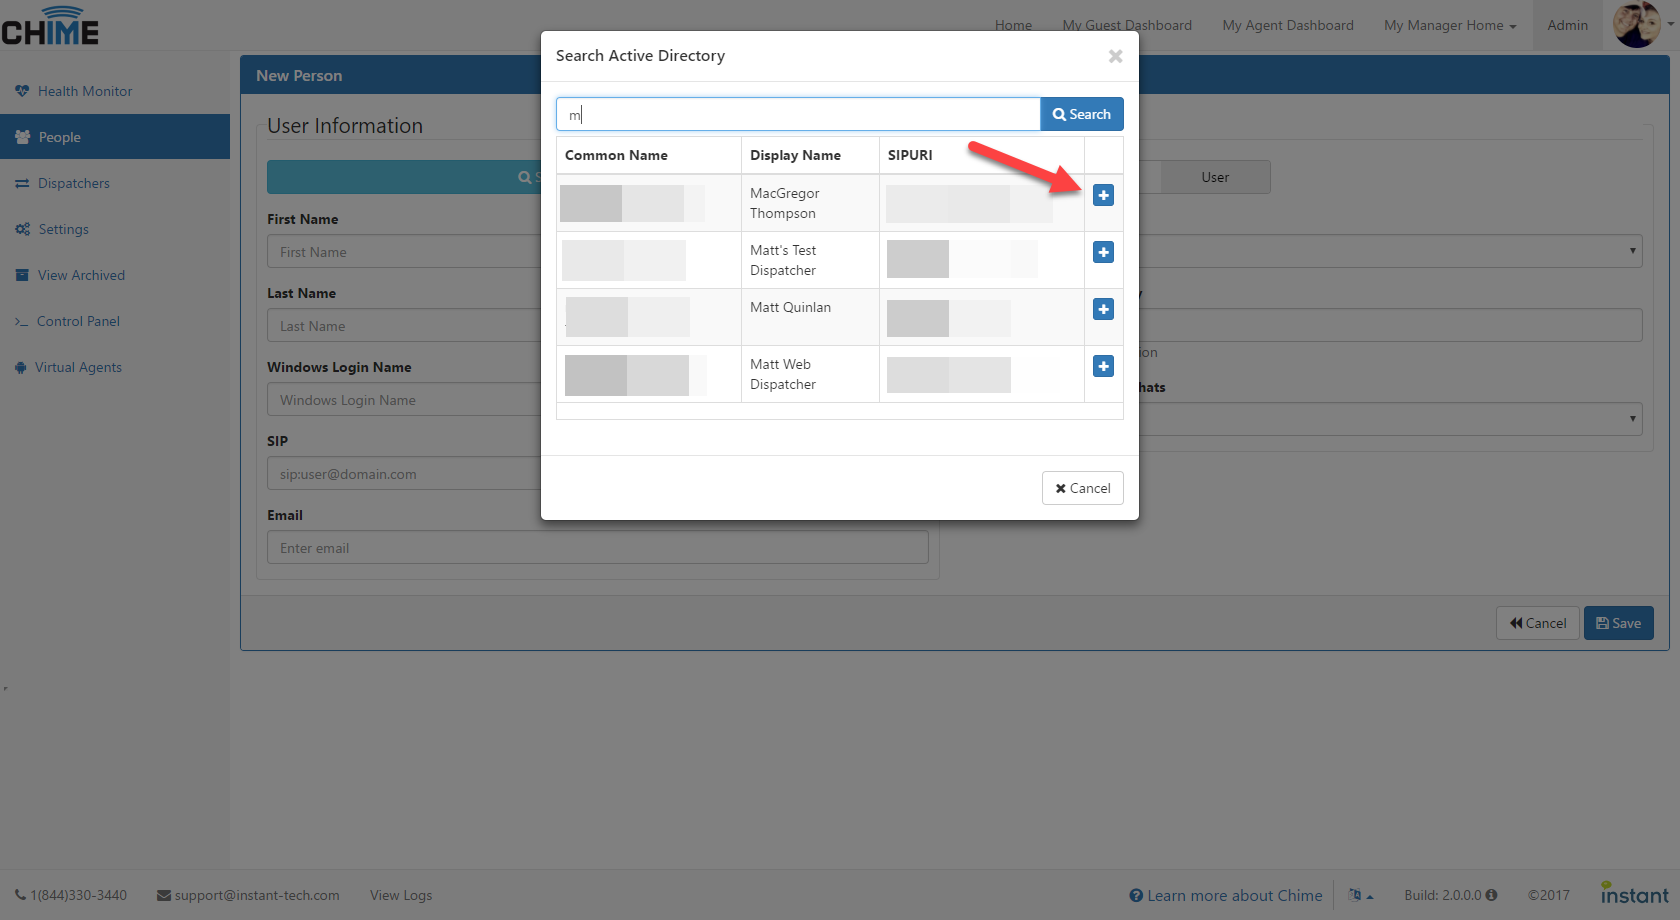
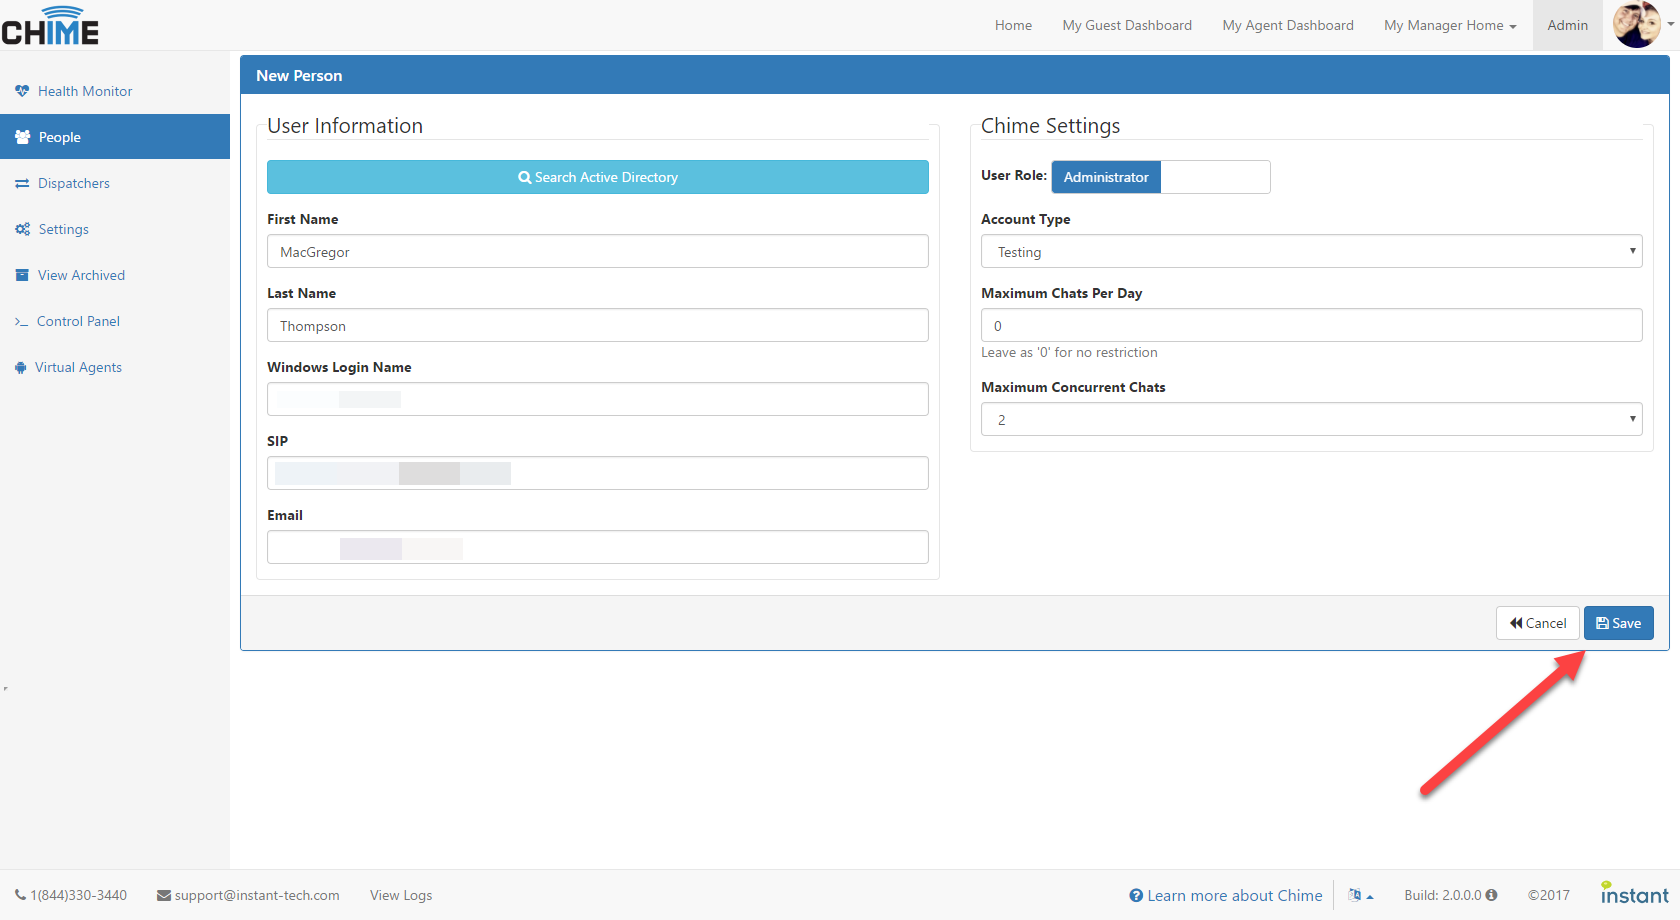
During the application setup process, you will interact with the newly installed Chime server and provide information on Chime administrators, managers, agents, license keys, and other settings specific to the Chime deployment.
The Chime Application Setup Guide will walk you through how to set up the Chime application.
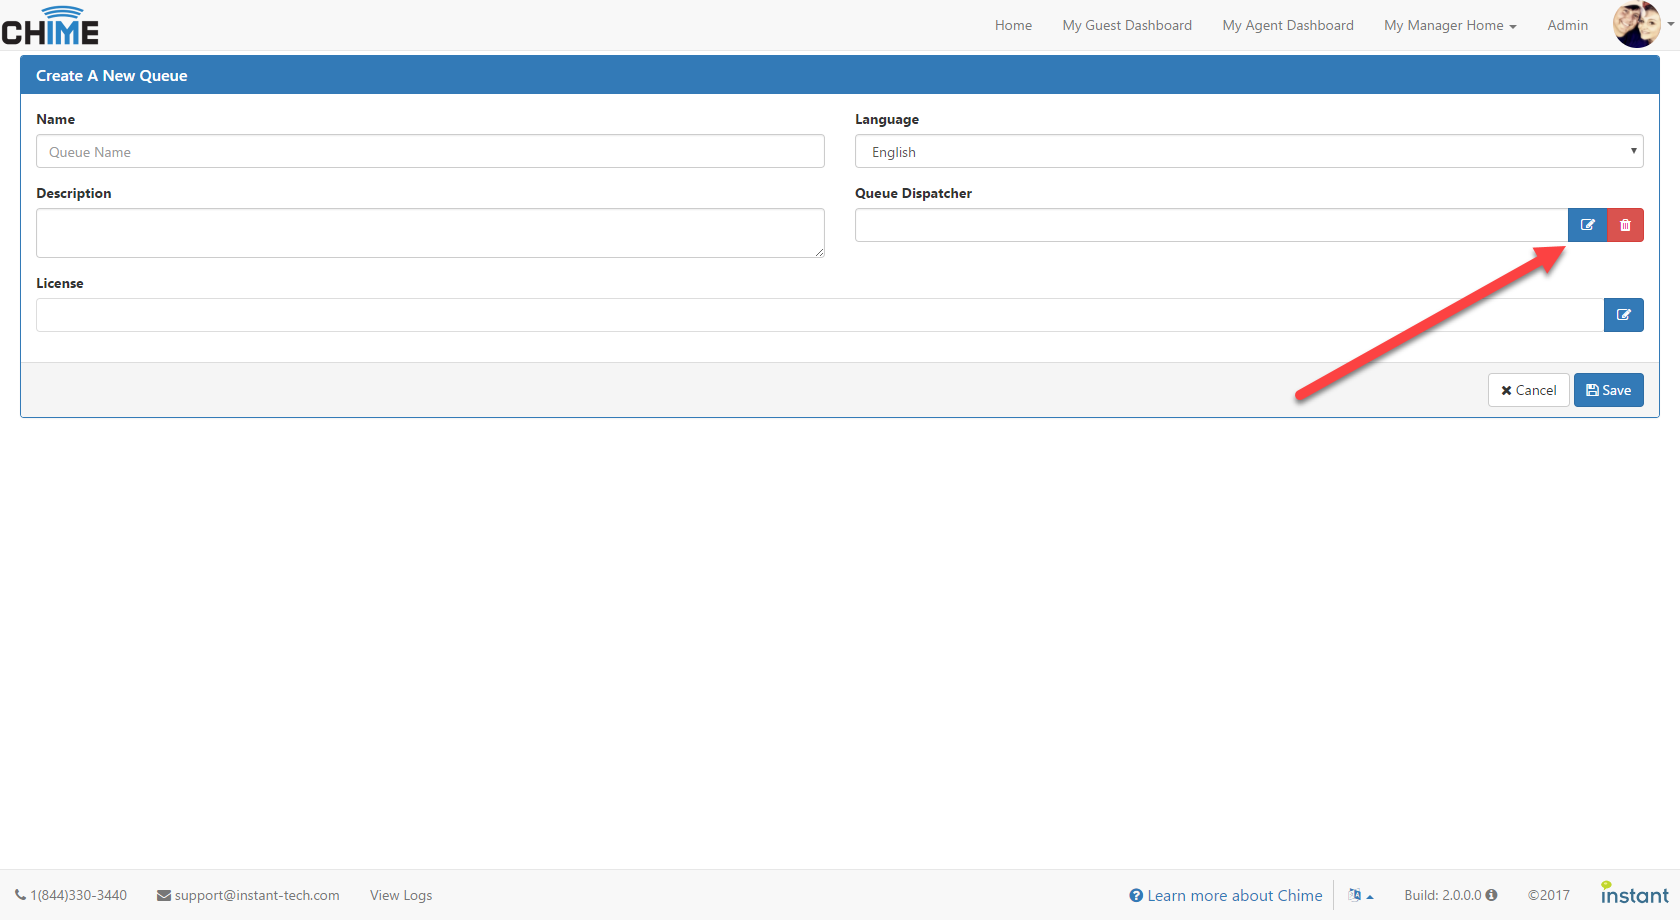
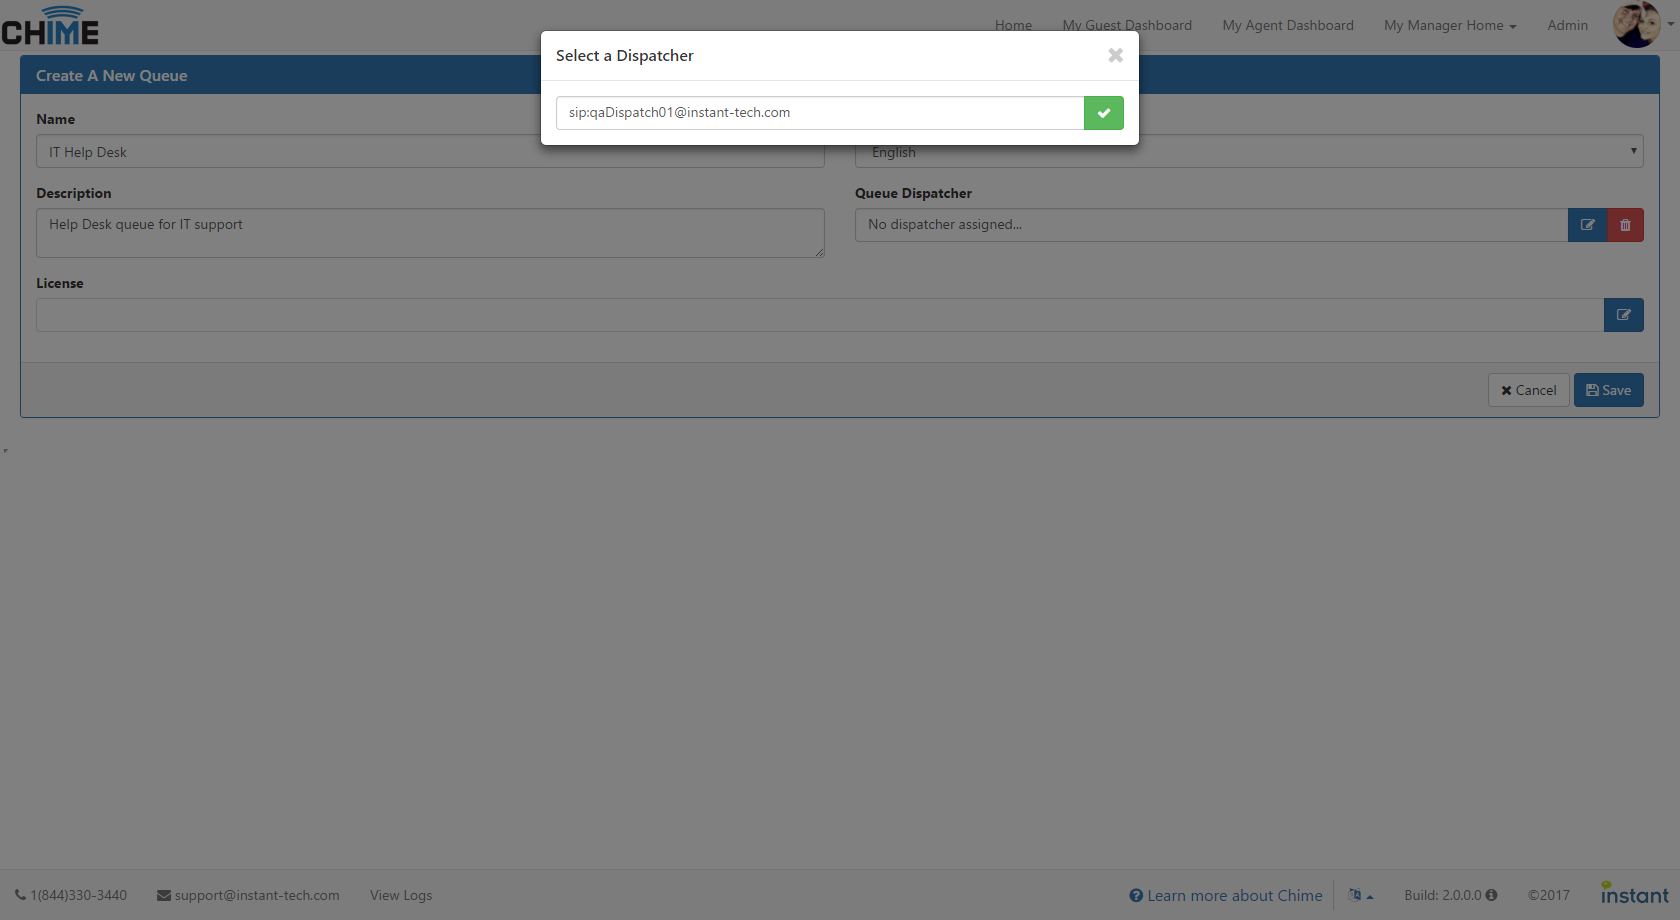
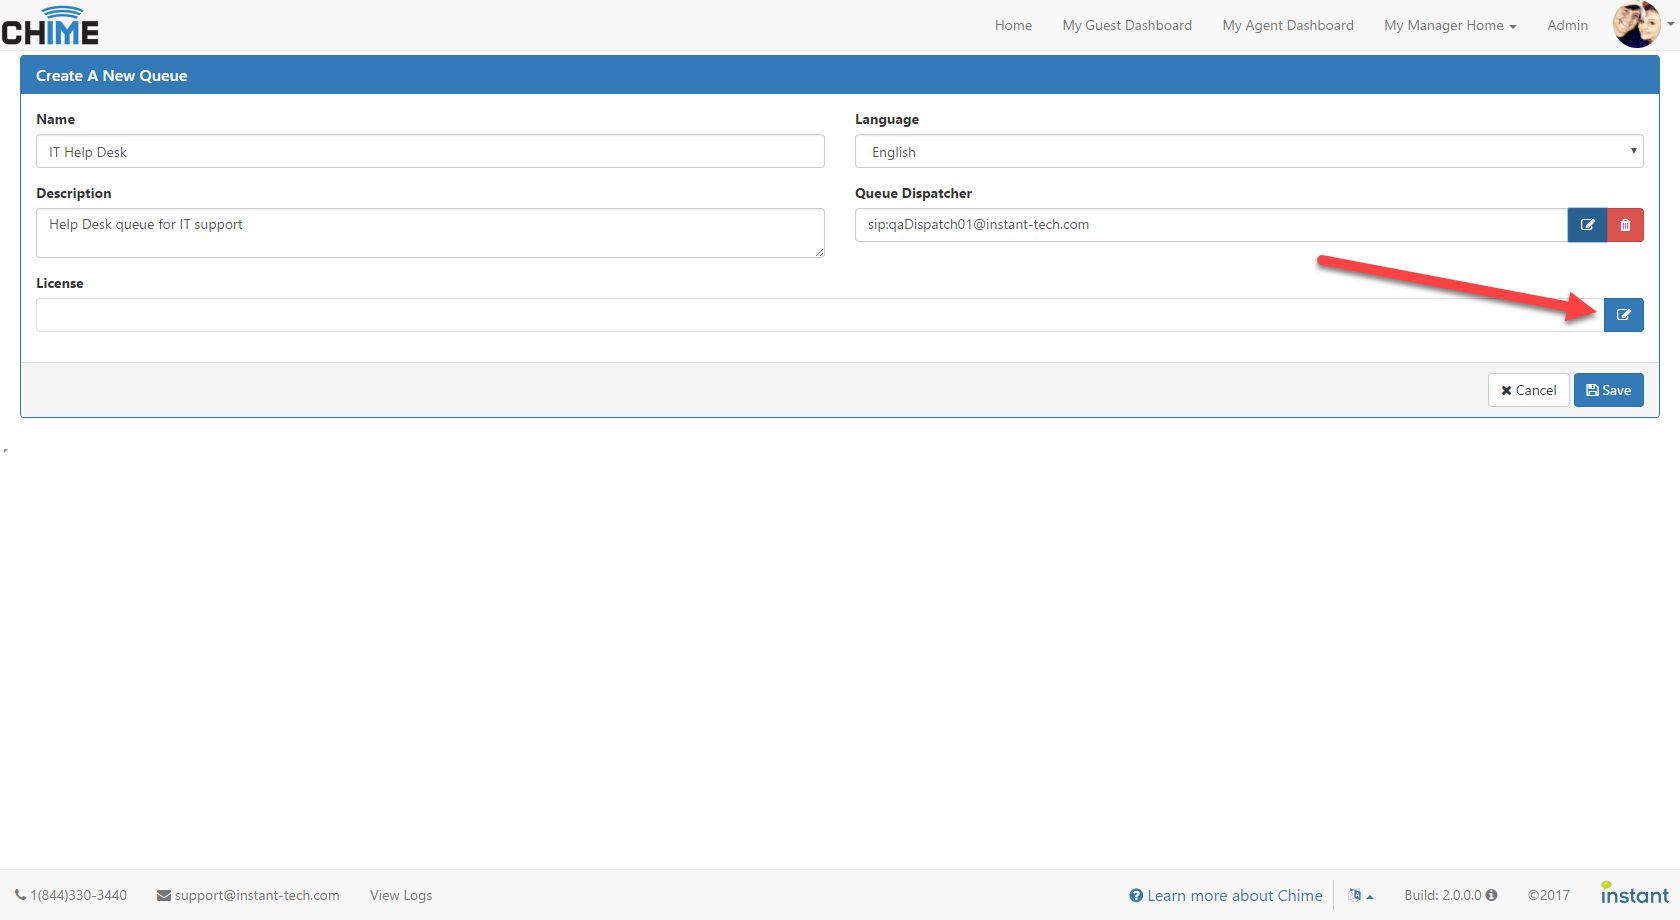
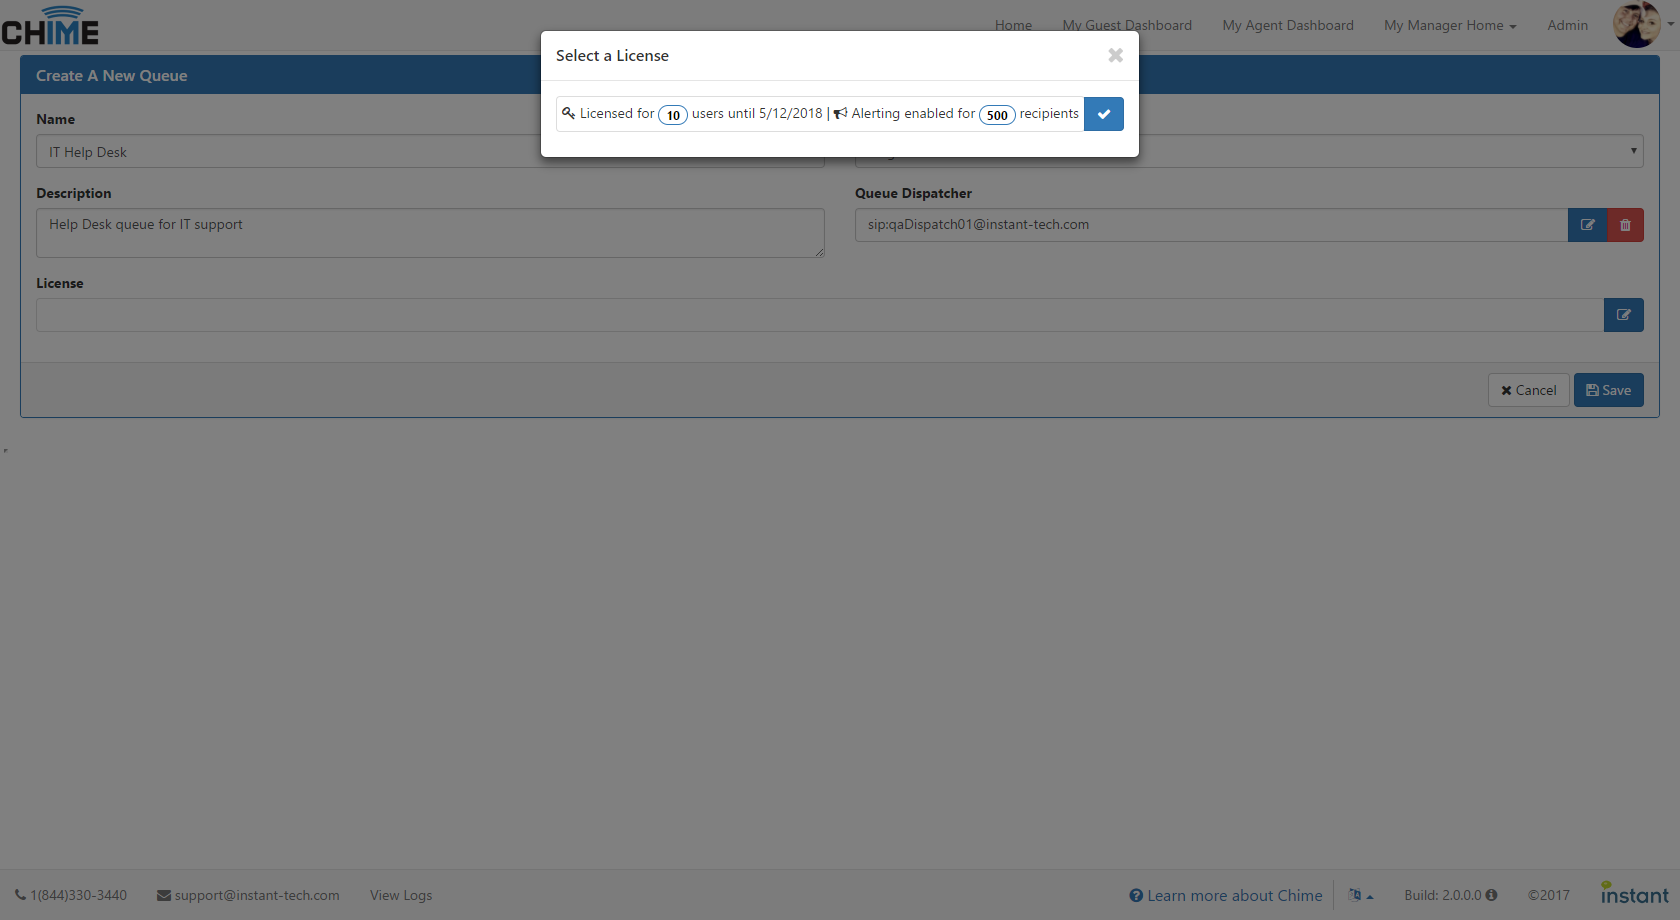
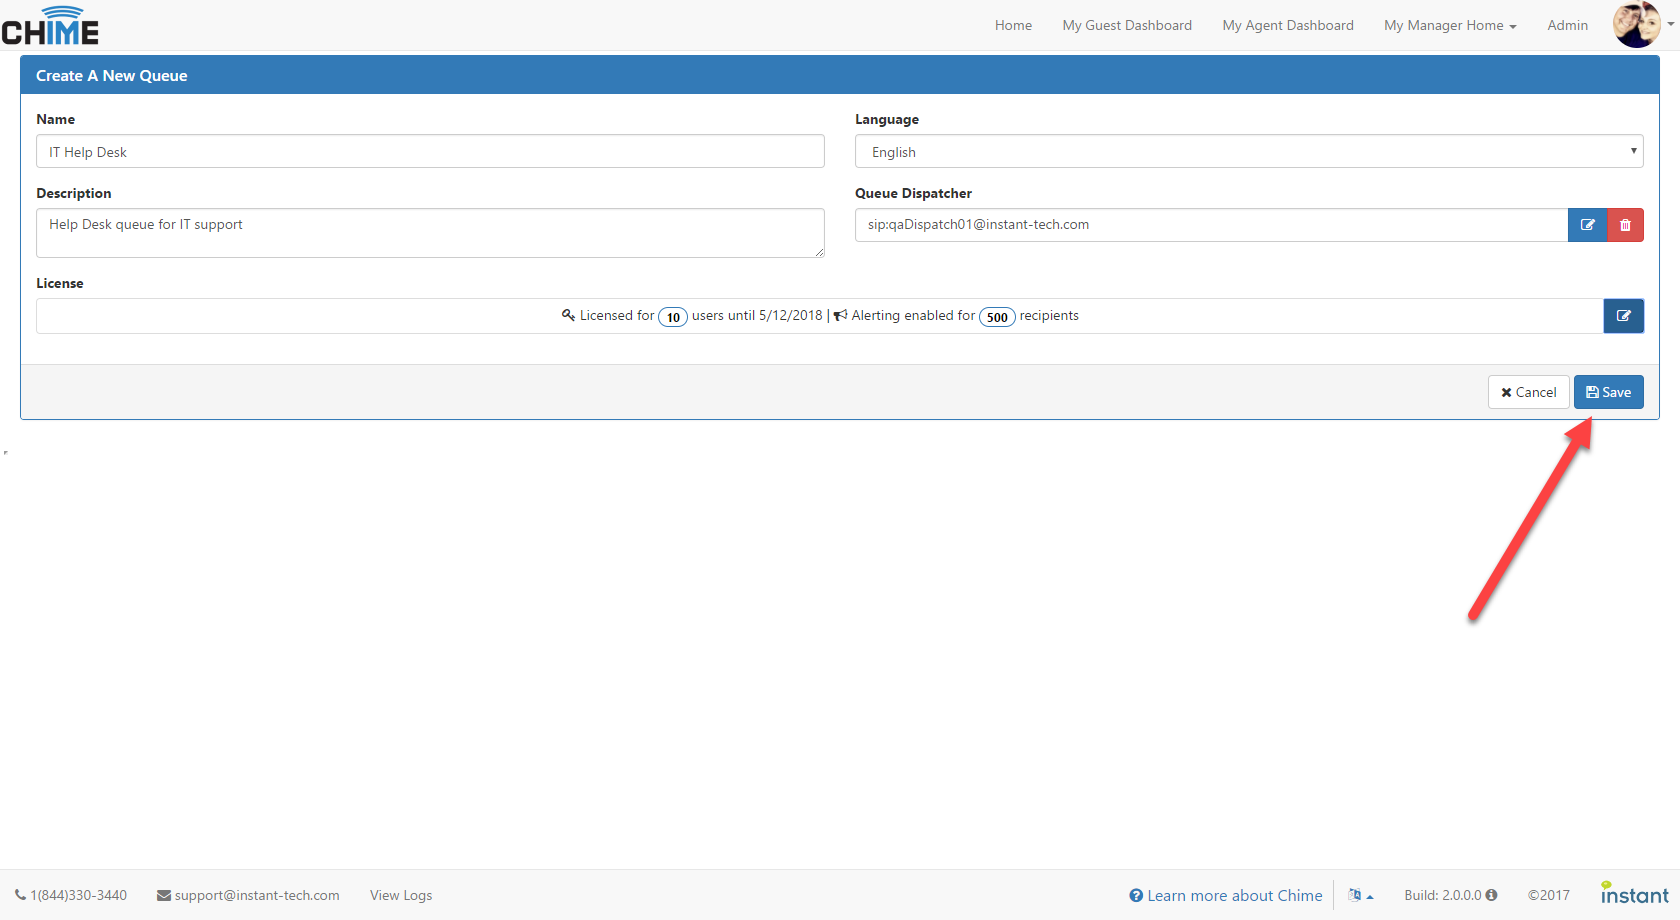
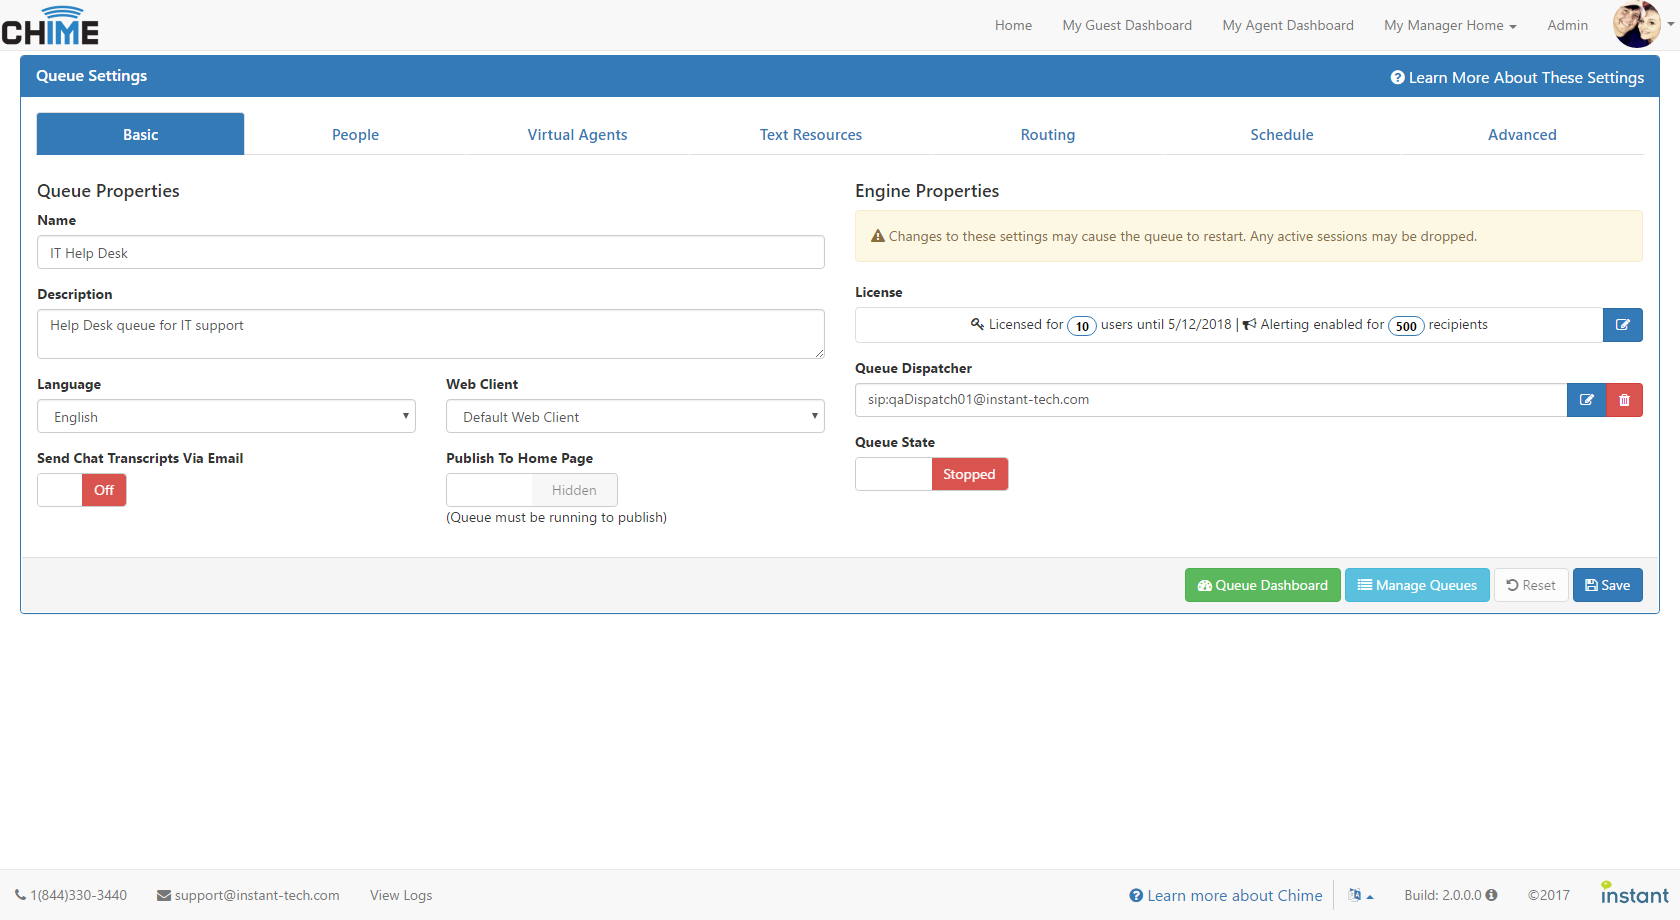
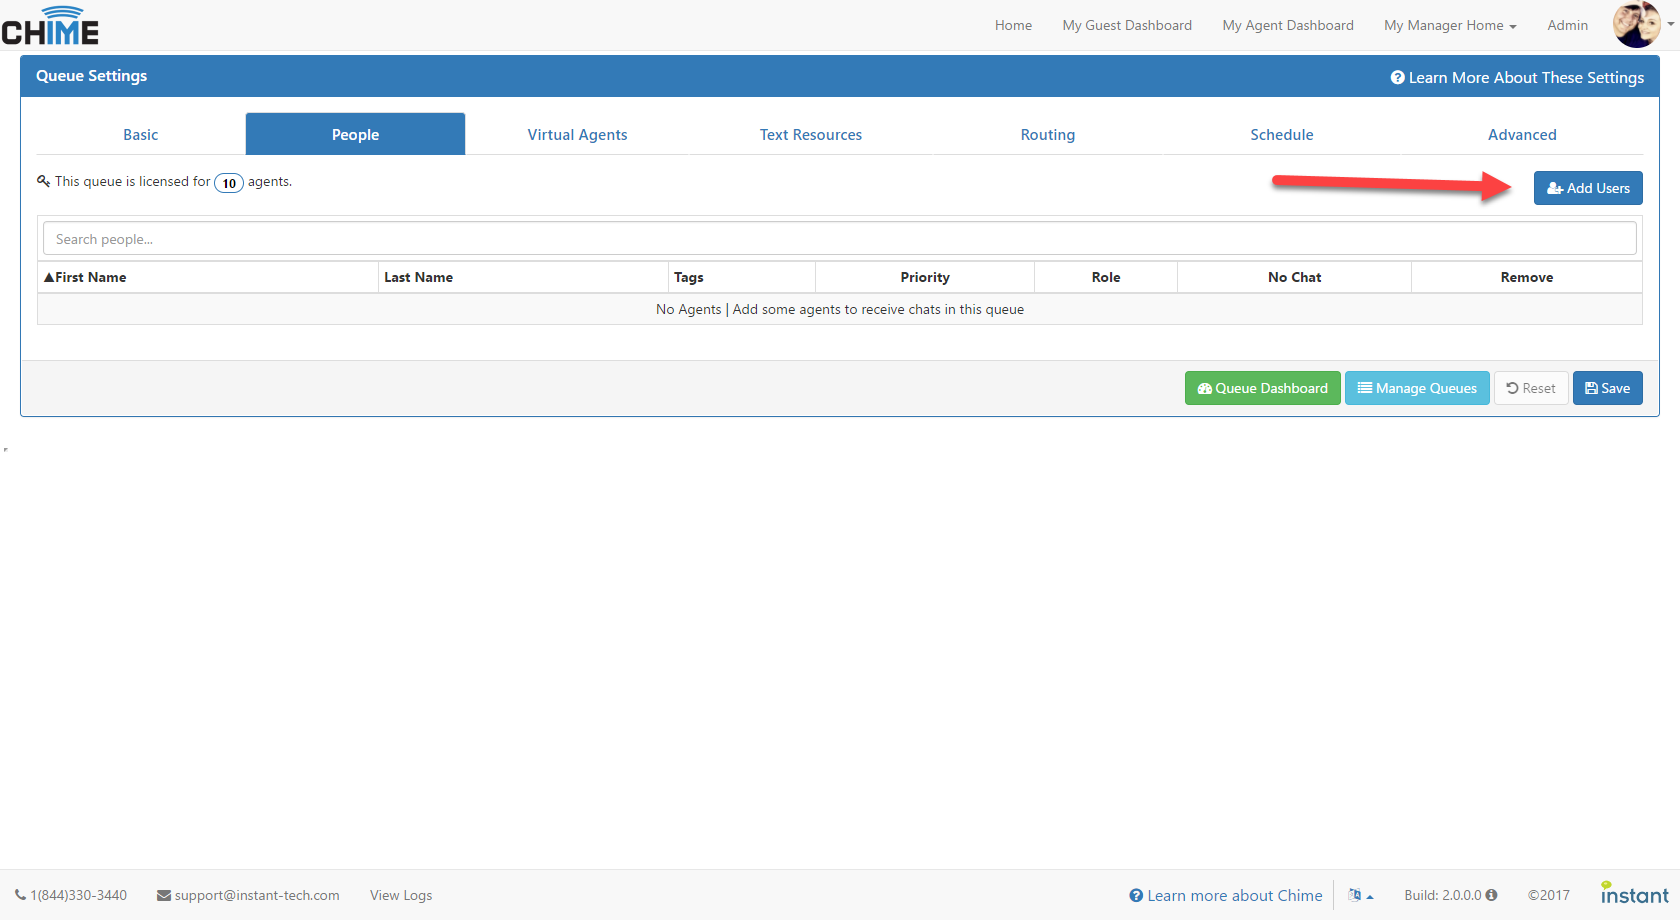
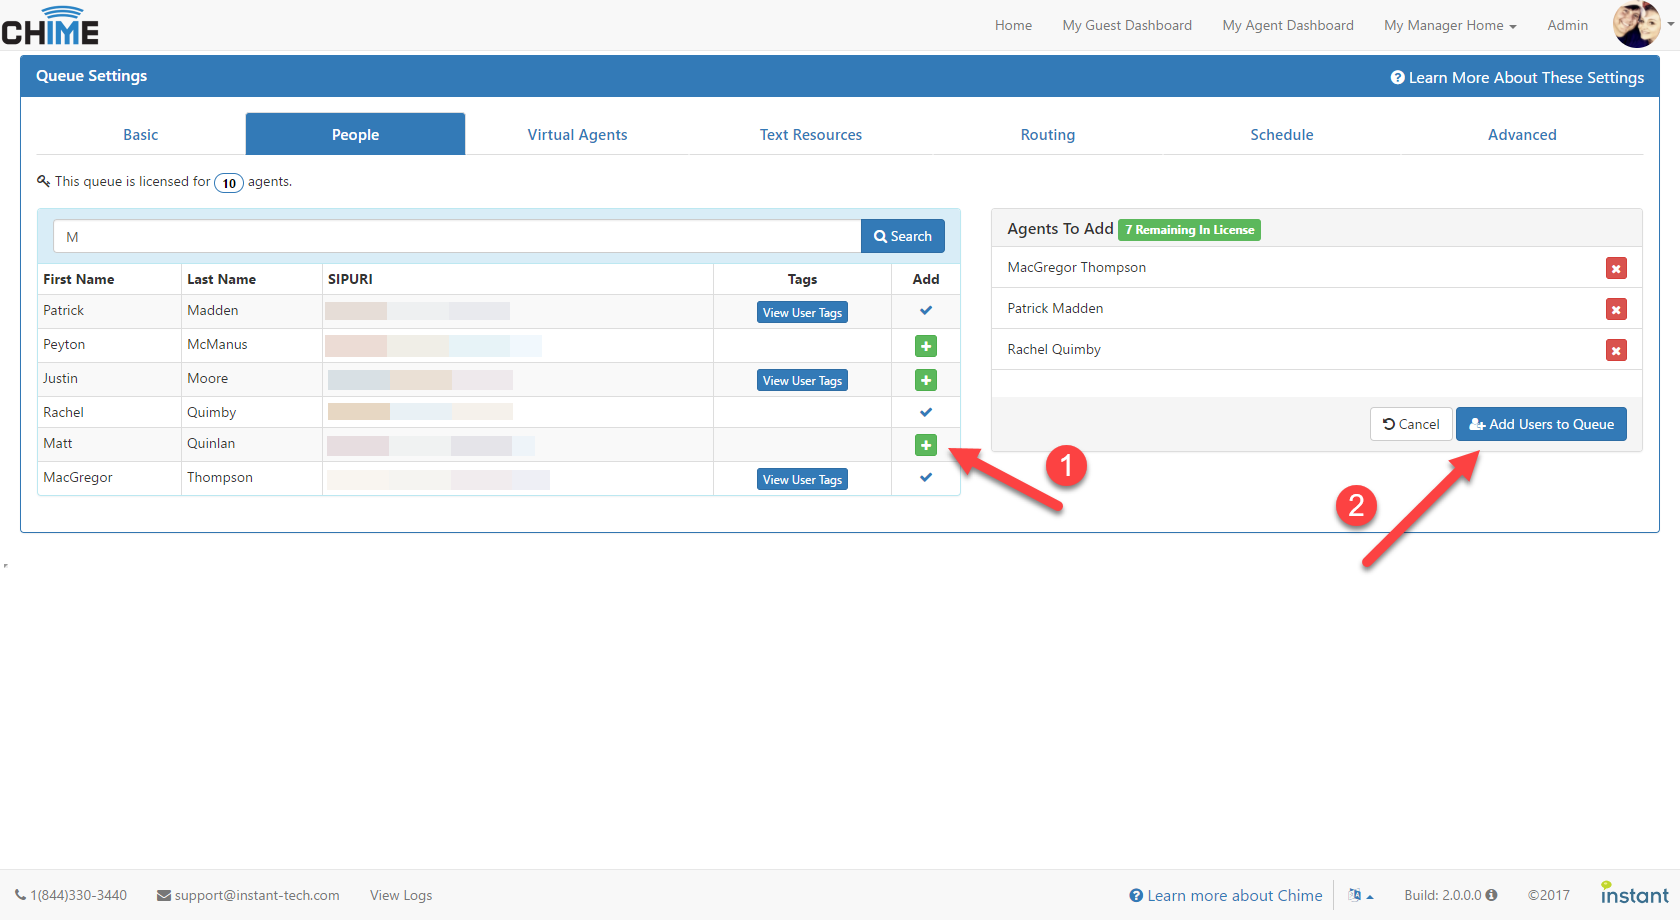
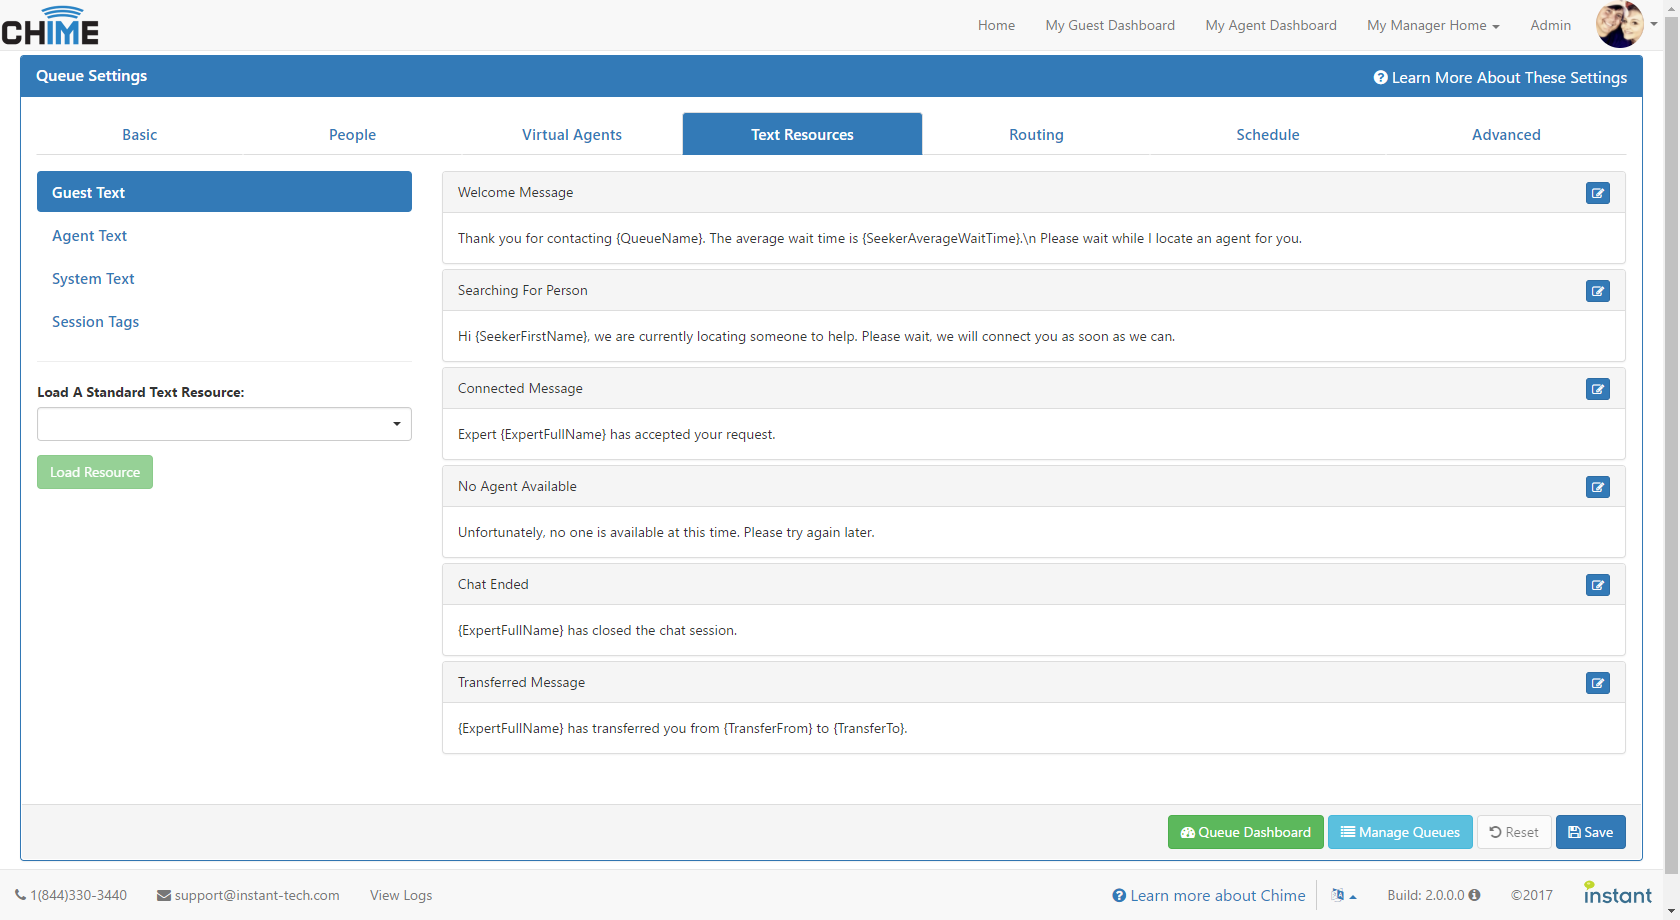
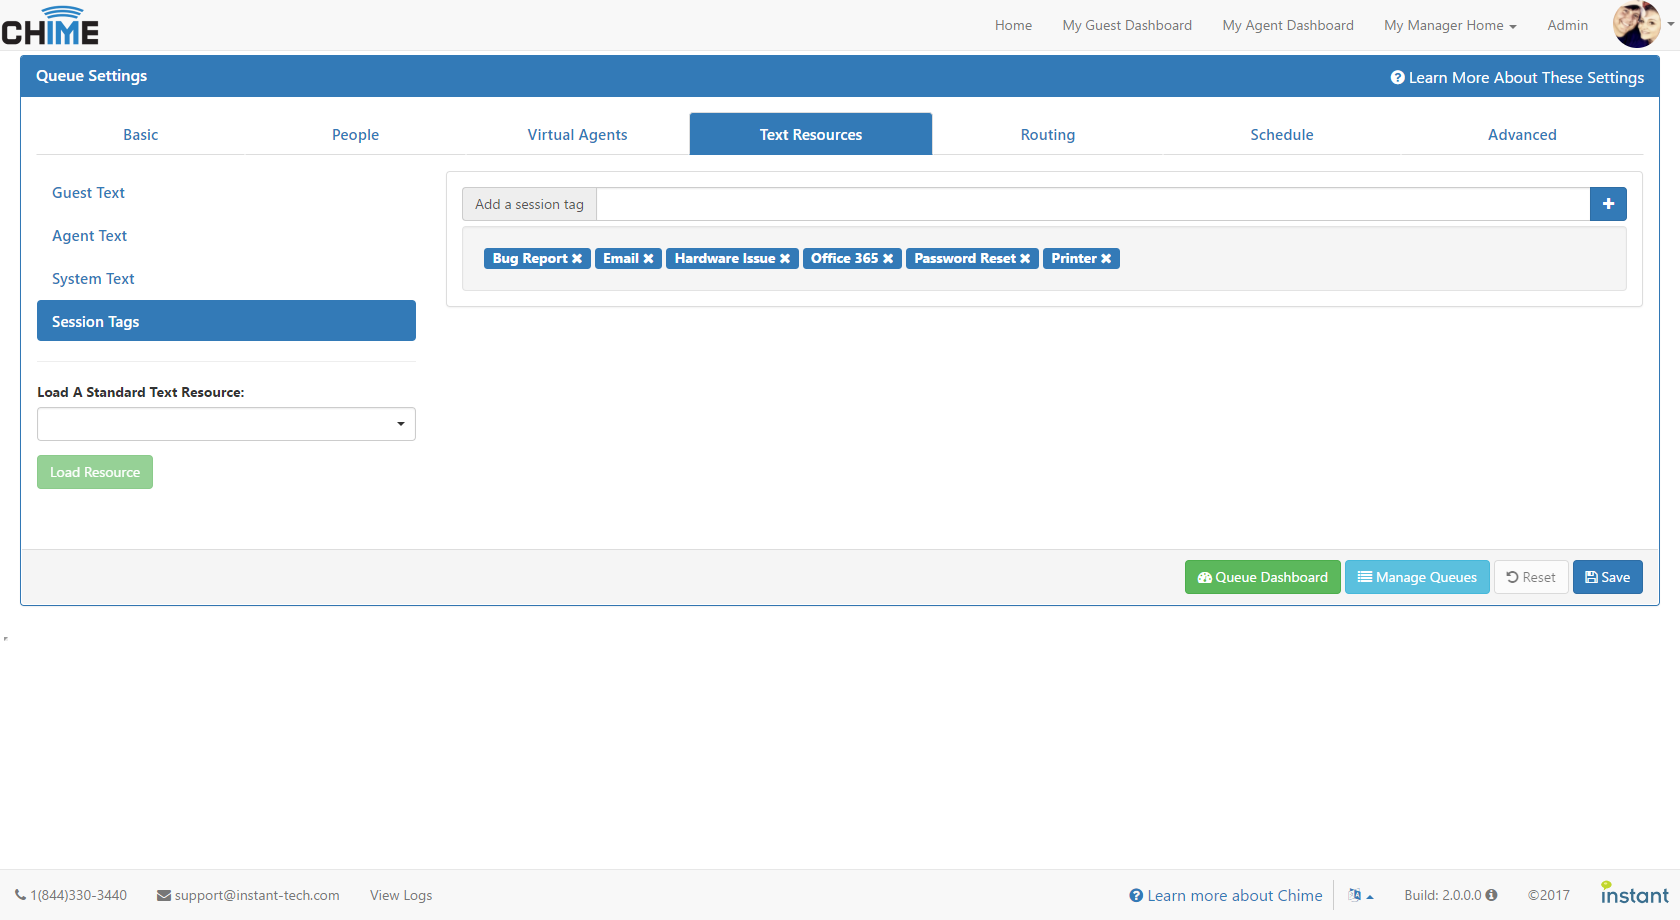
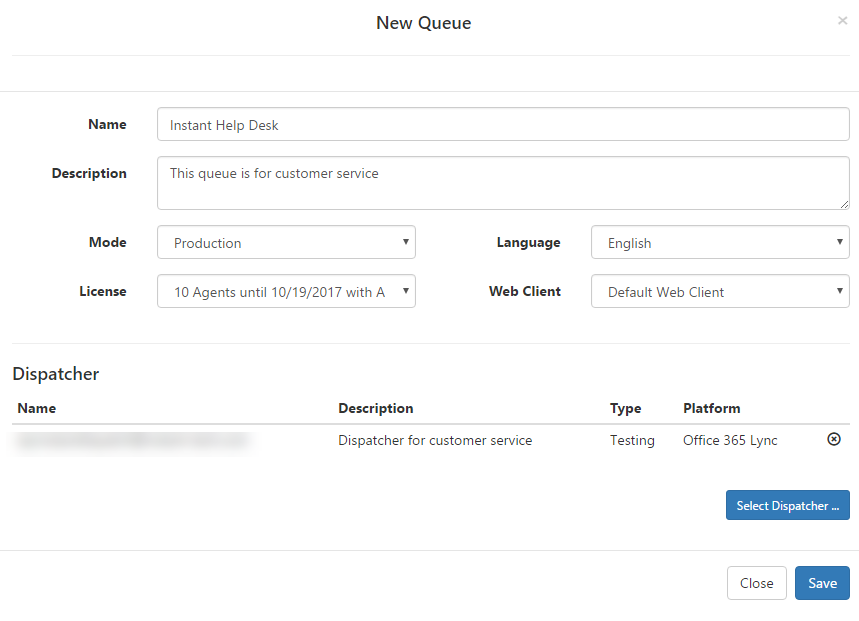
Step 4: Configure First Queue (~1 hour)
Please ensure you have completed Steps 1, 2, & 3 above before attempting to complete these steps.
It's time to create and configure your first queue. Choose one of the following options based on how you plan on using Chime.
Option 1: Chime as a Service Desk Application (~1 hour)
The Setup First Queue Guide will walk you through how to get Chime ready to be used as a service desk application.
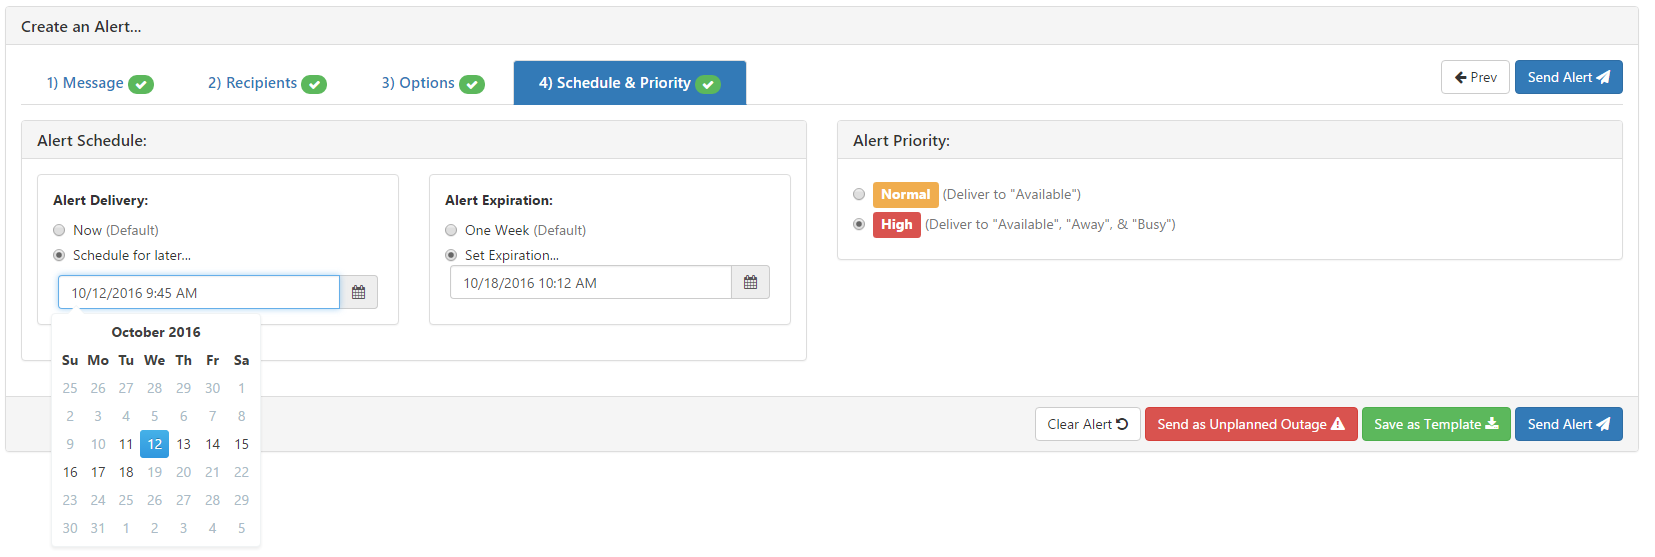
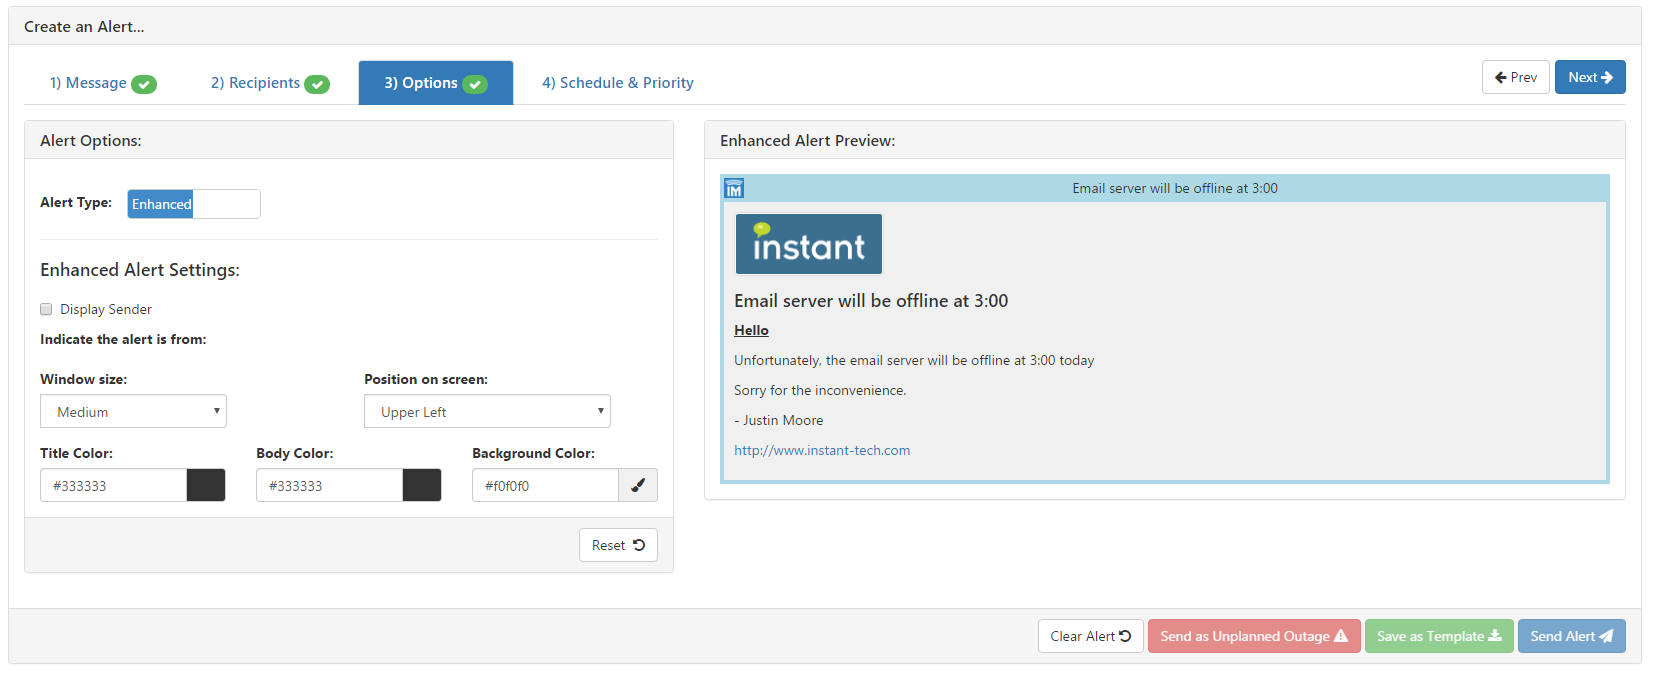
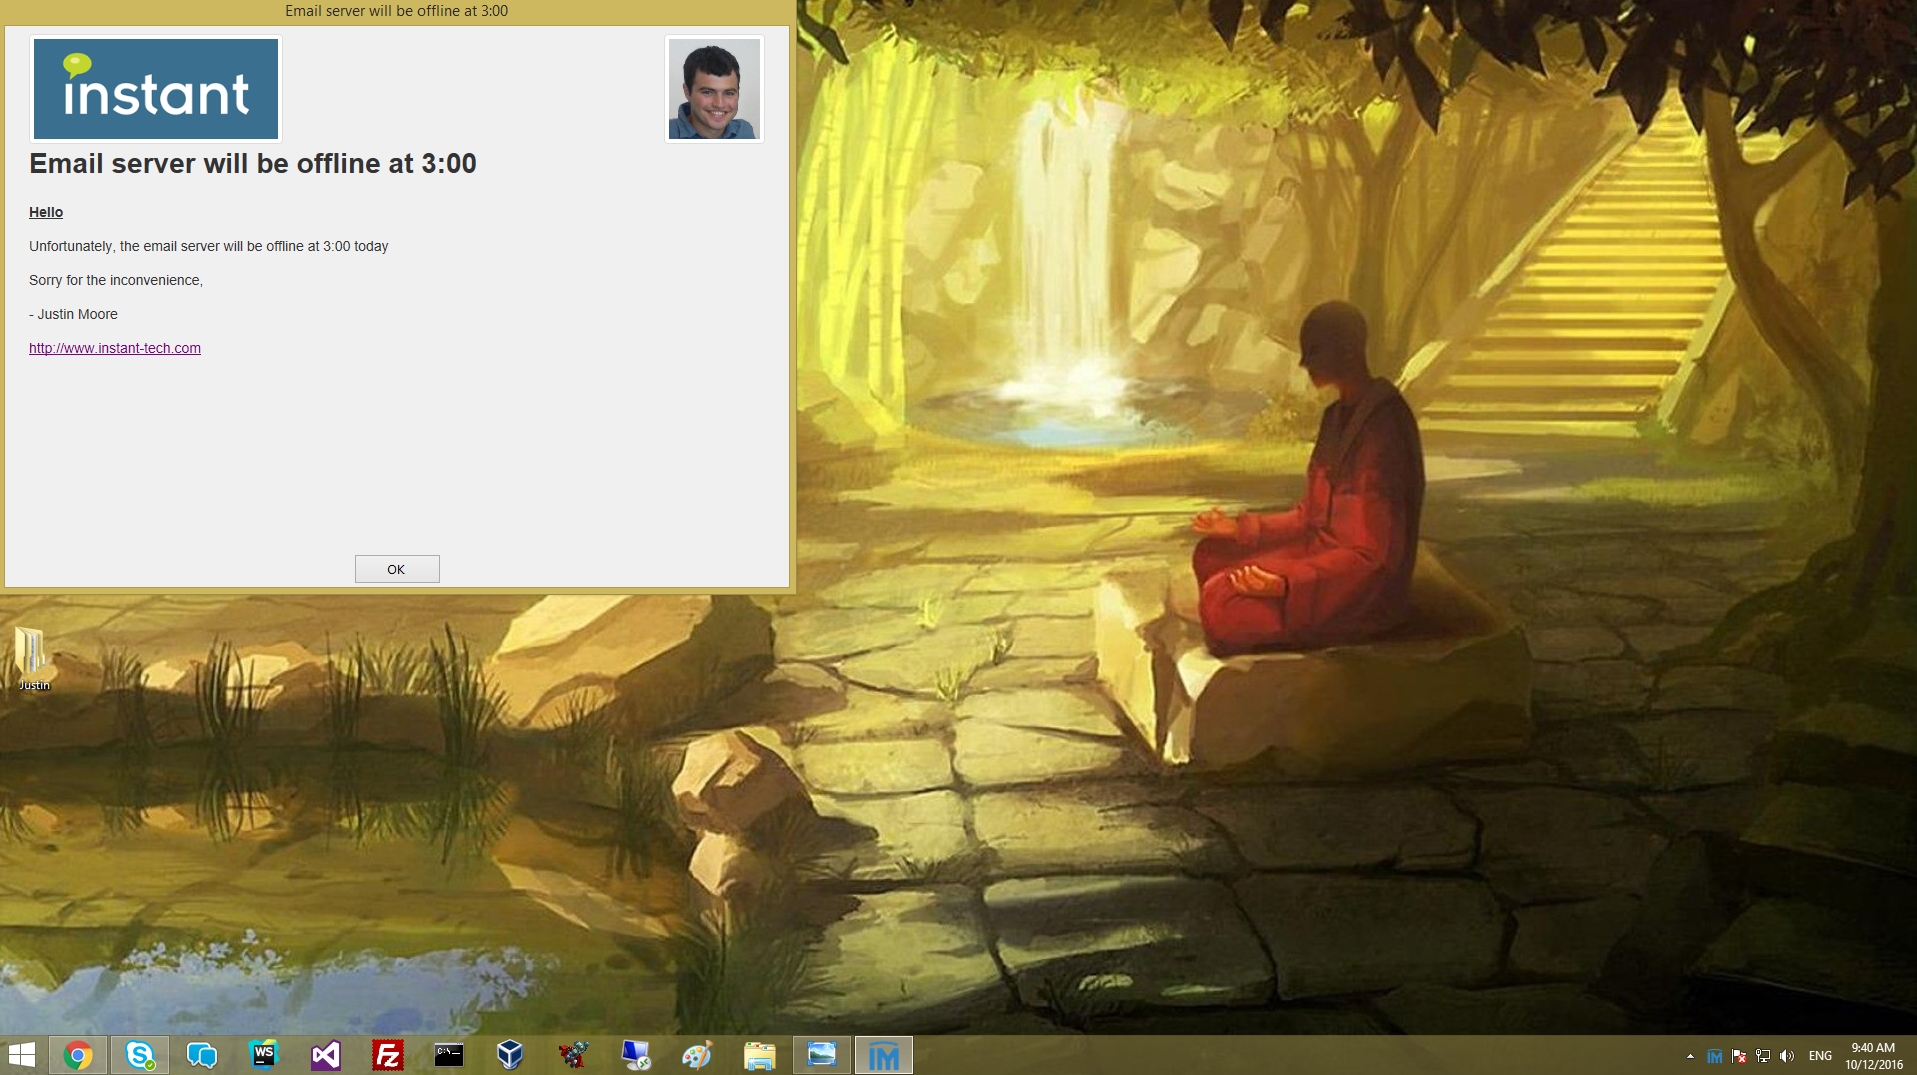
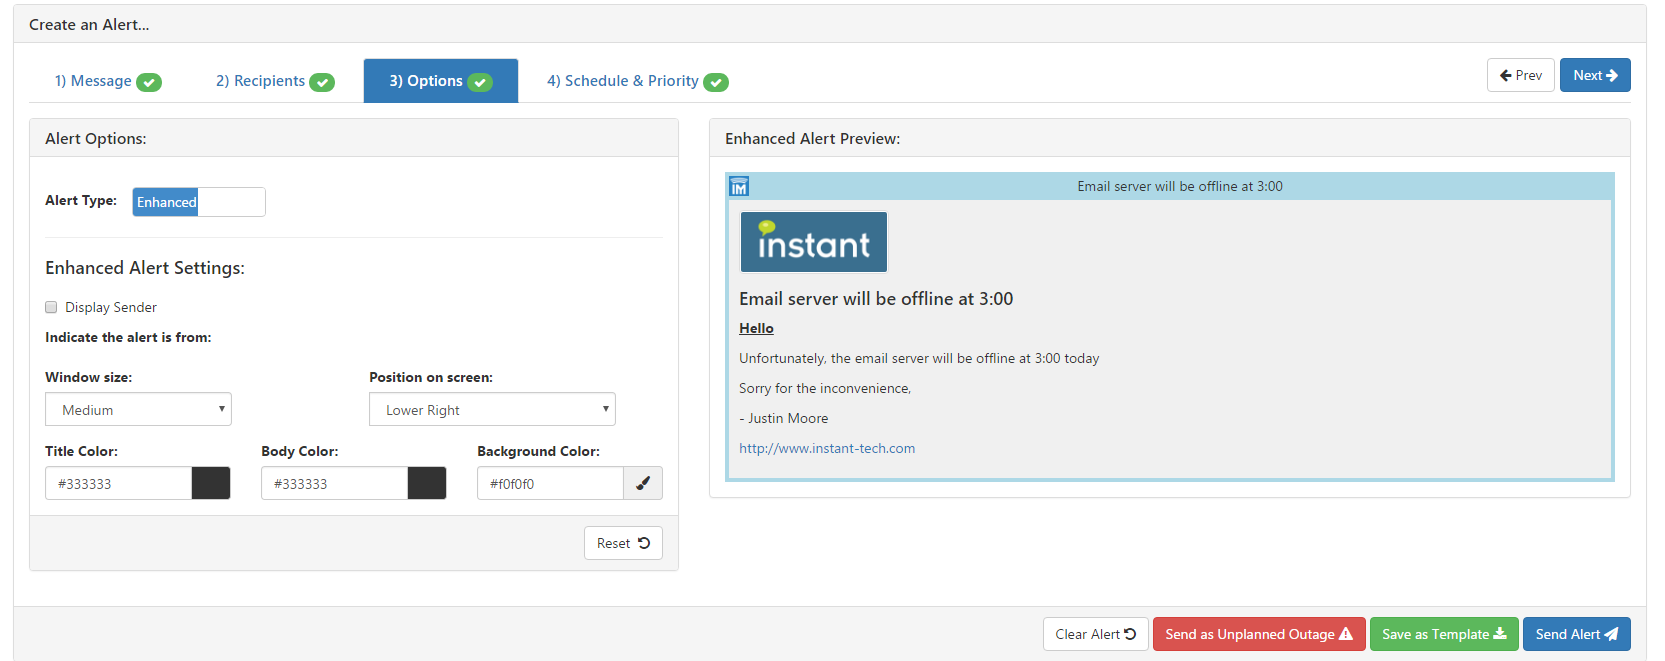
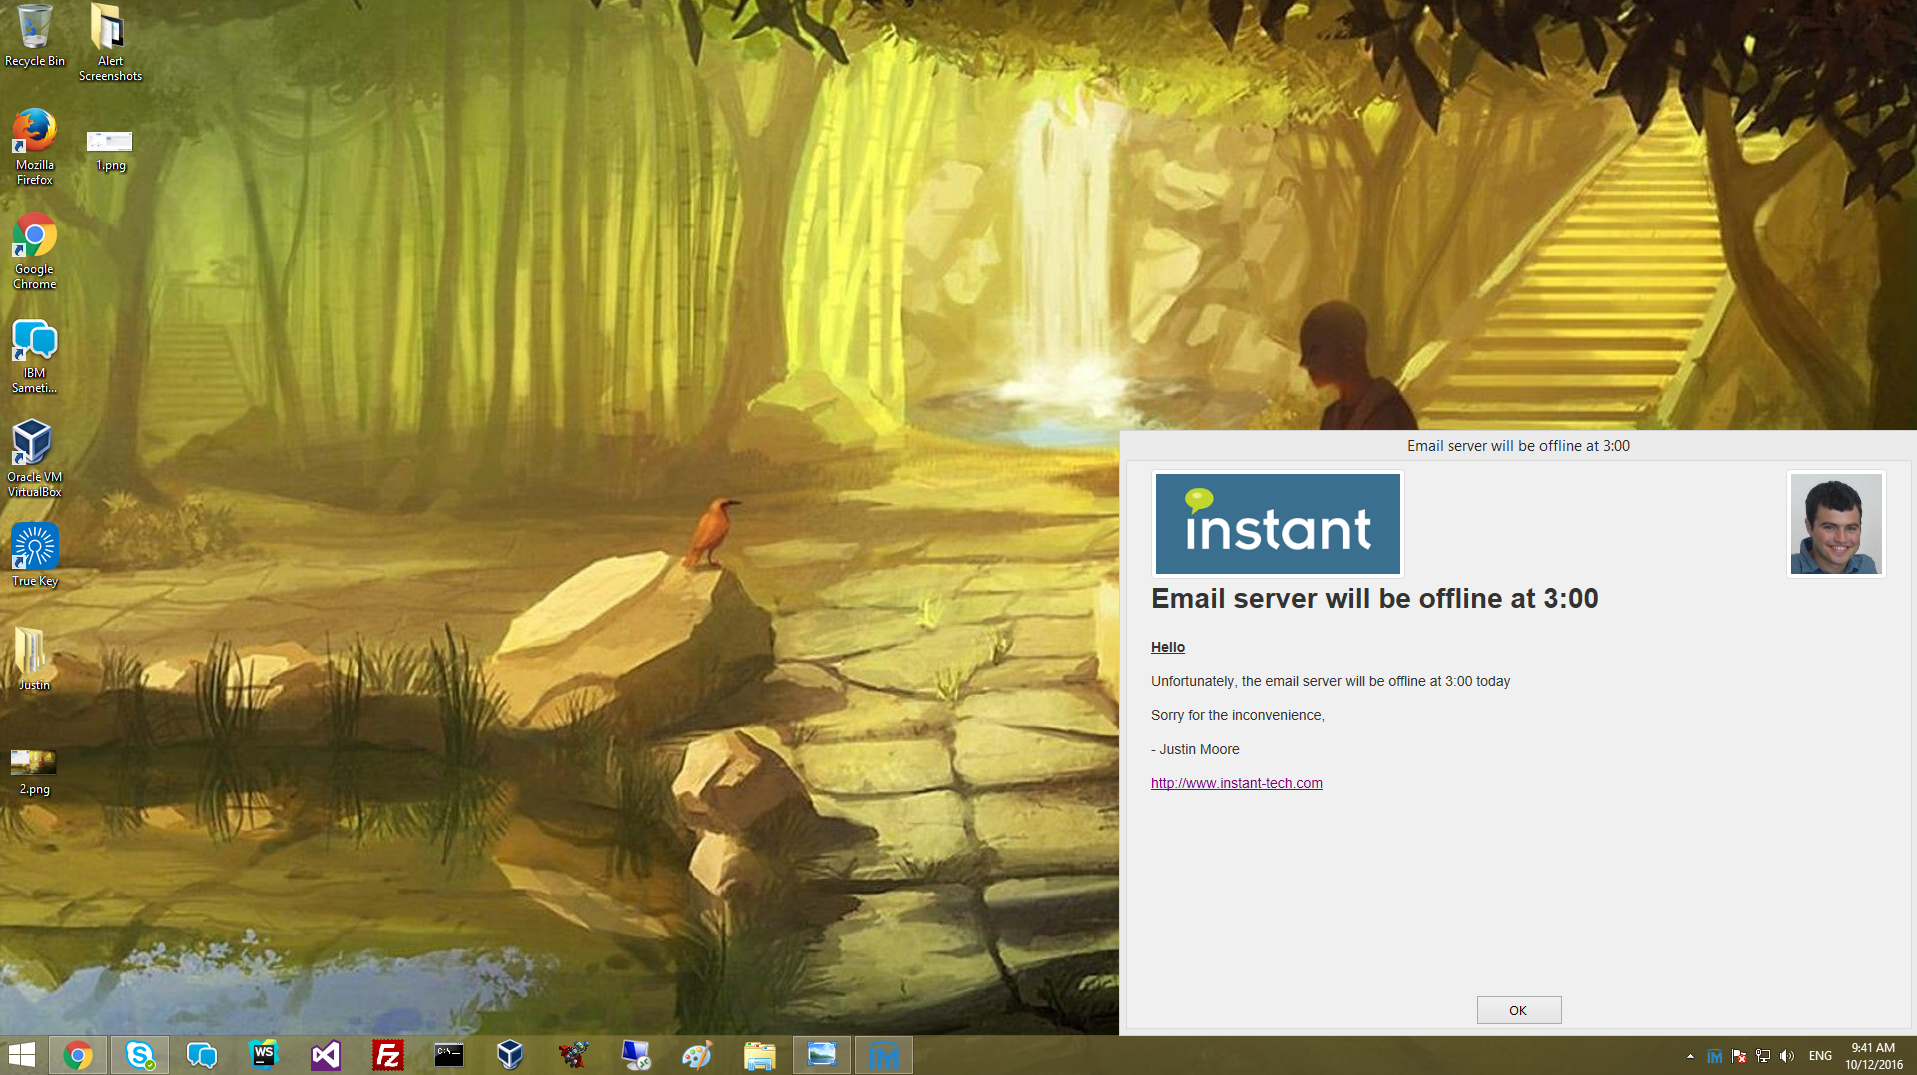
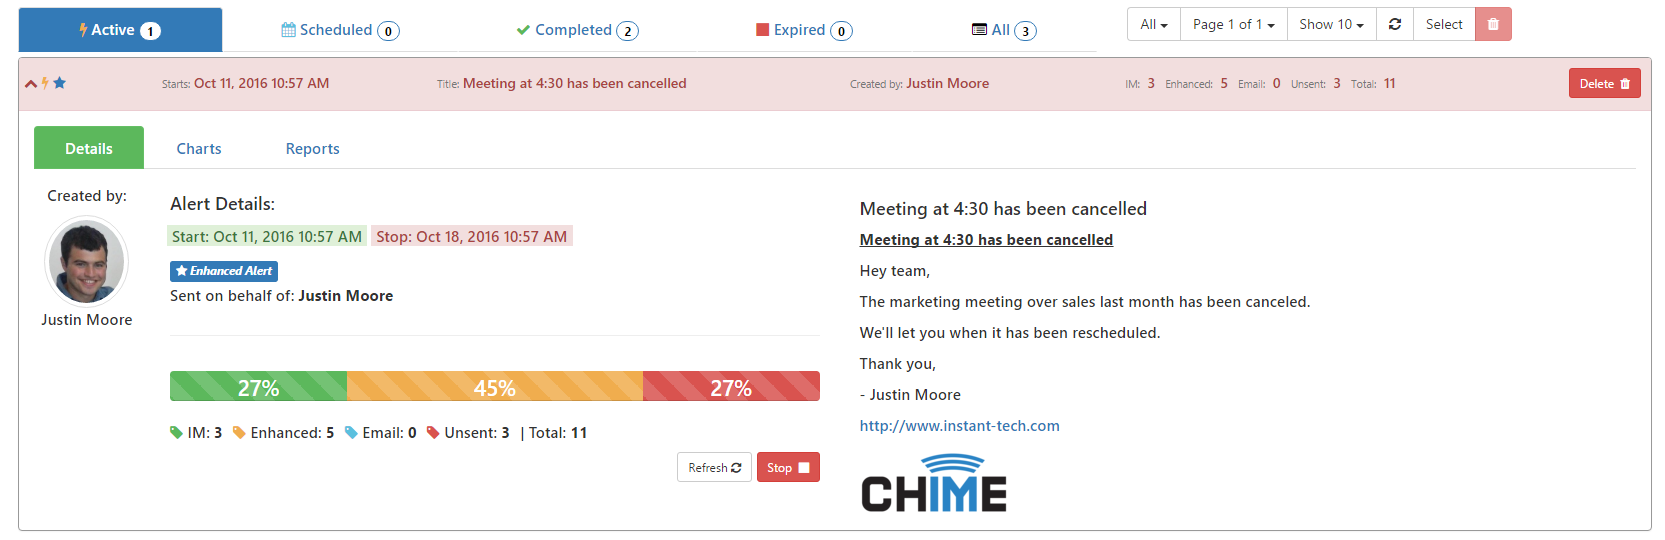
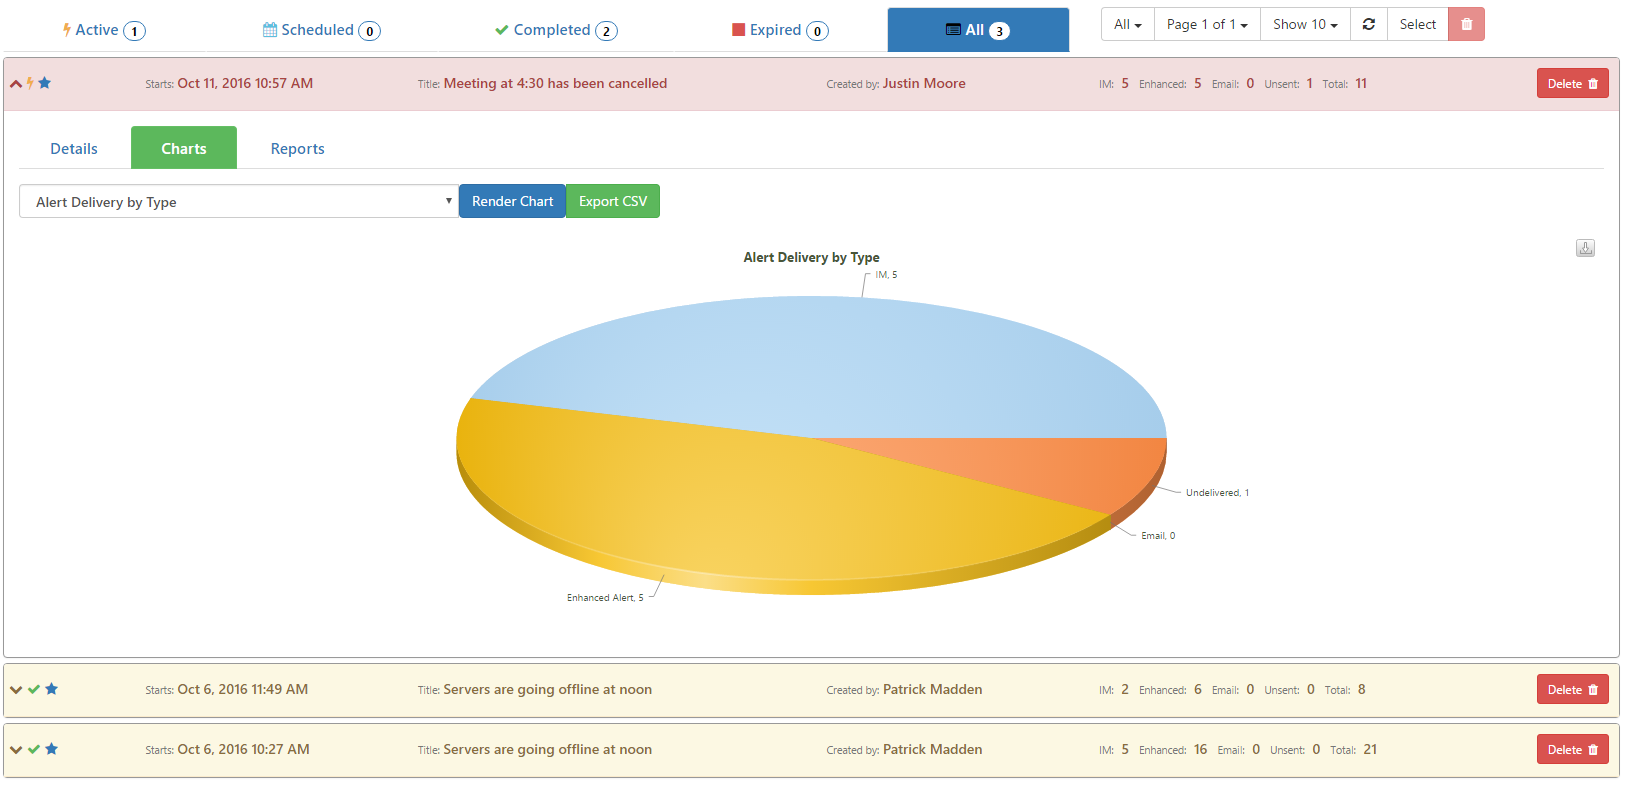
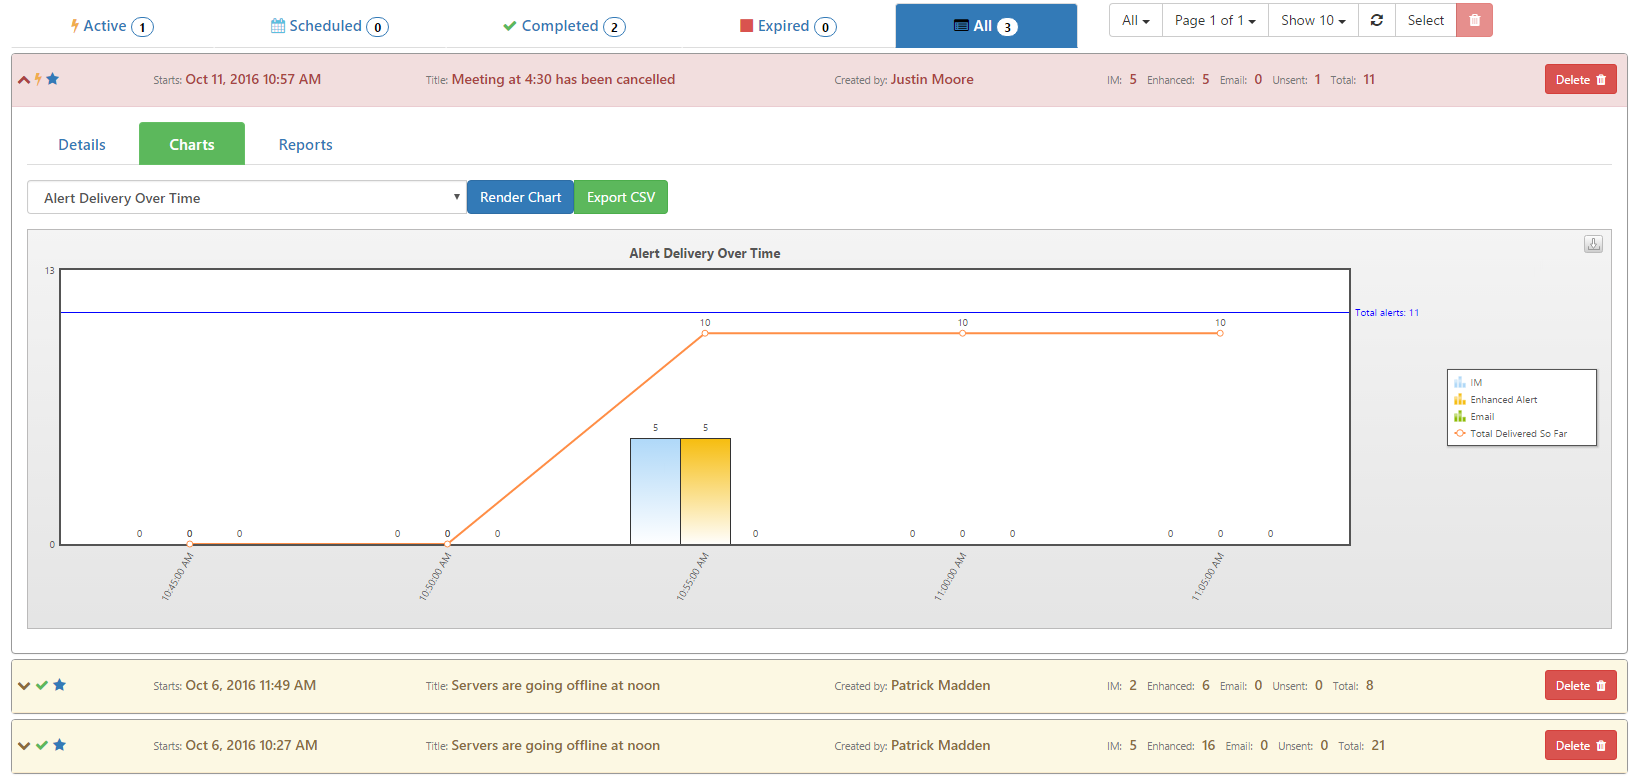
Option 2: Chime as an Alerting Application (~1 hour)
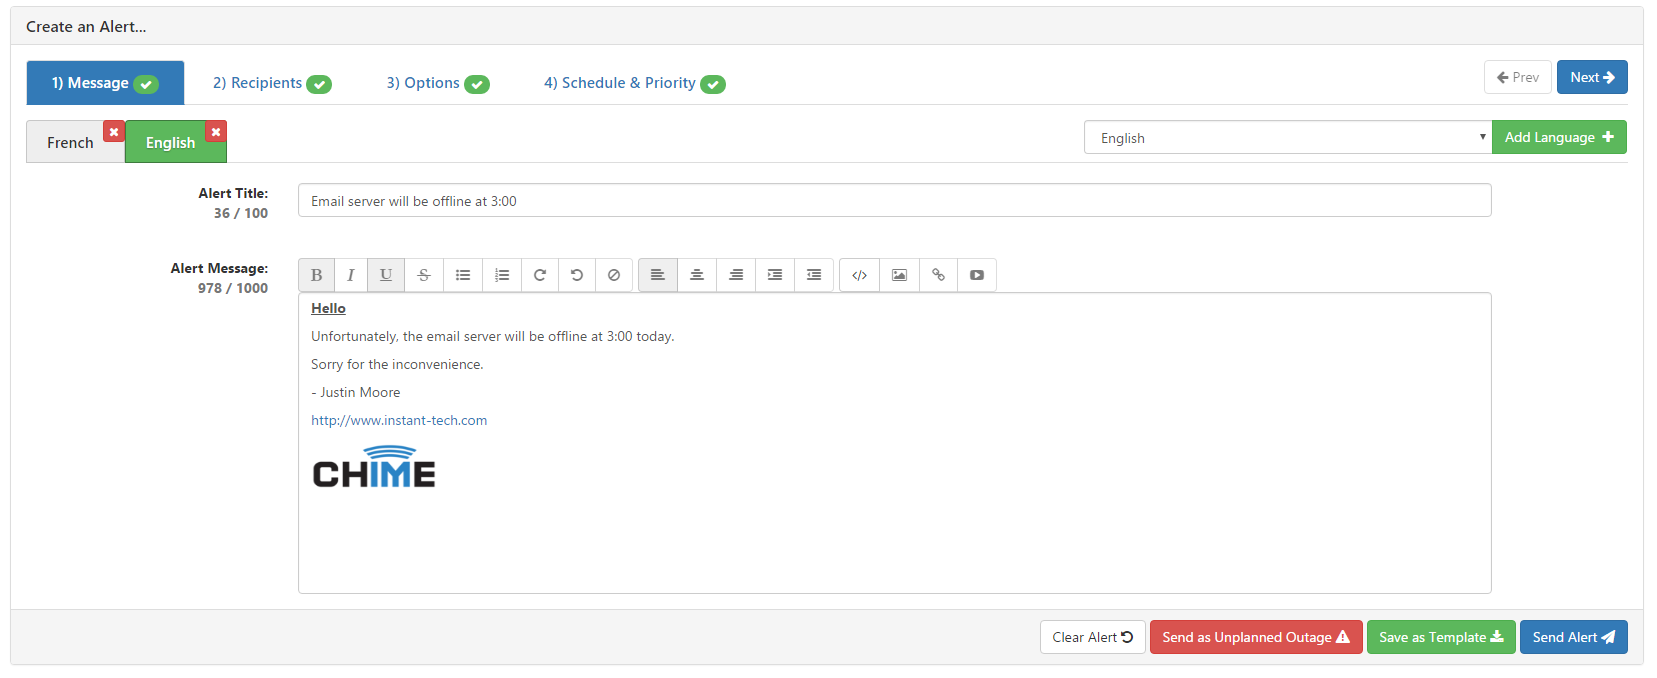
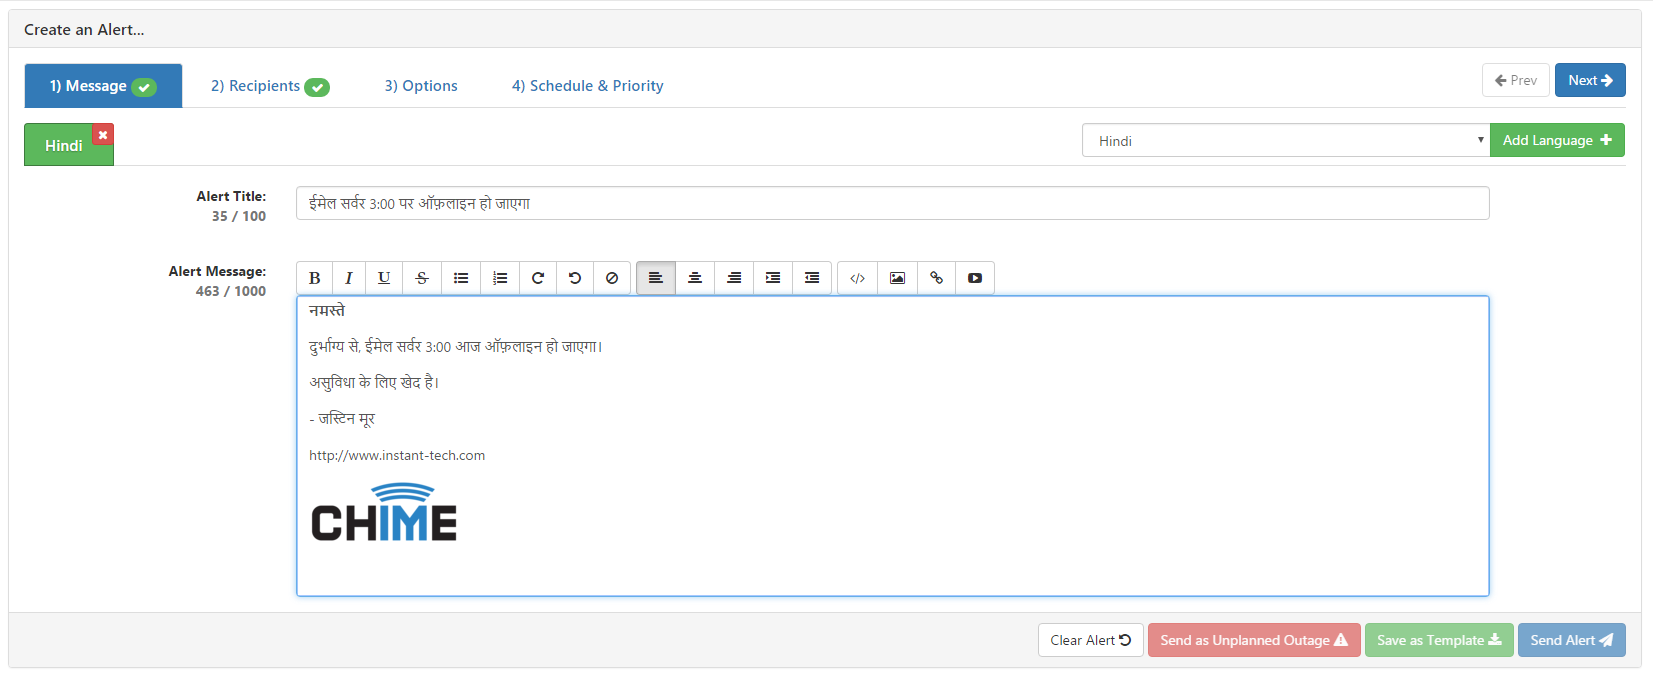
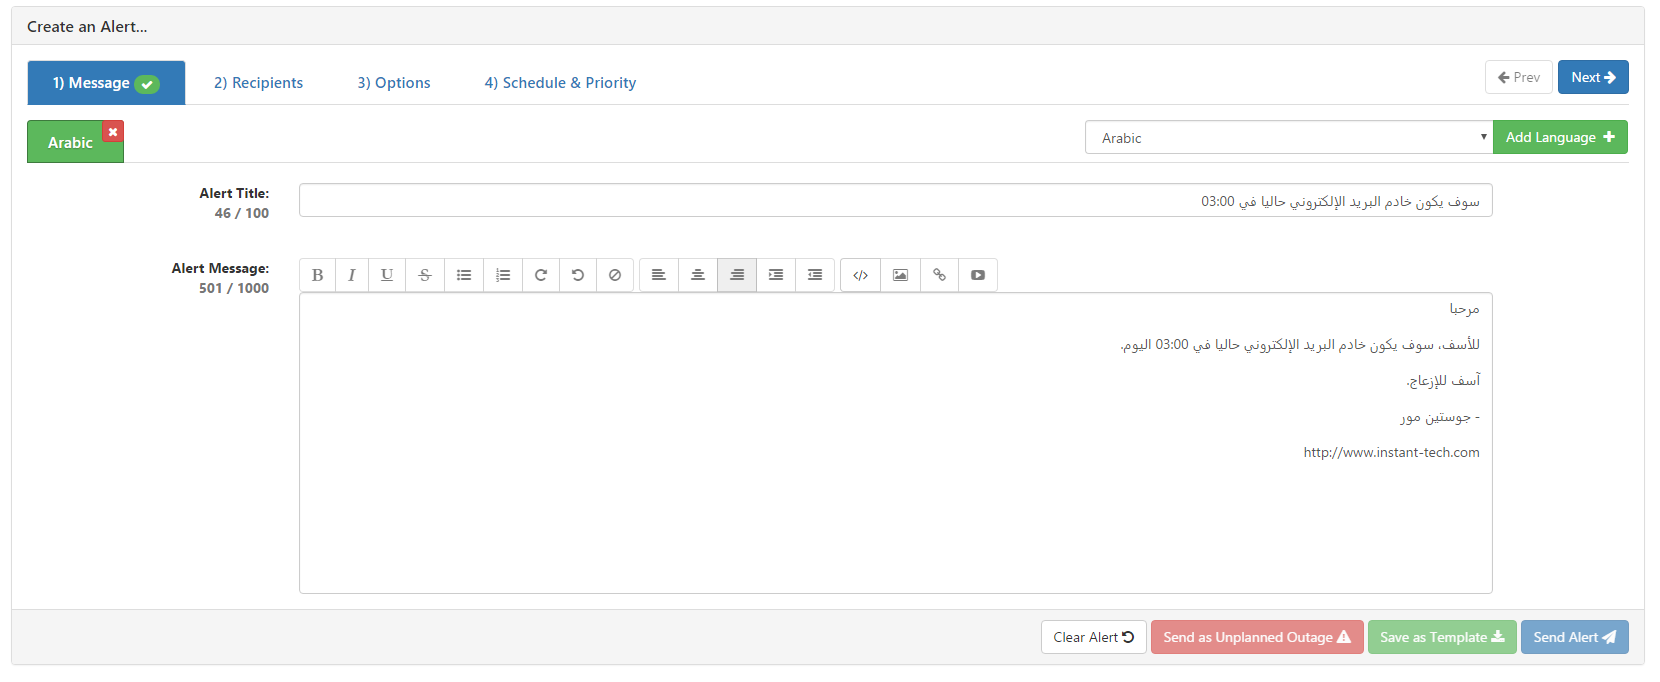
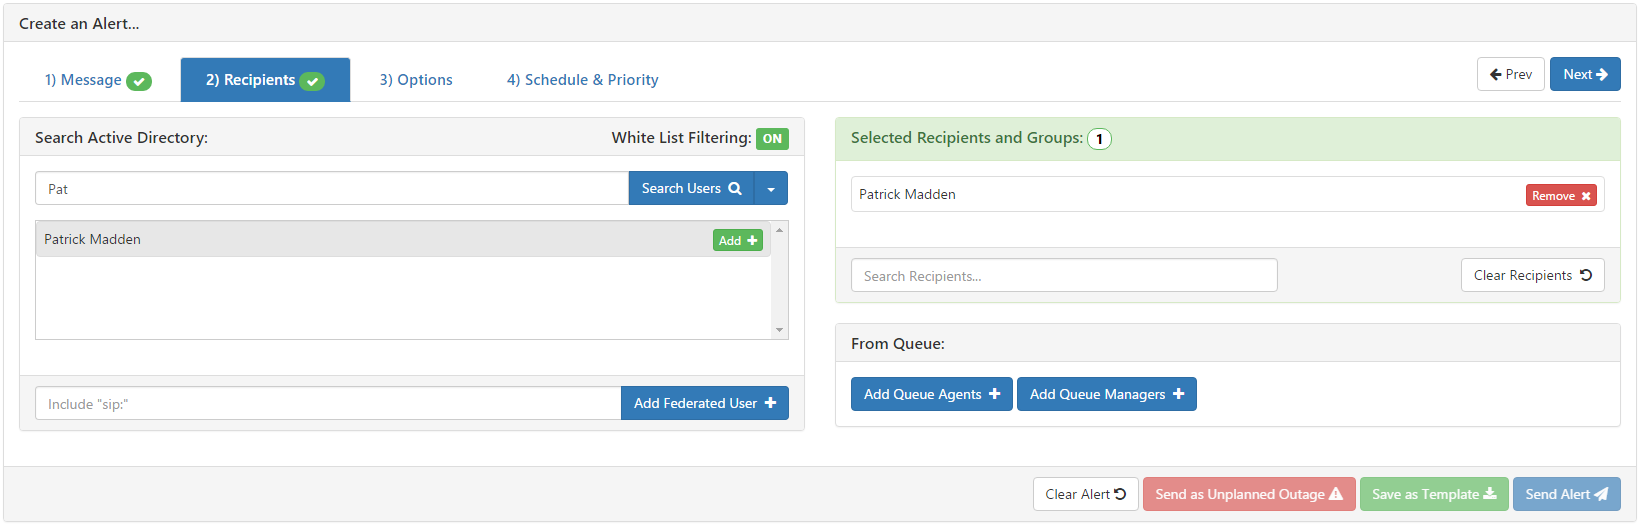
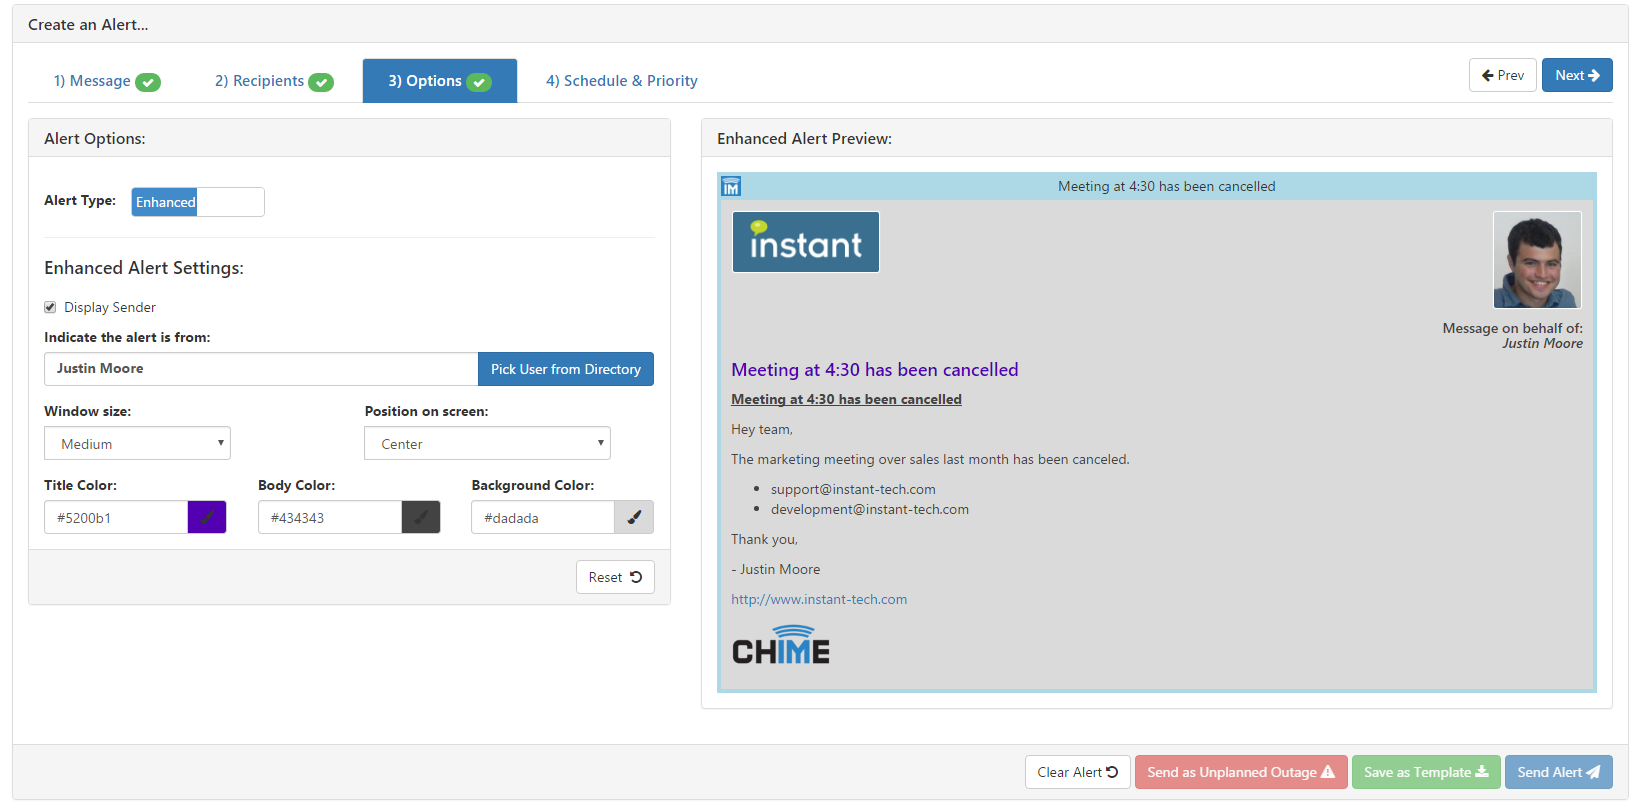
The Setup First Alert Queue Guide will walk you through how to get Chime ready to be used as an alerting application.
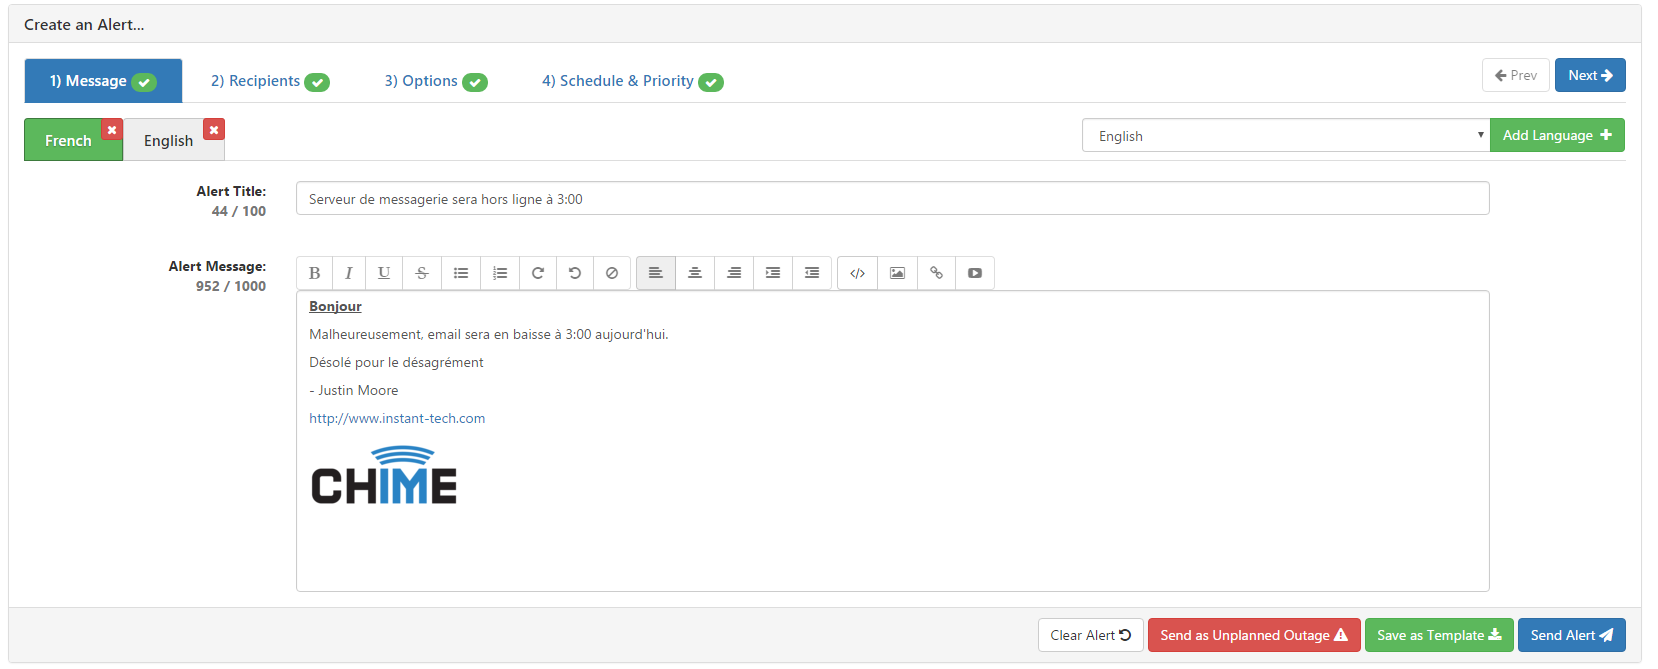
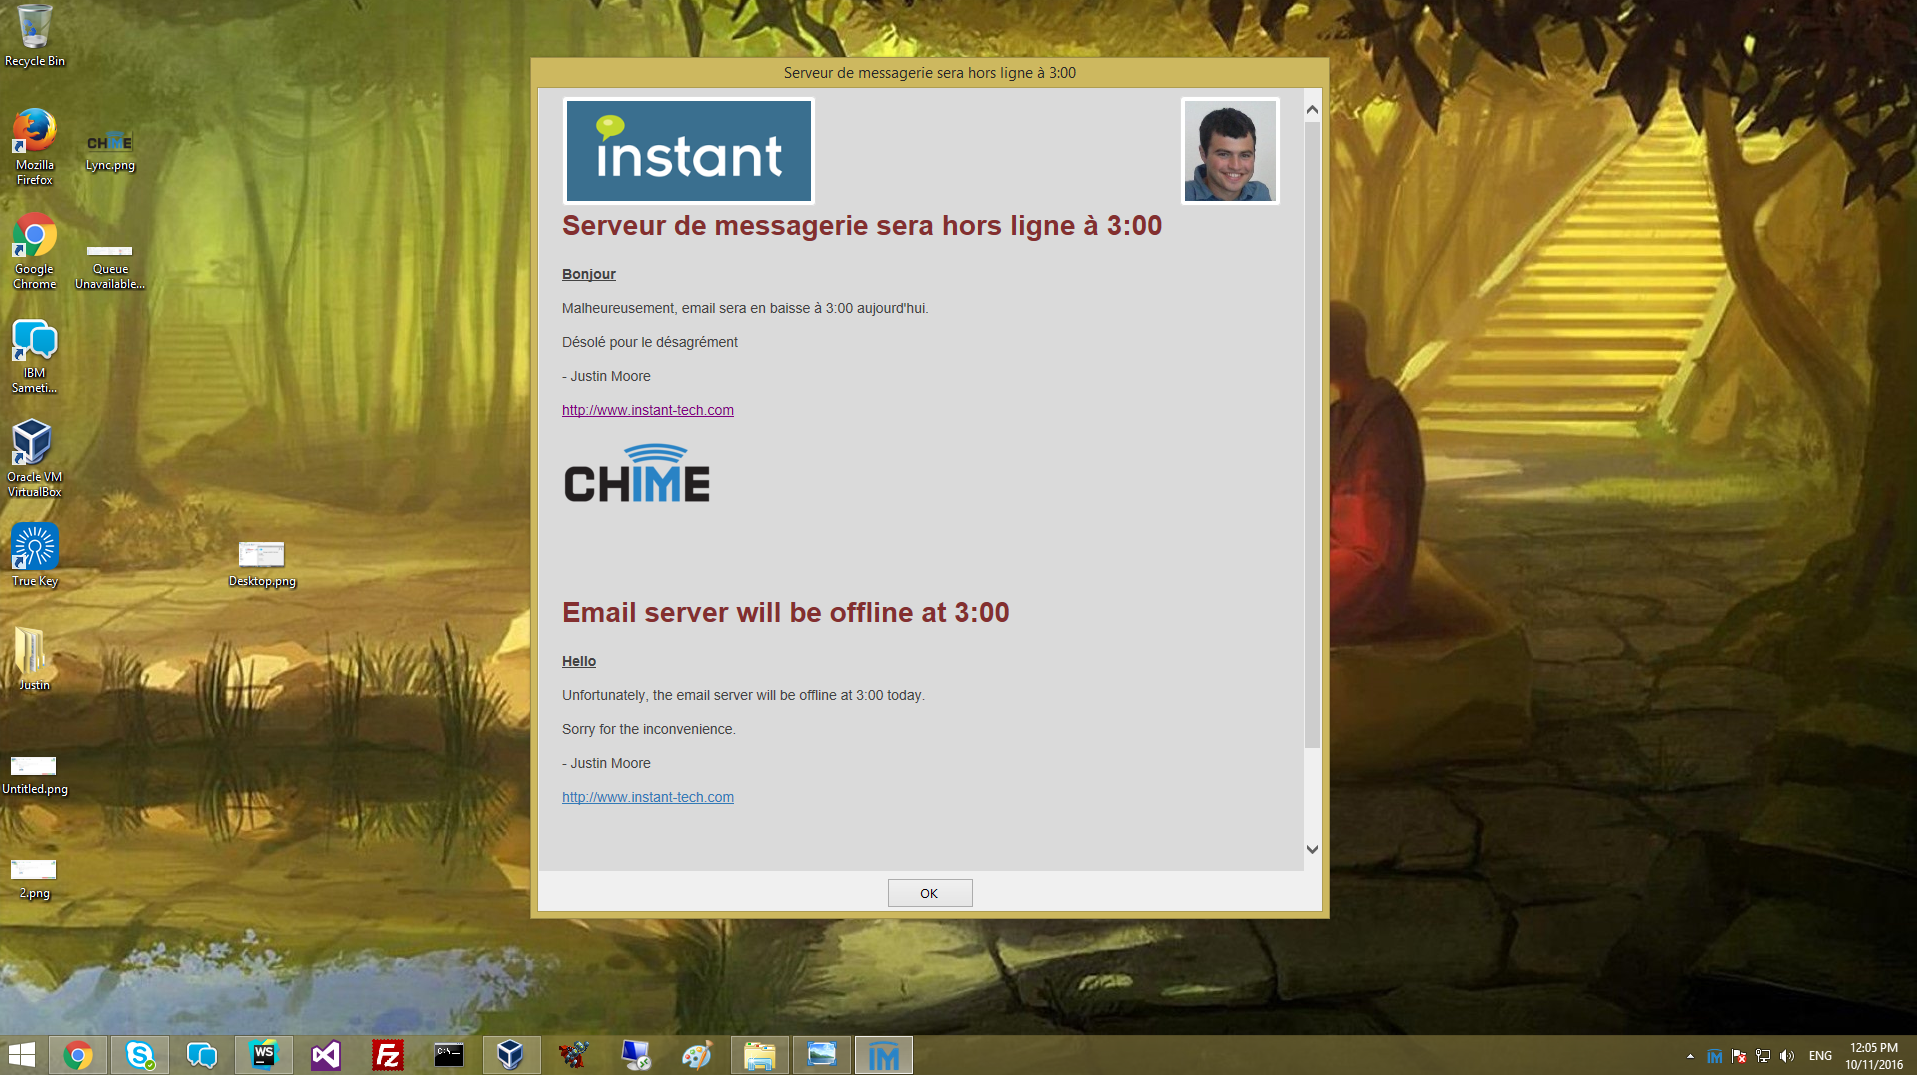
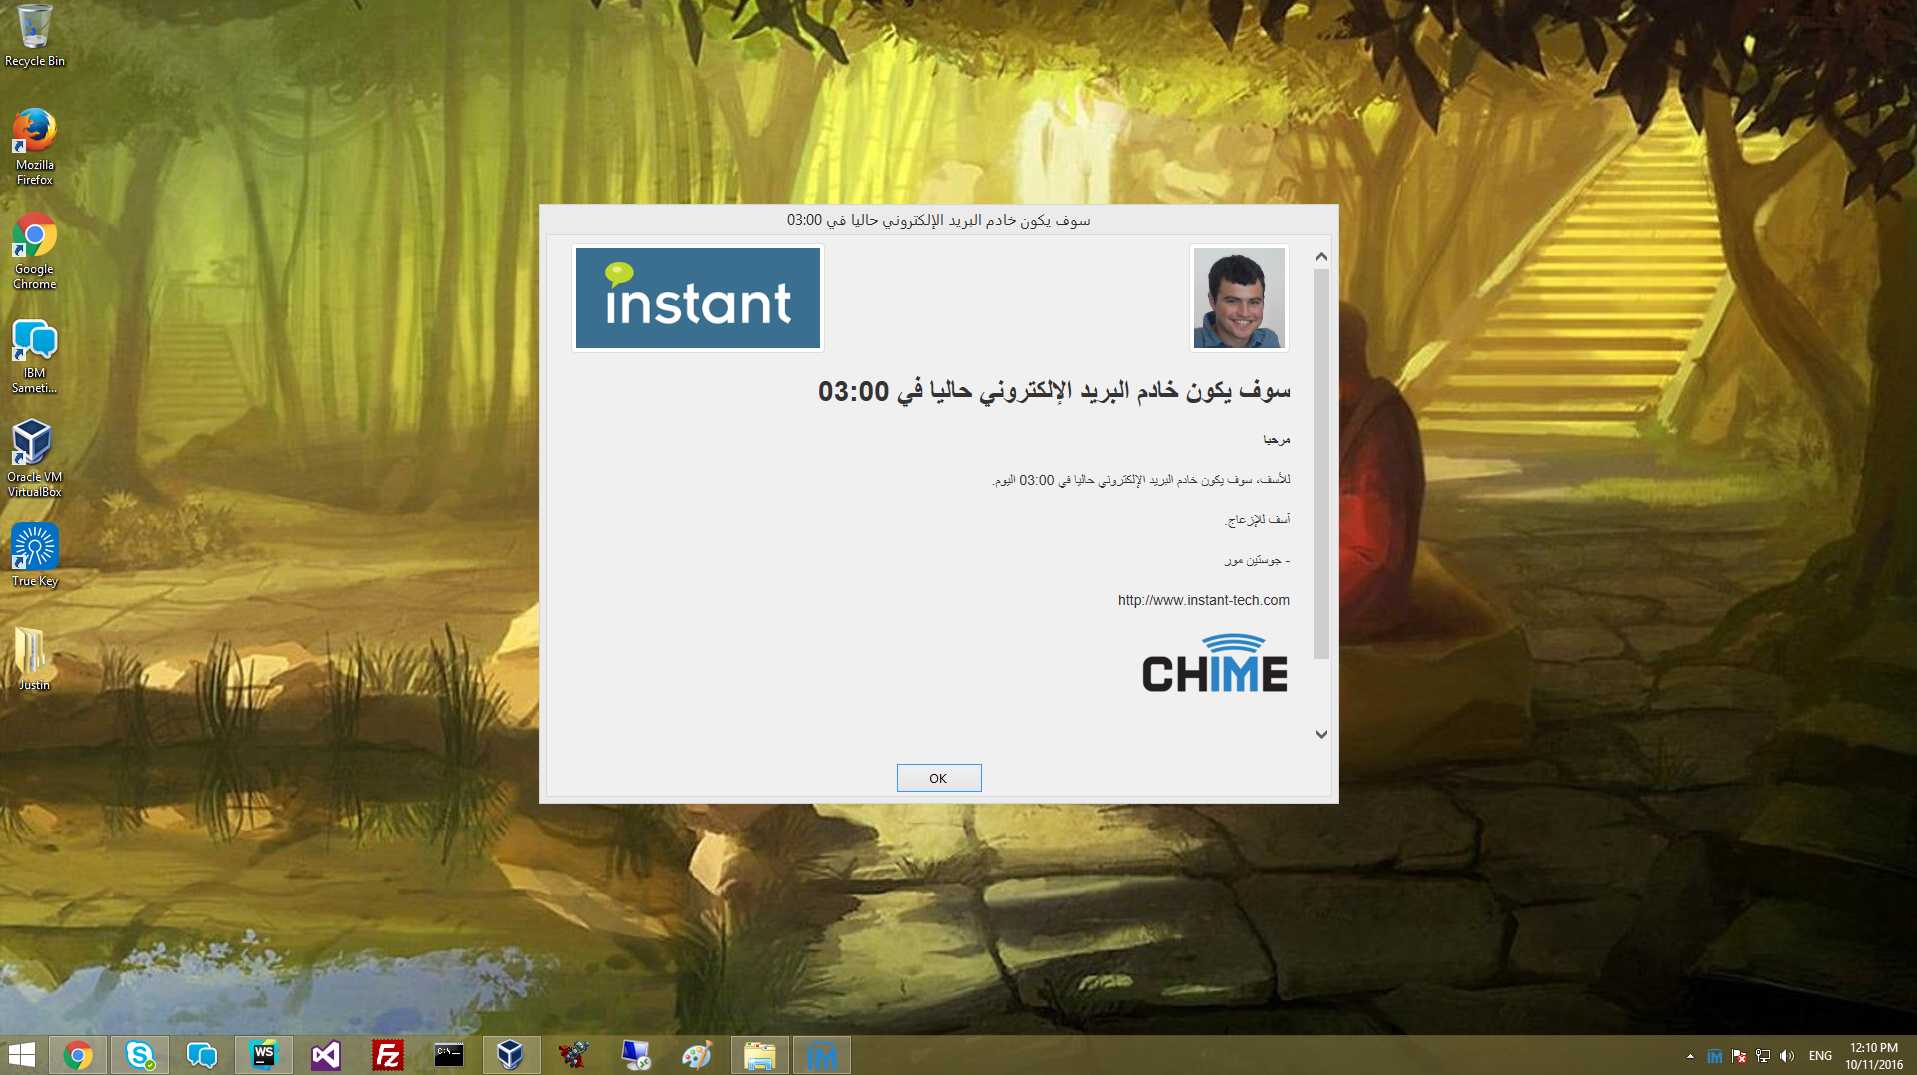
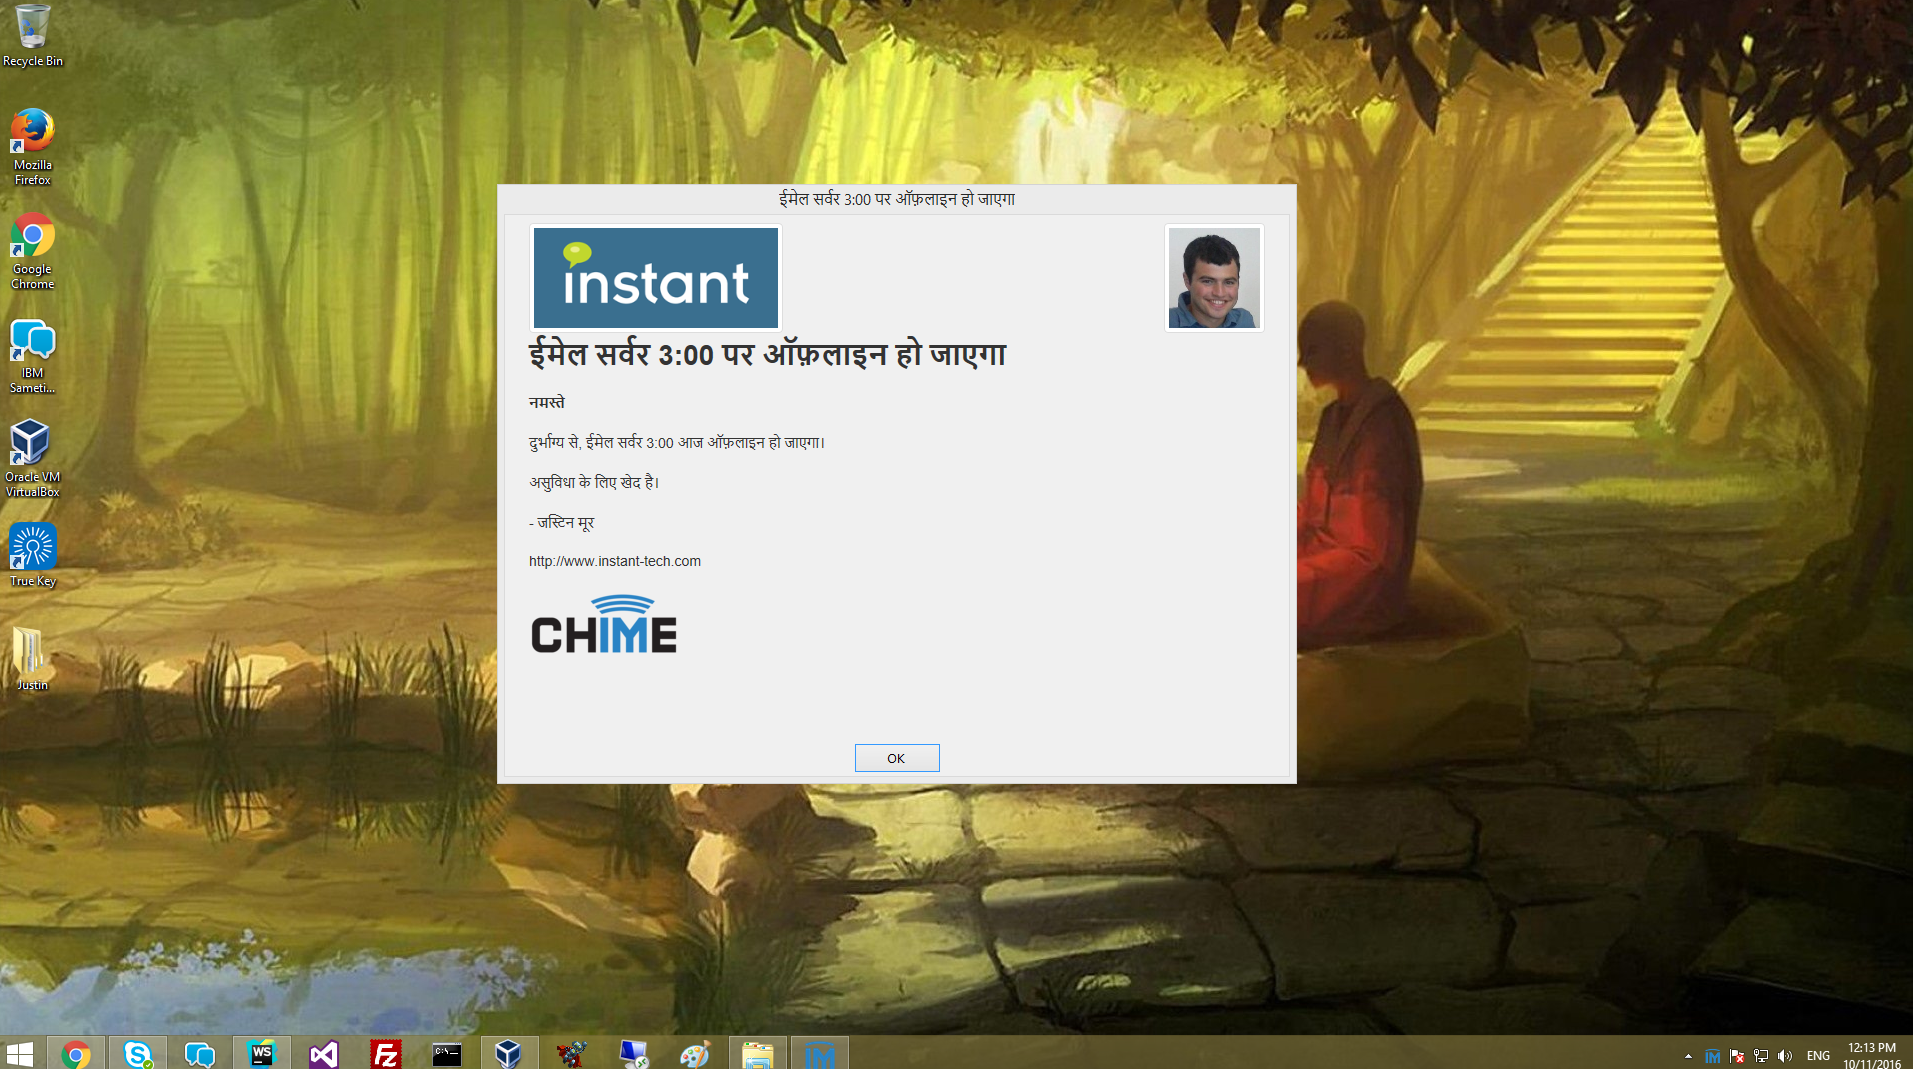
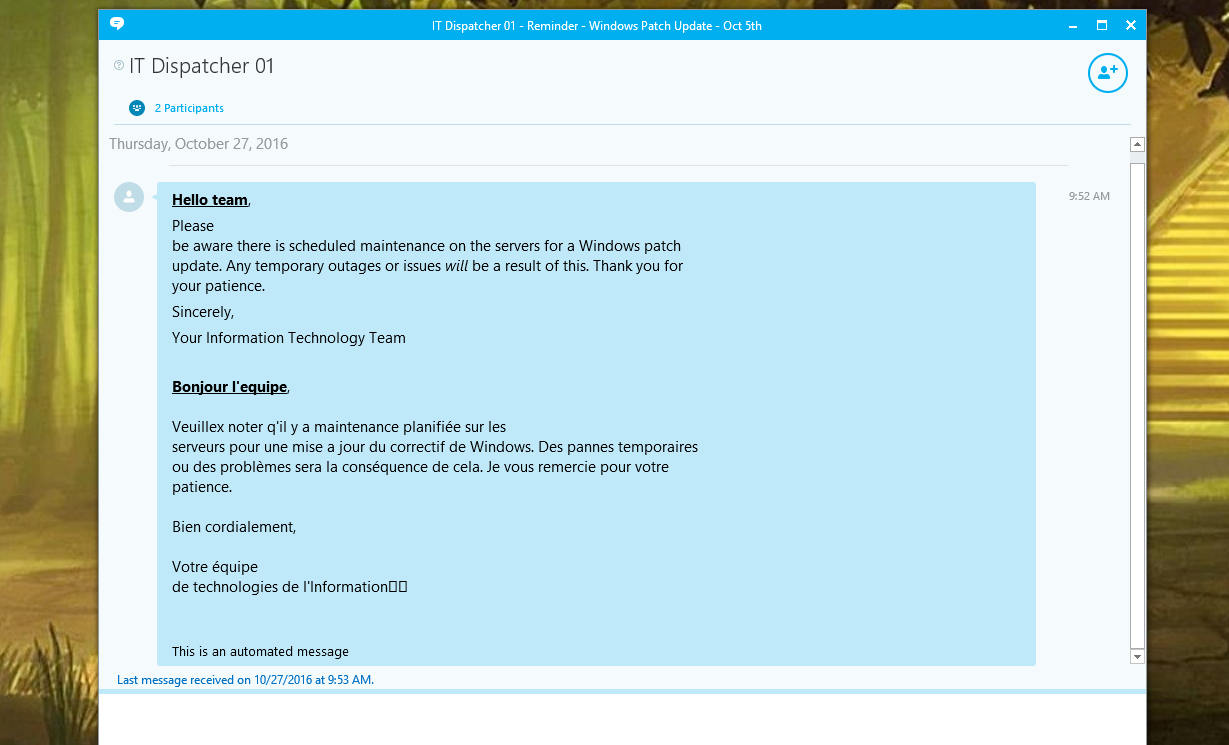
To learn more about Enterprise IM Alerts, visit the Chime Alerts page.
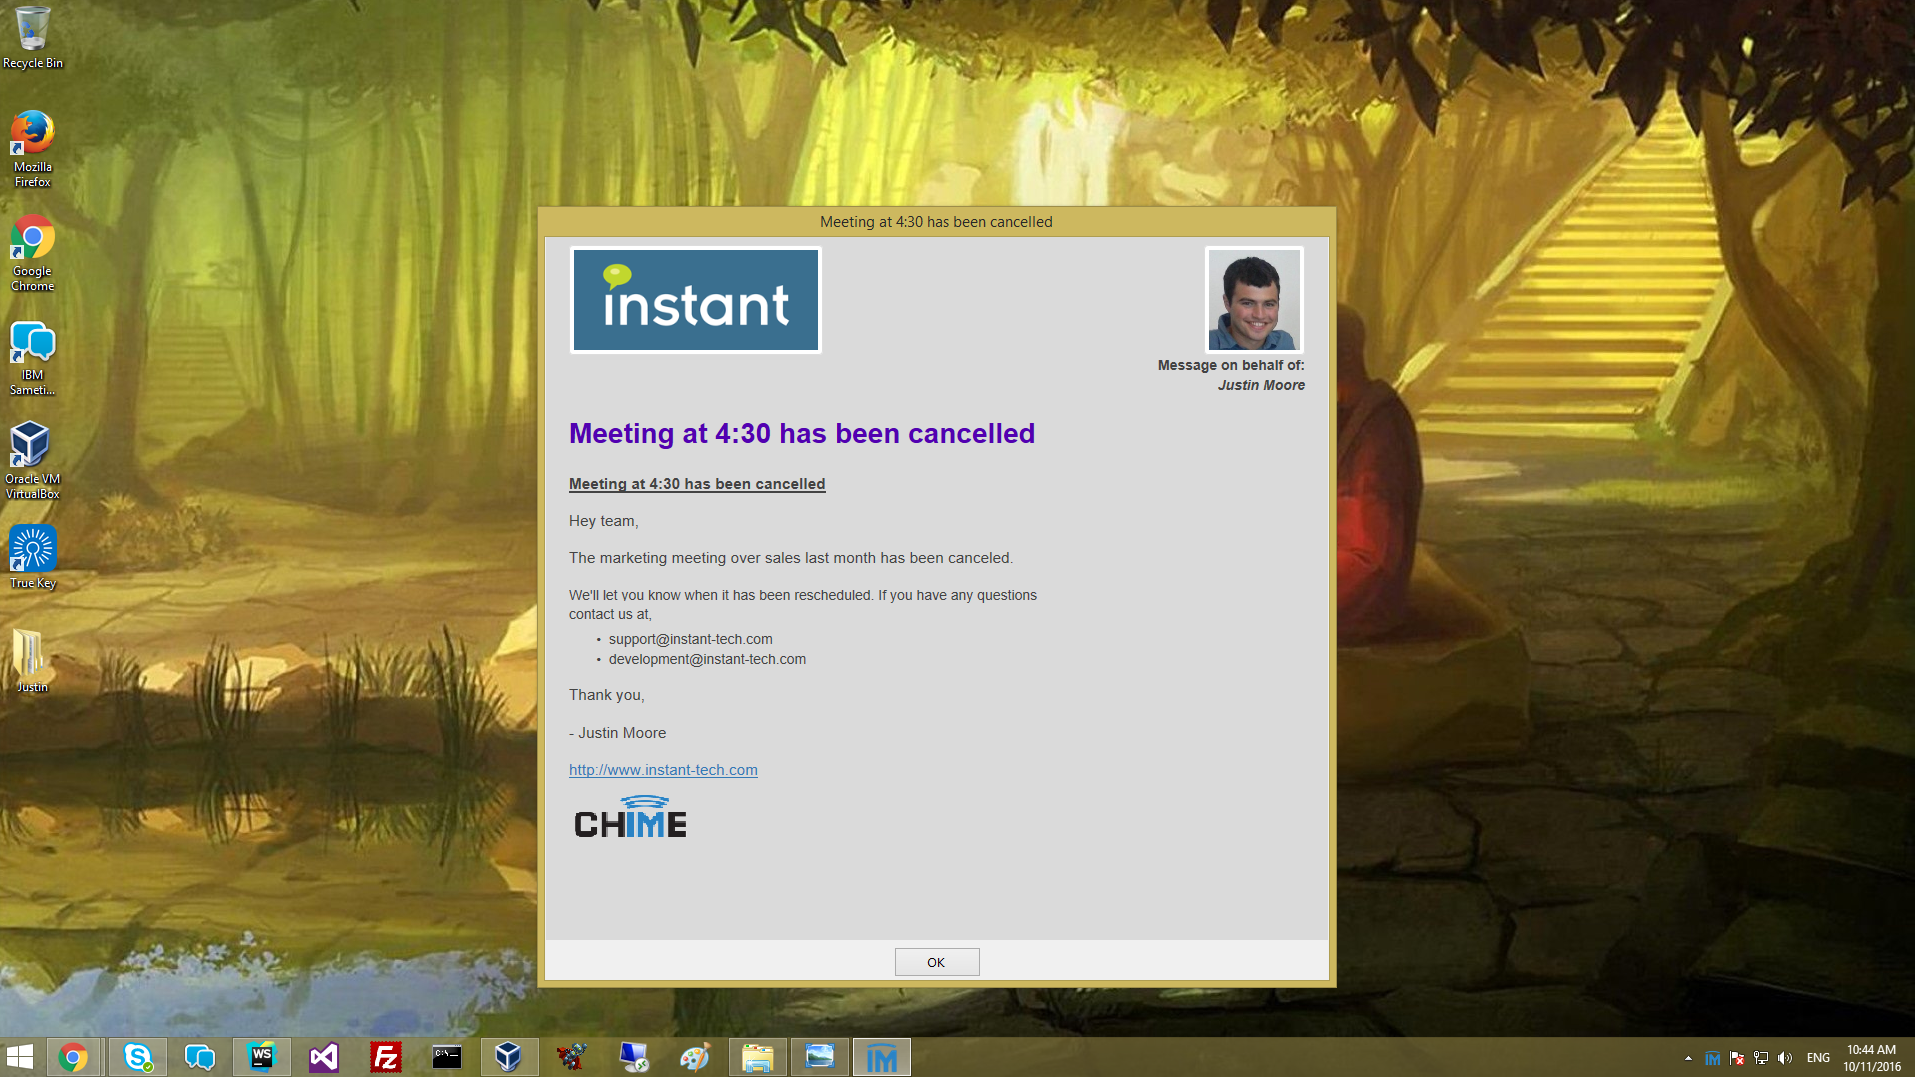
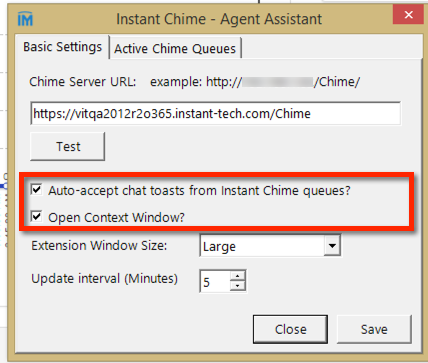
The Chime Alert Assistant is a plugin for showing enhanced alerts on a user's desktop. To download the Chime Alert Assistant, visit the Chime Downloads page.
For common ways to stage out buttons and links to connect with your queue, visit the Deploying a Queue help page.

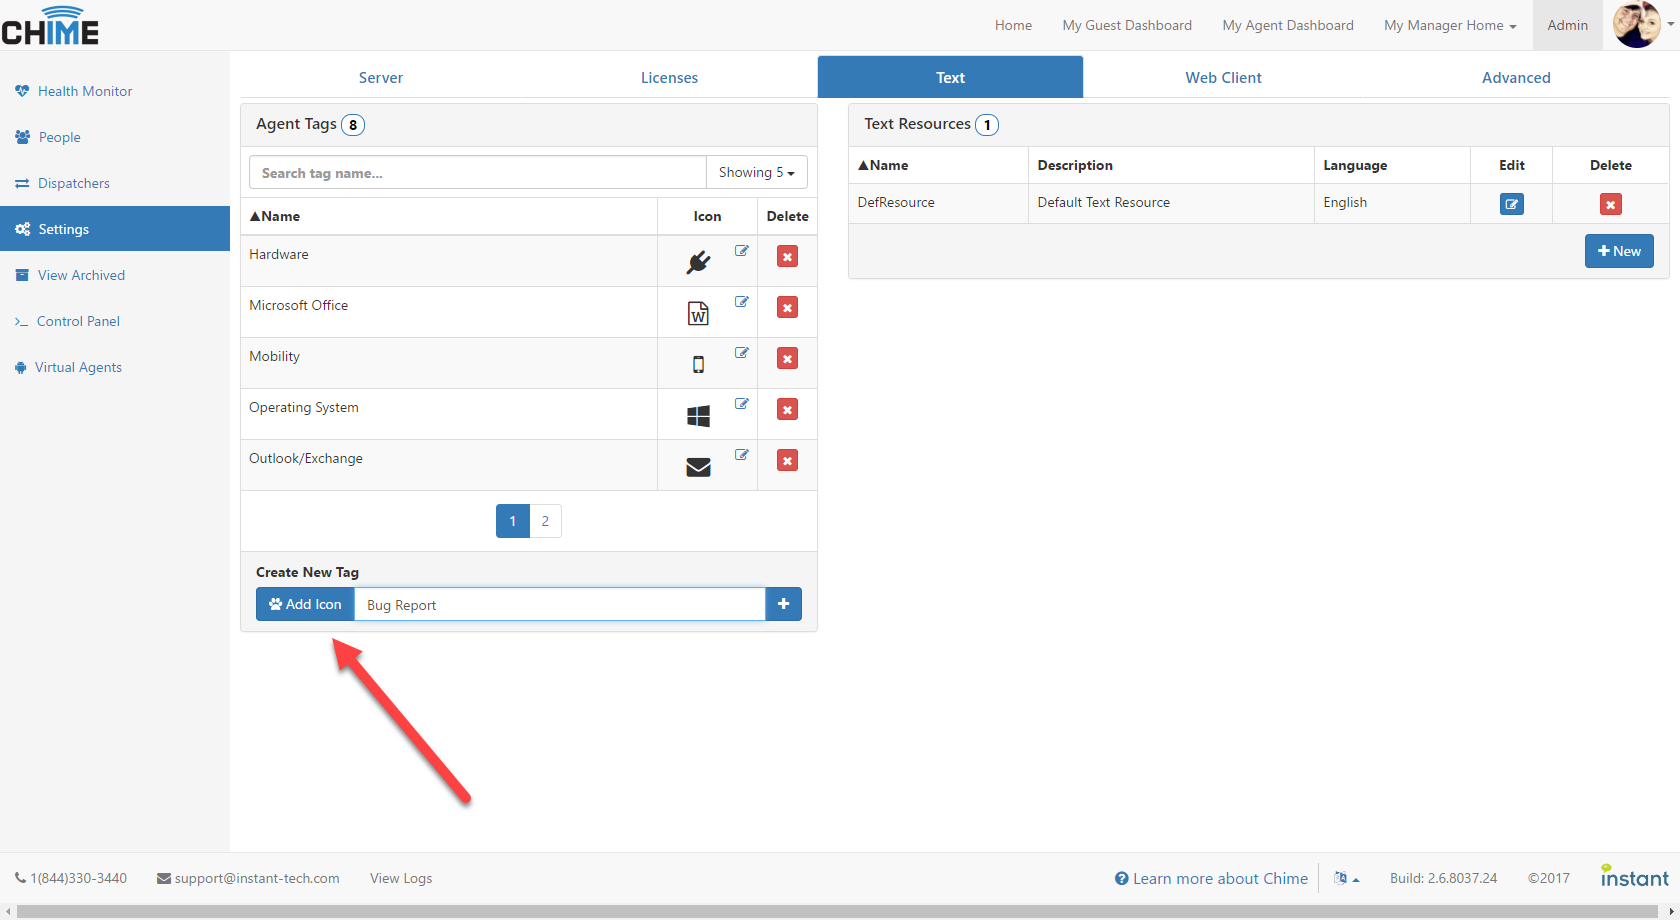
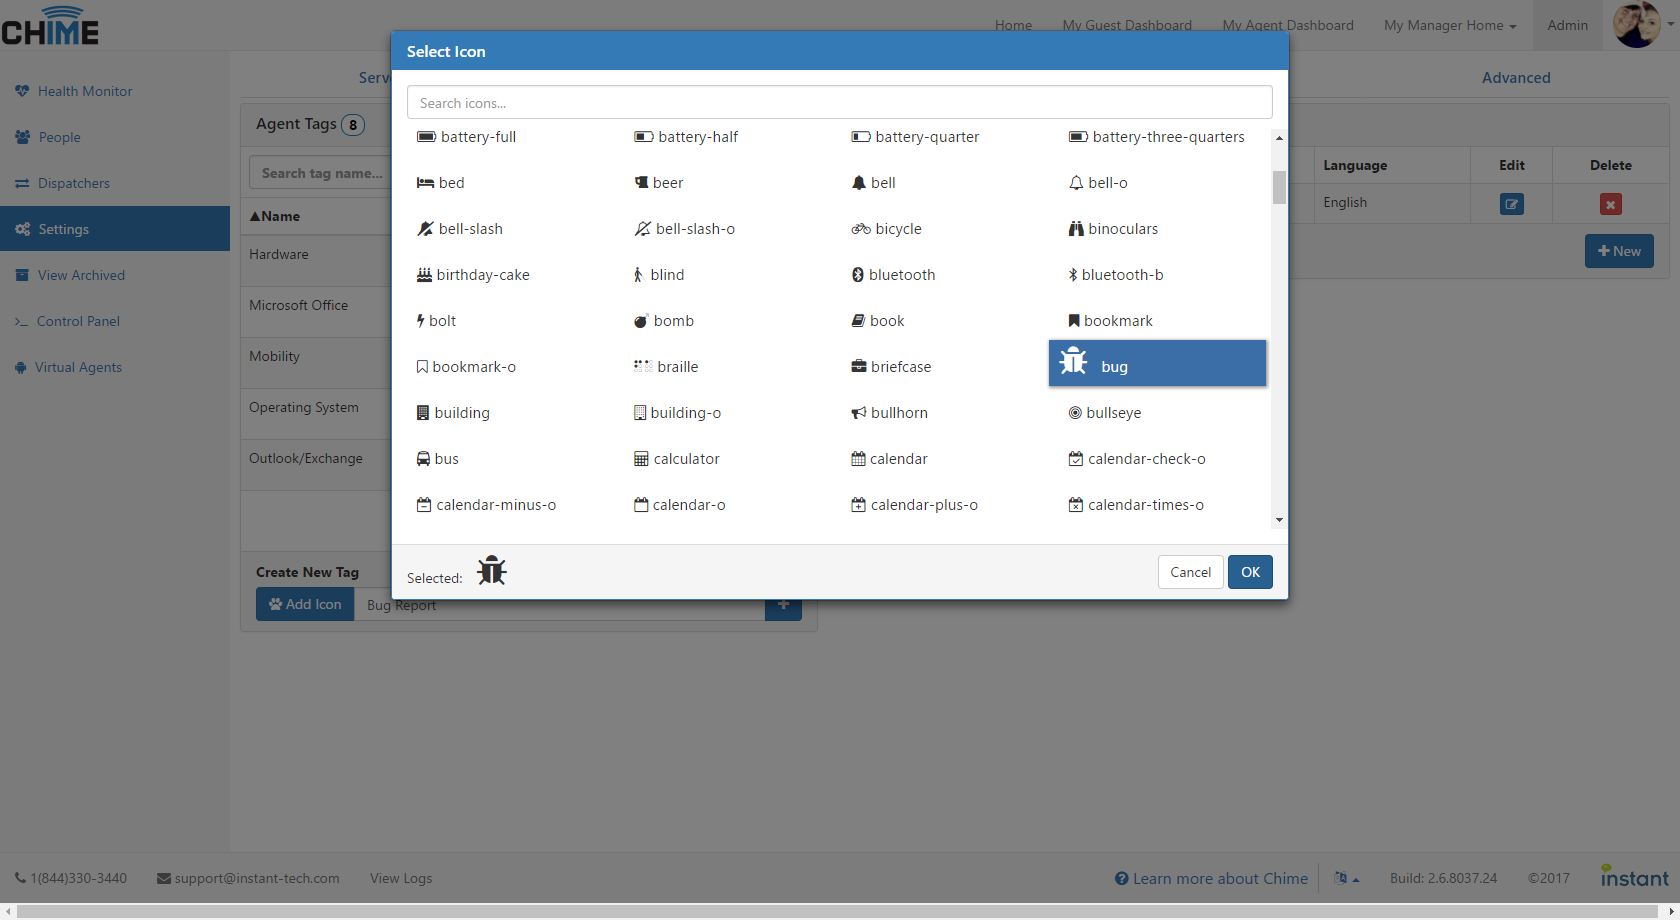
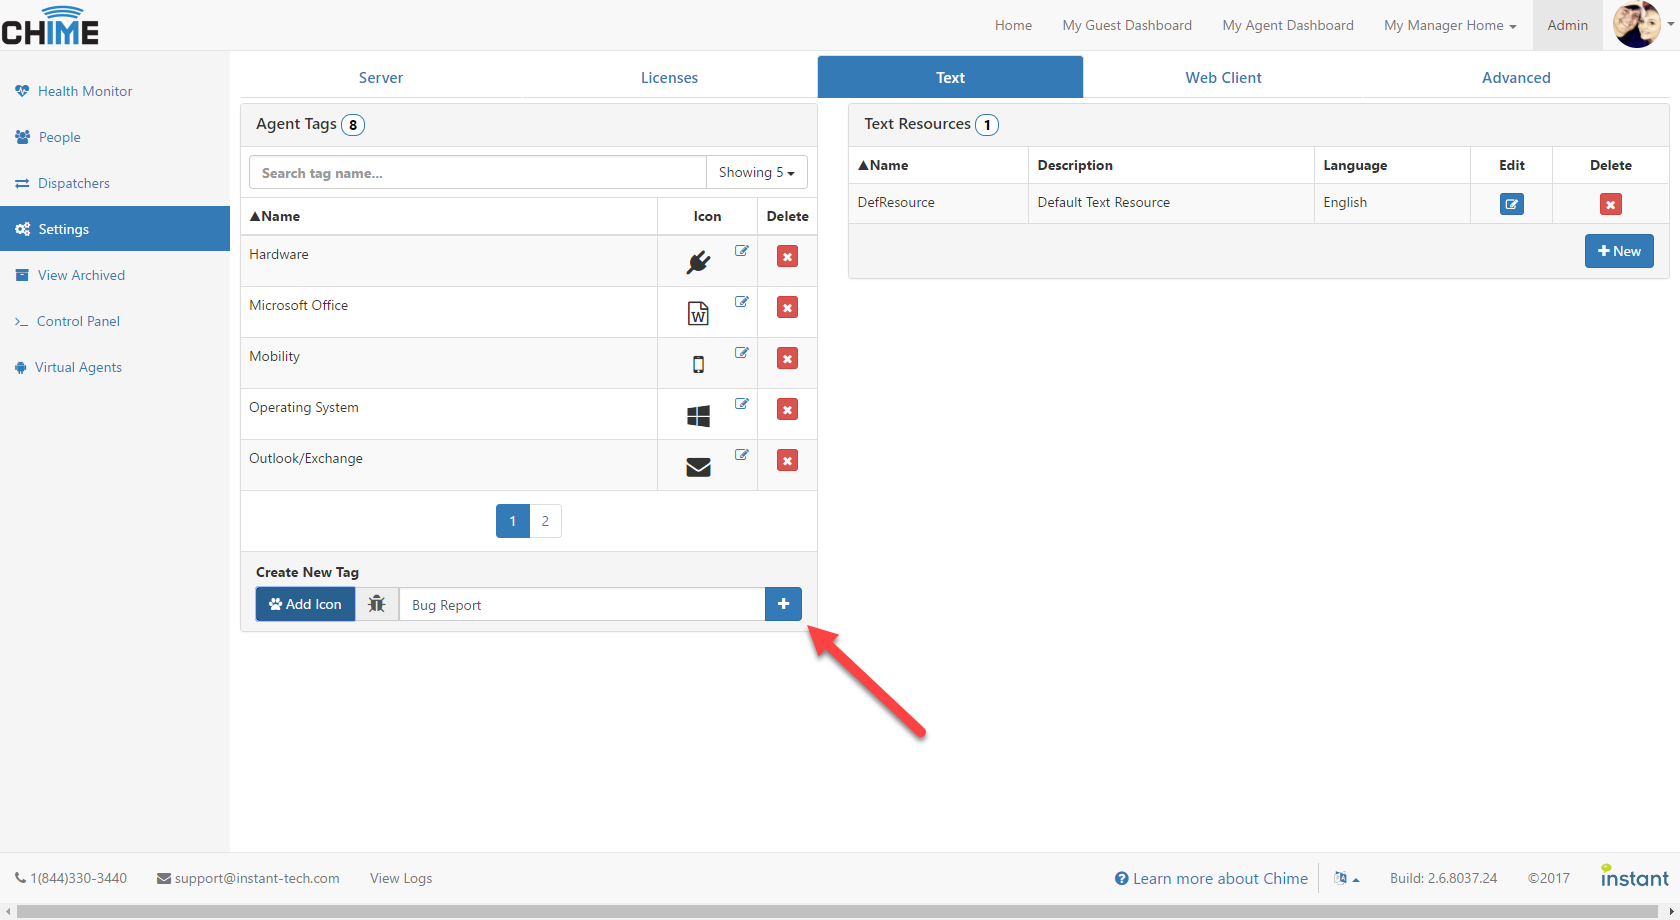
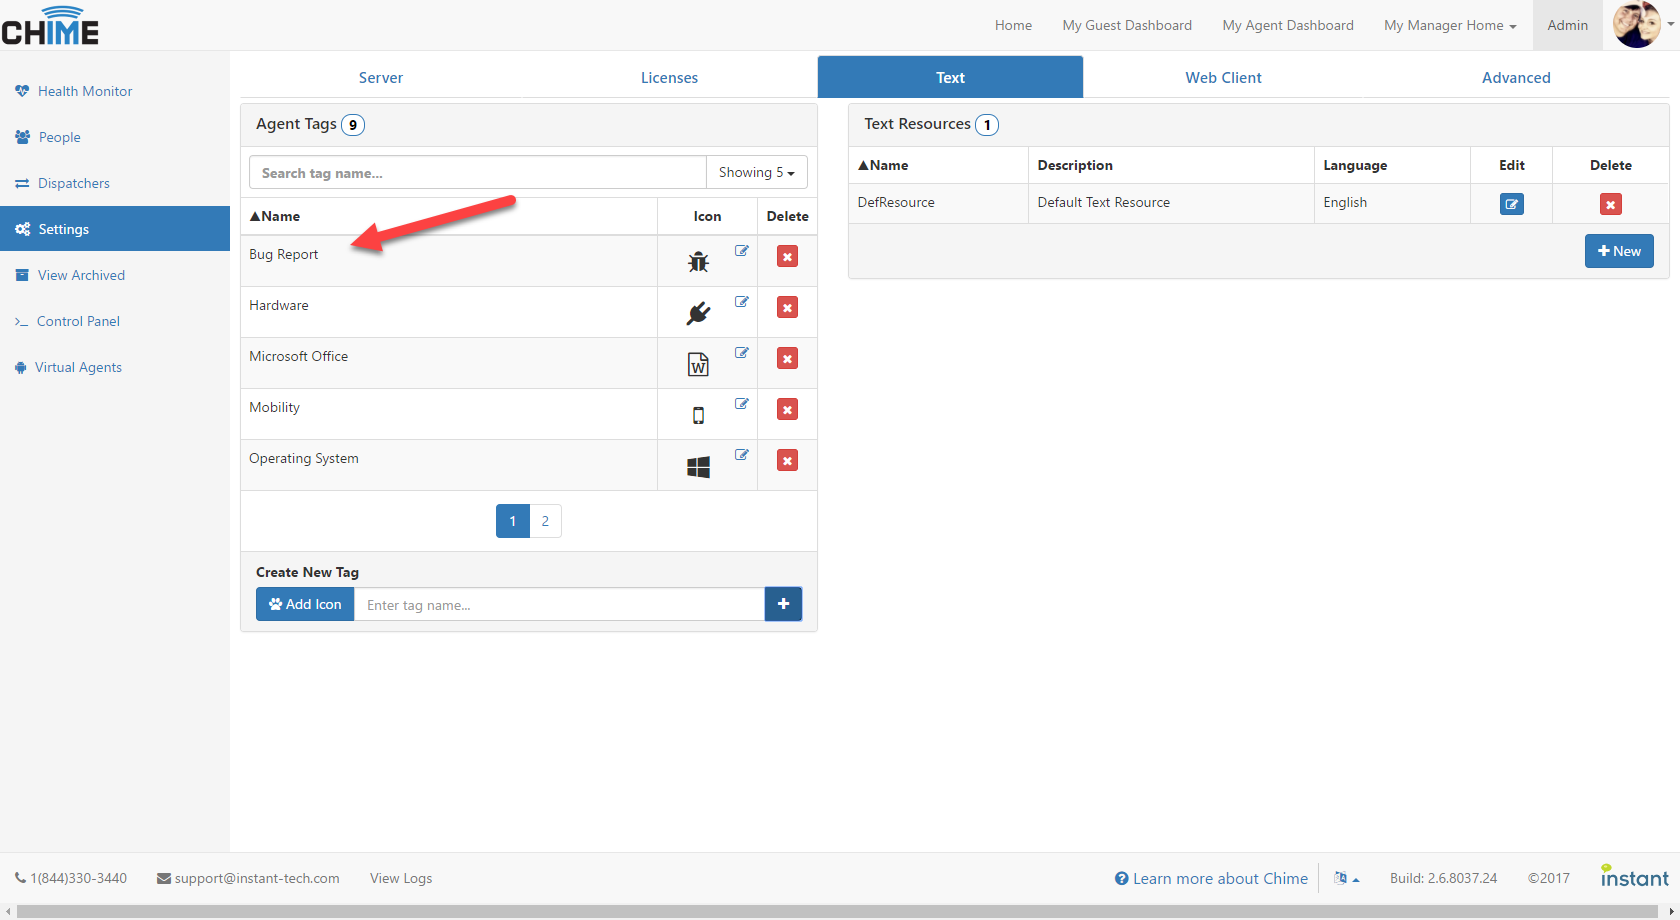
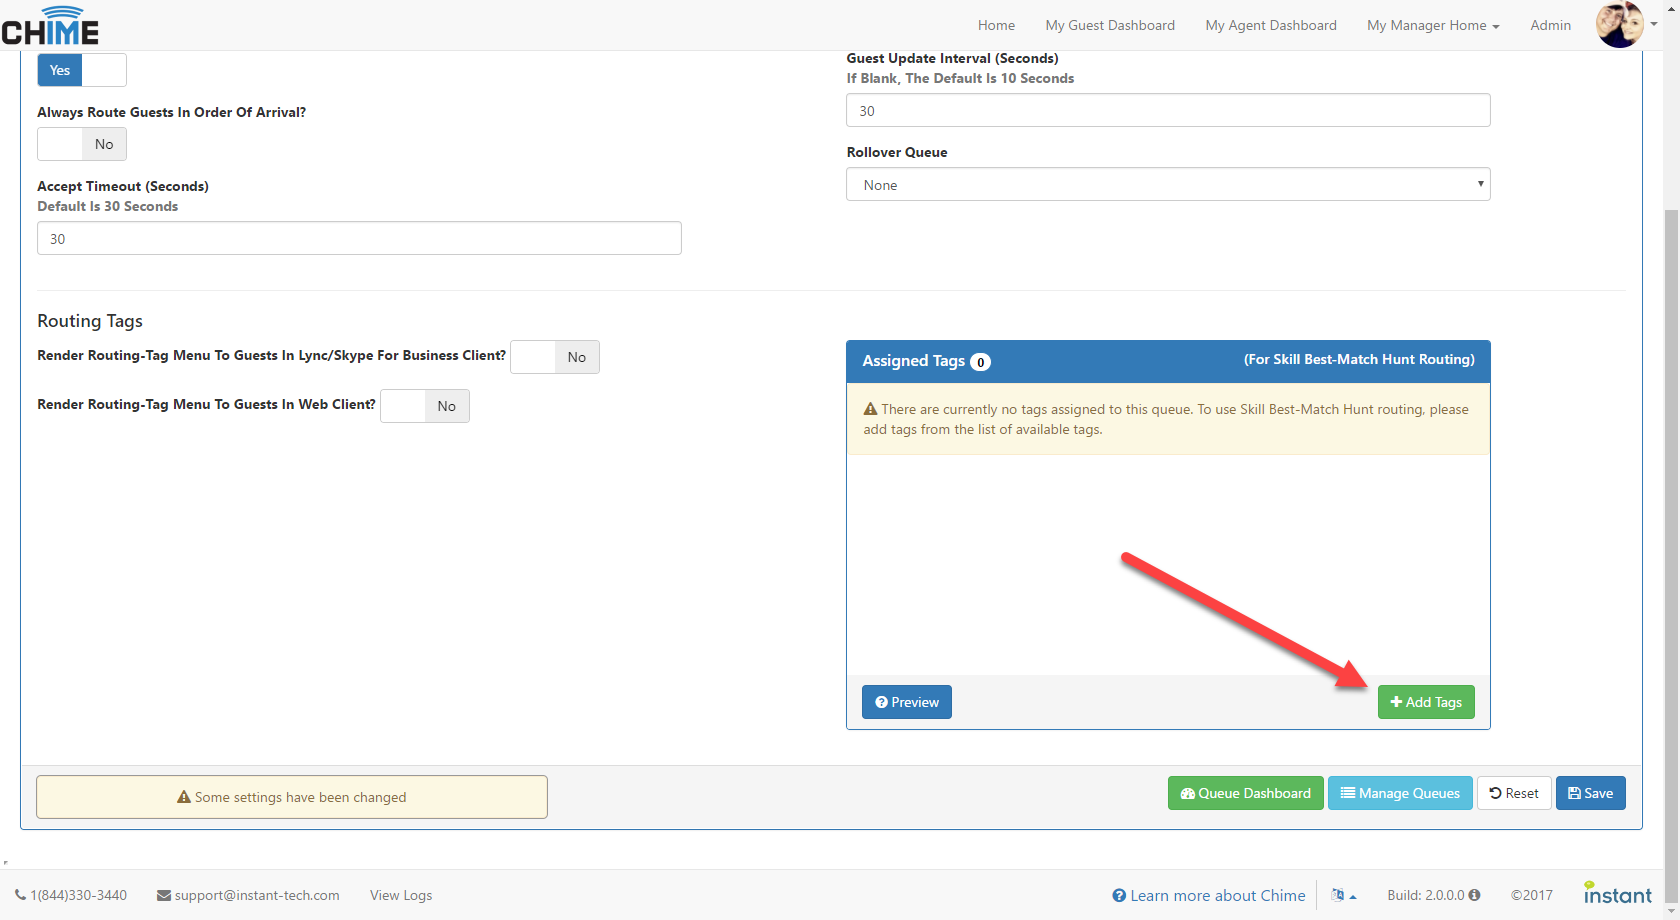
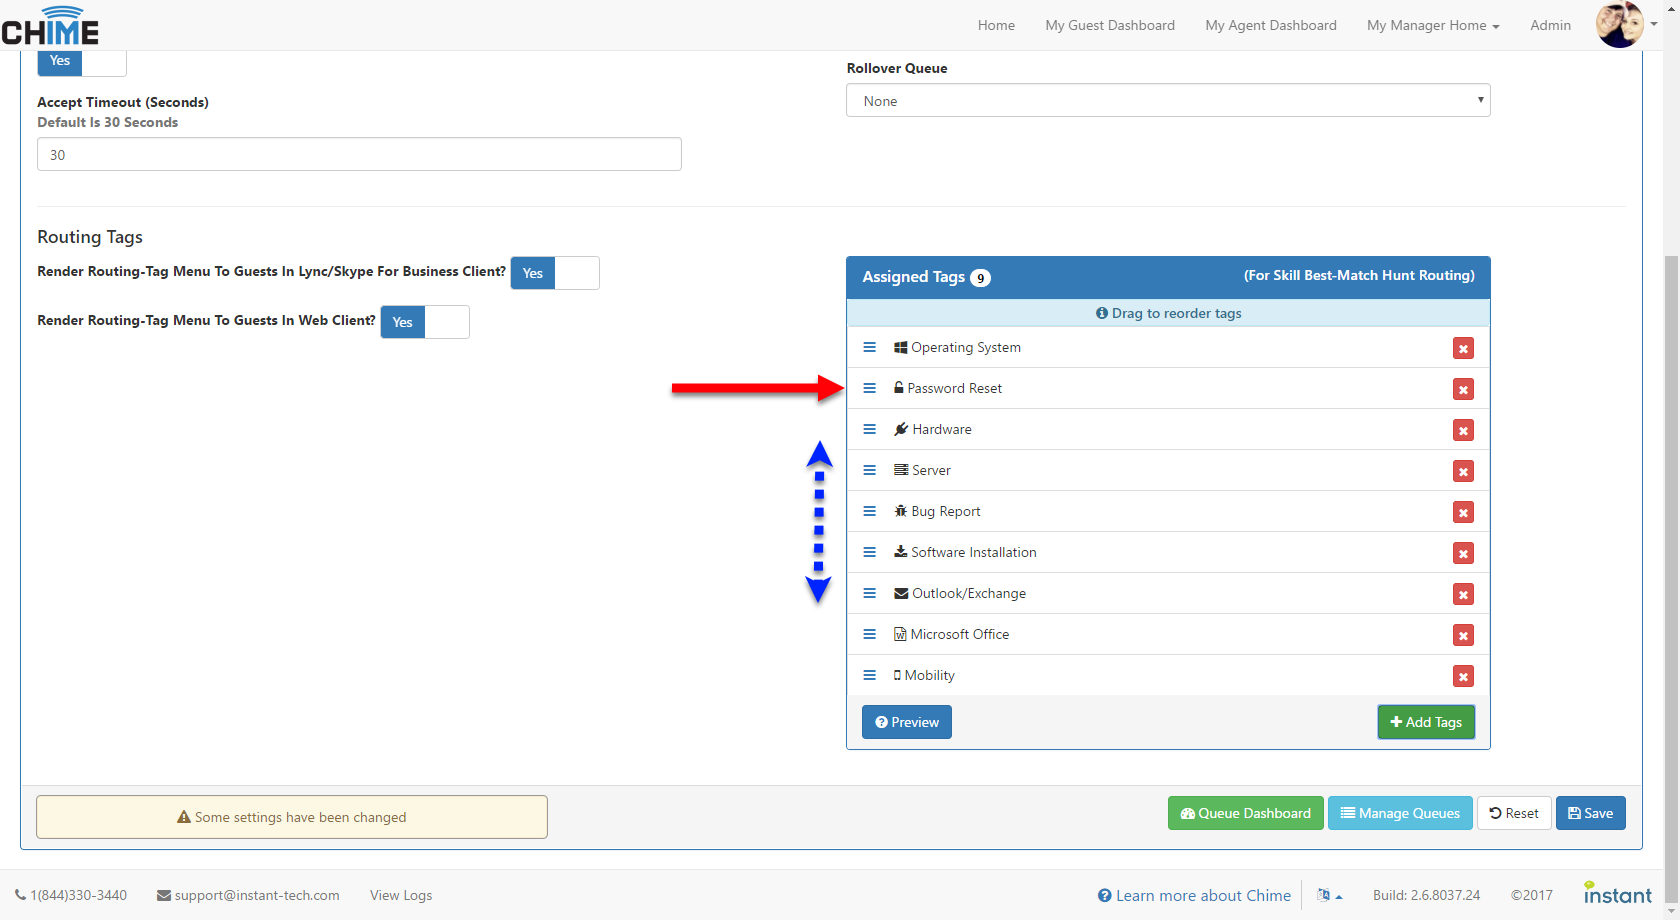
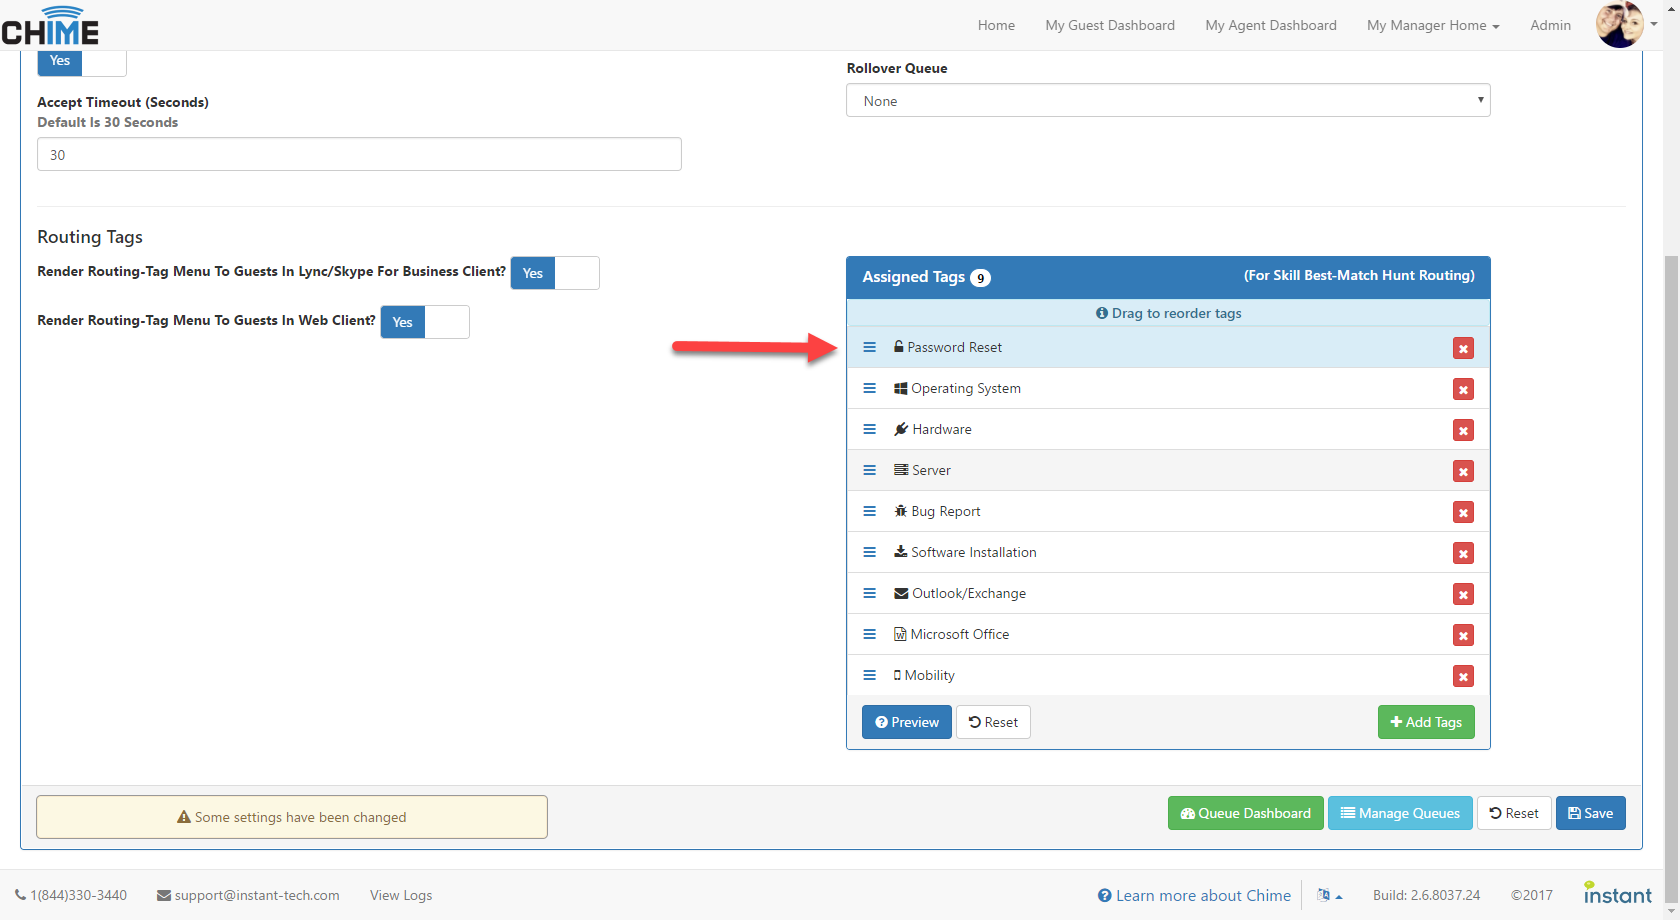
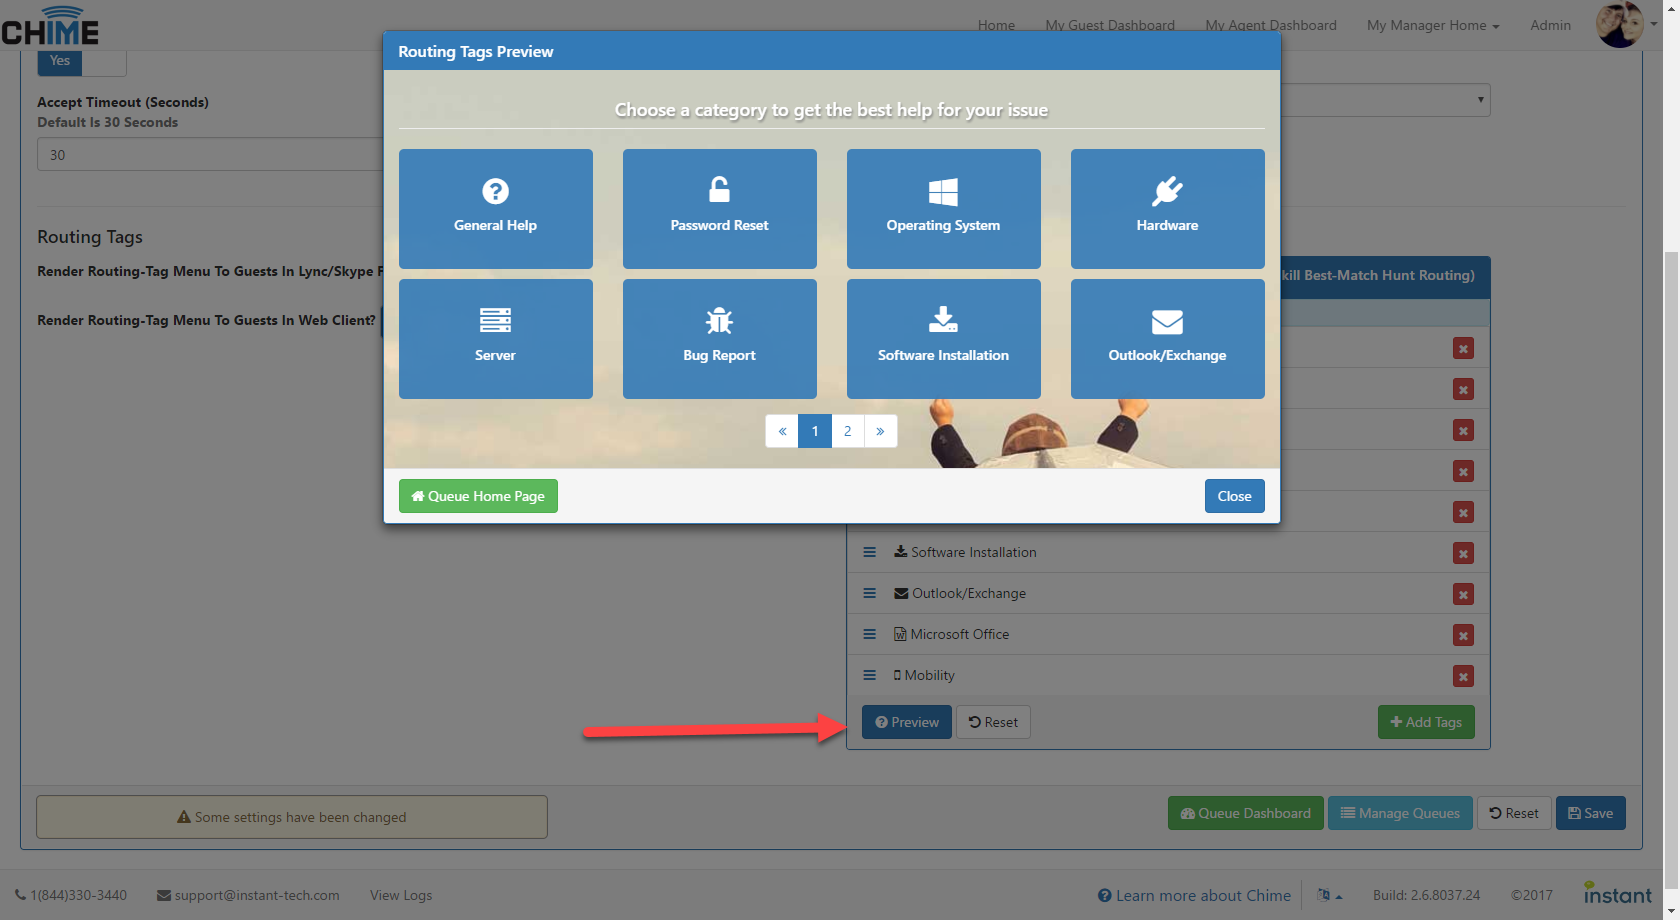
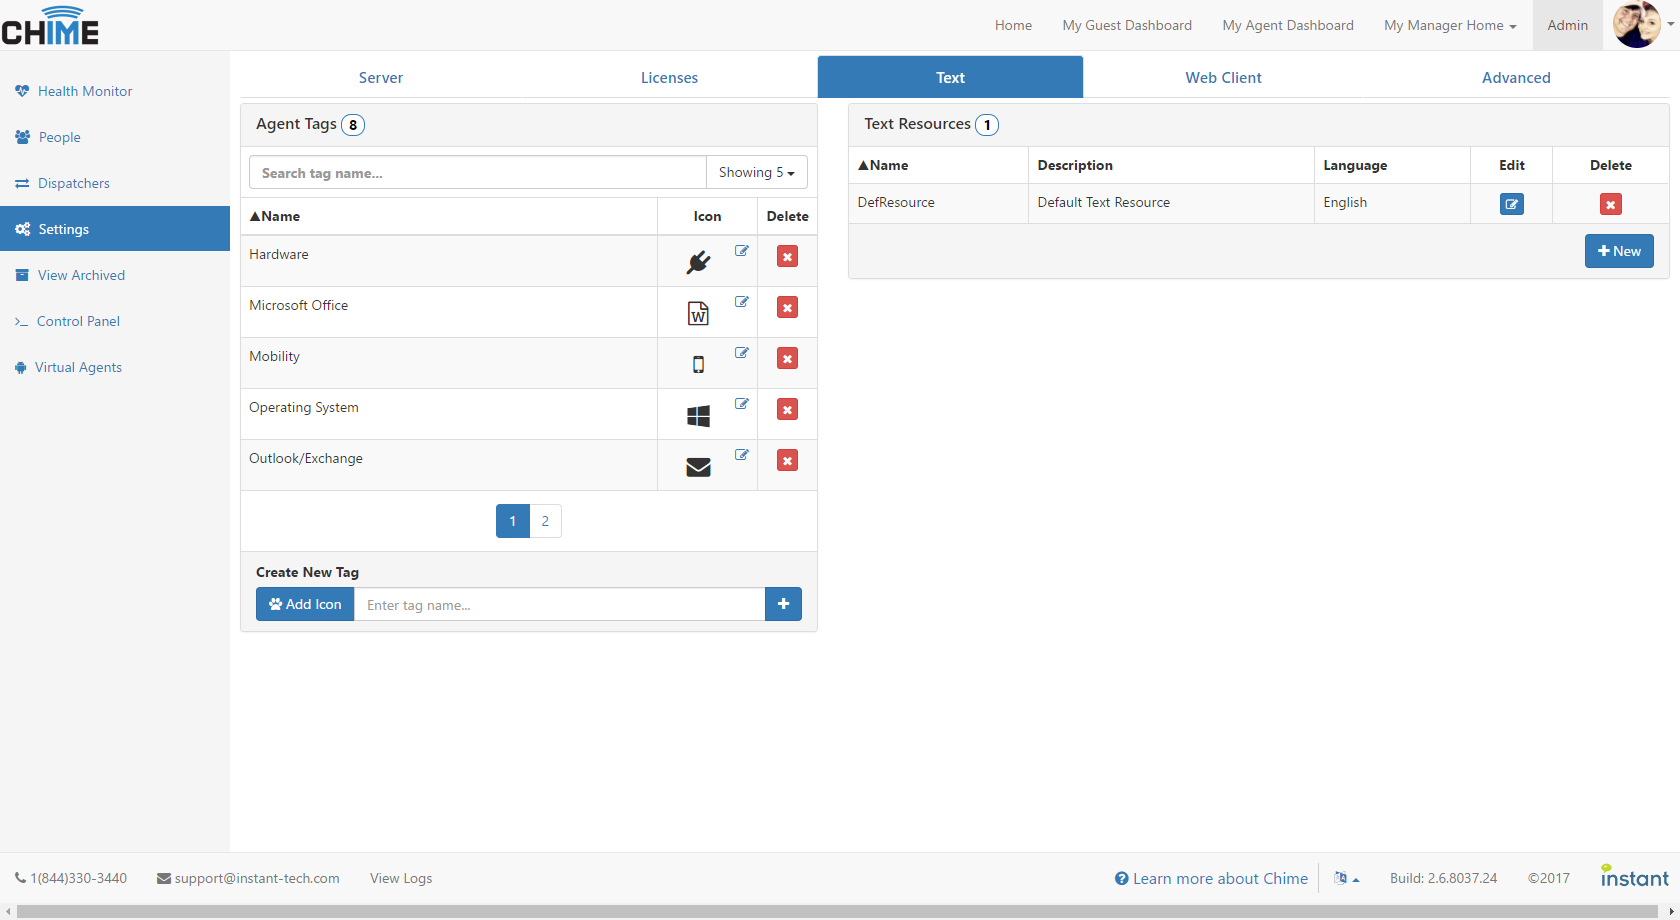 Adding Routing Tags (5)
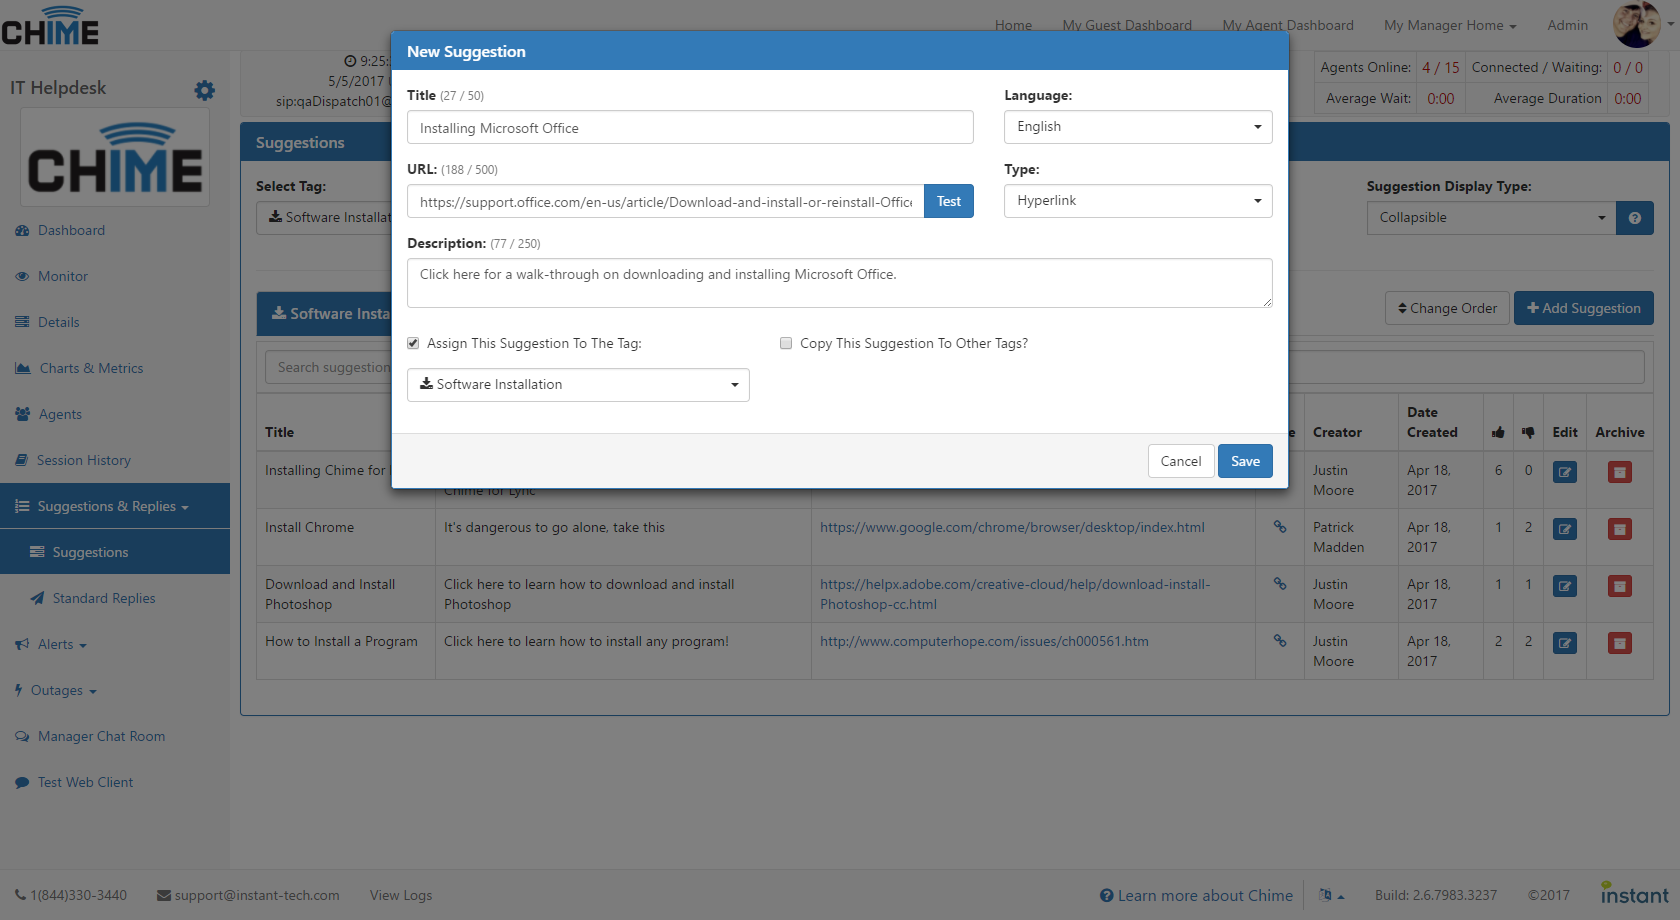
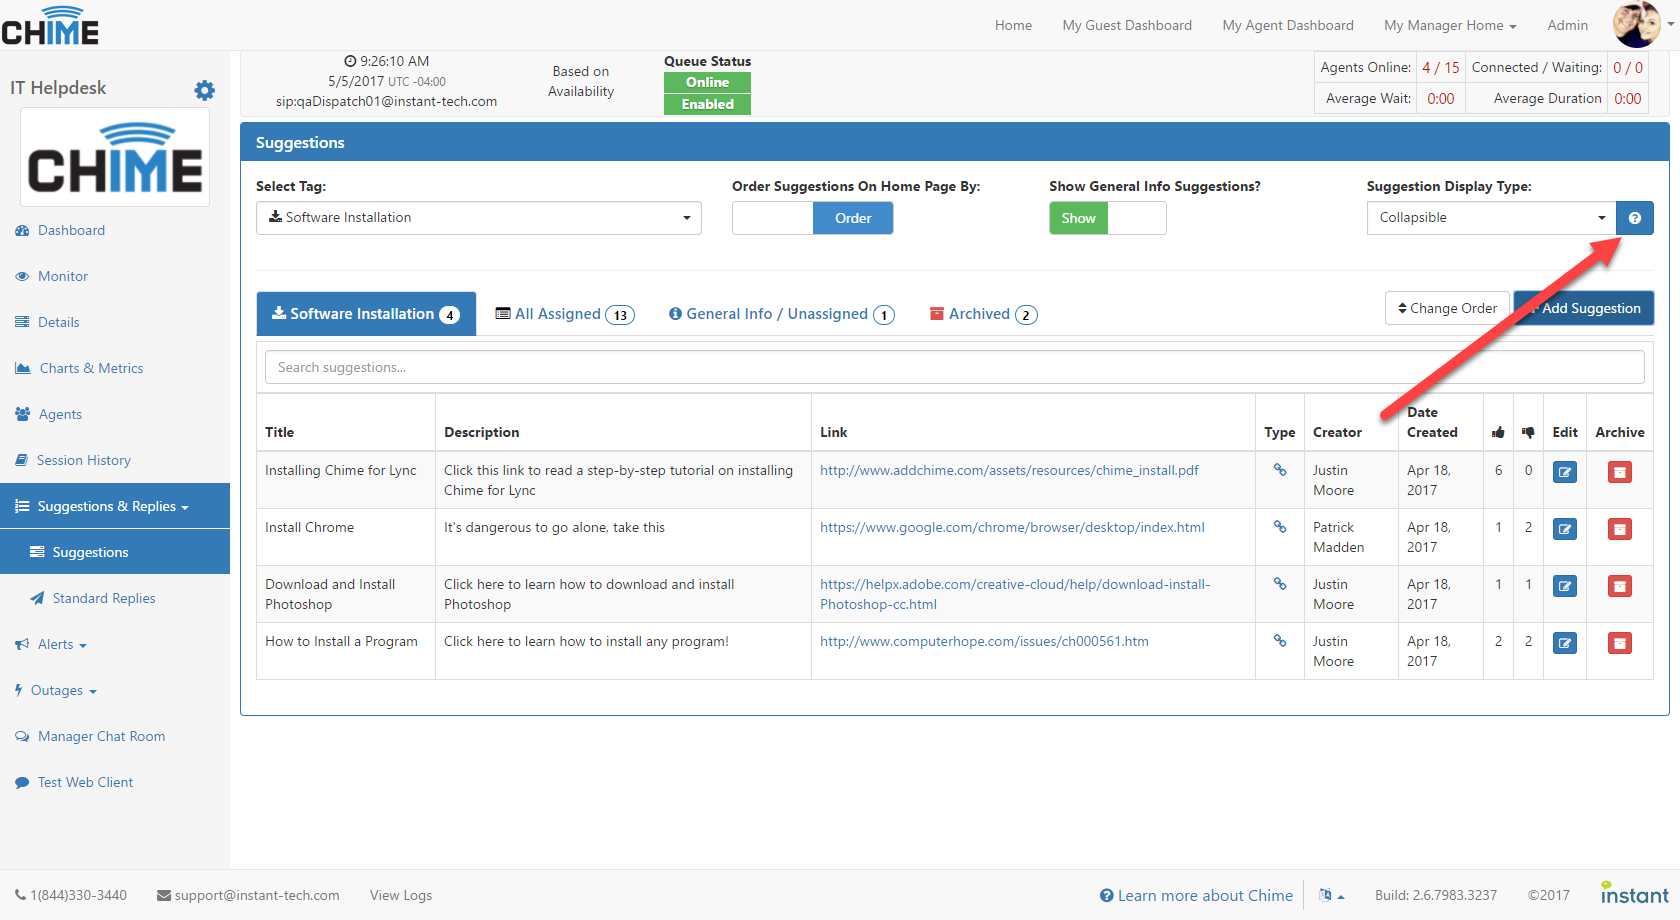
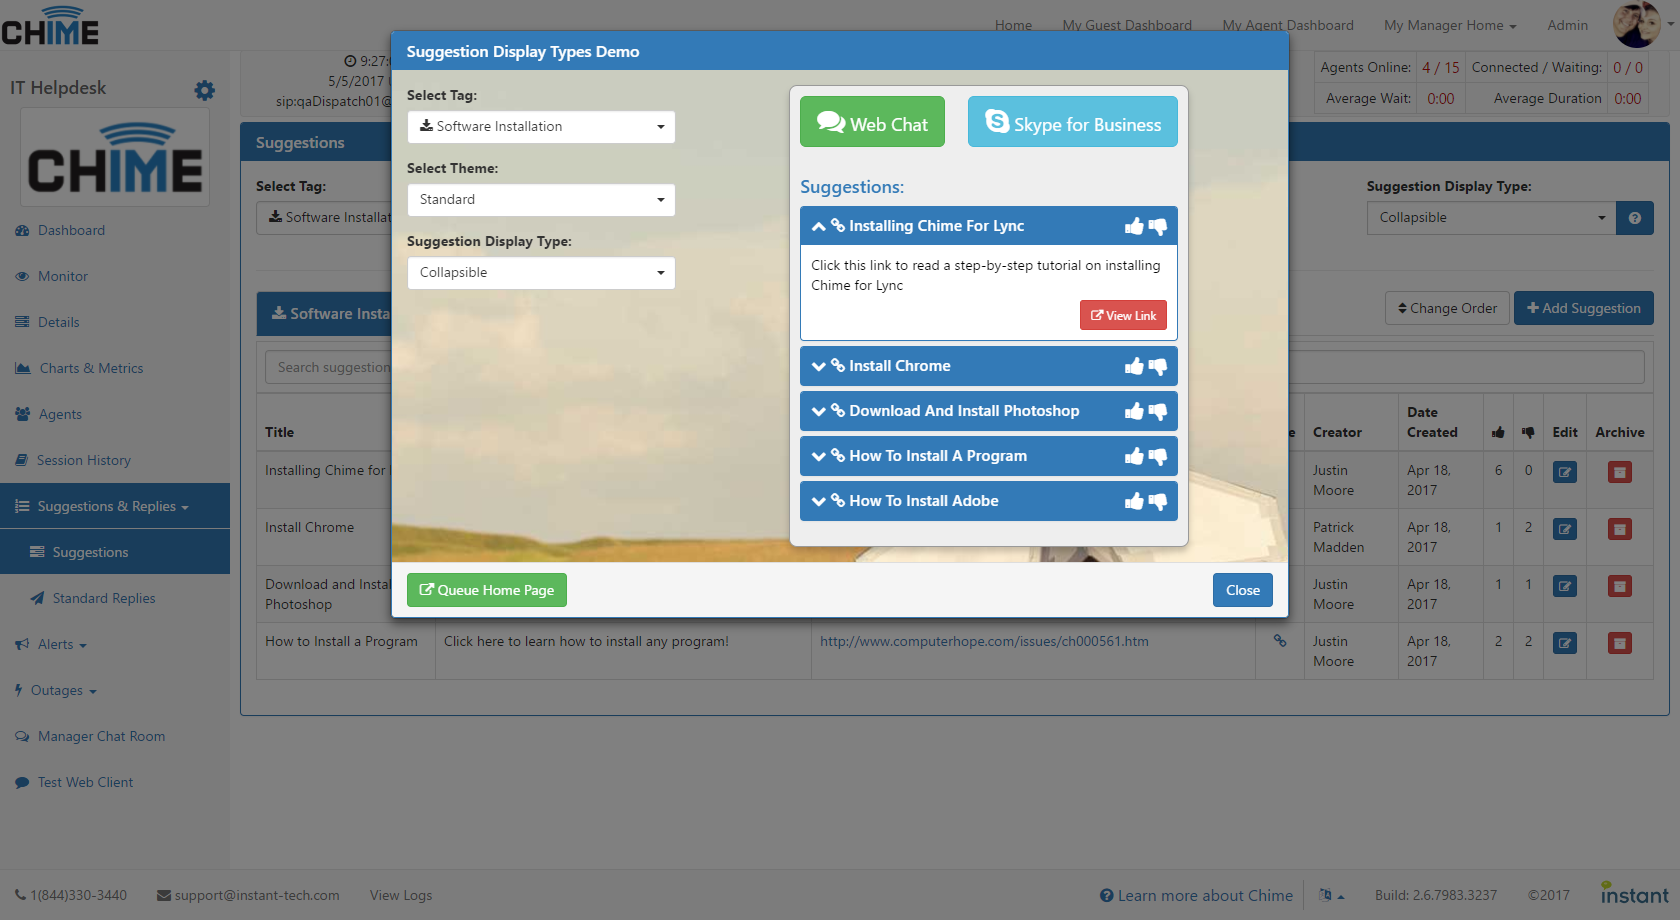
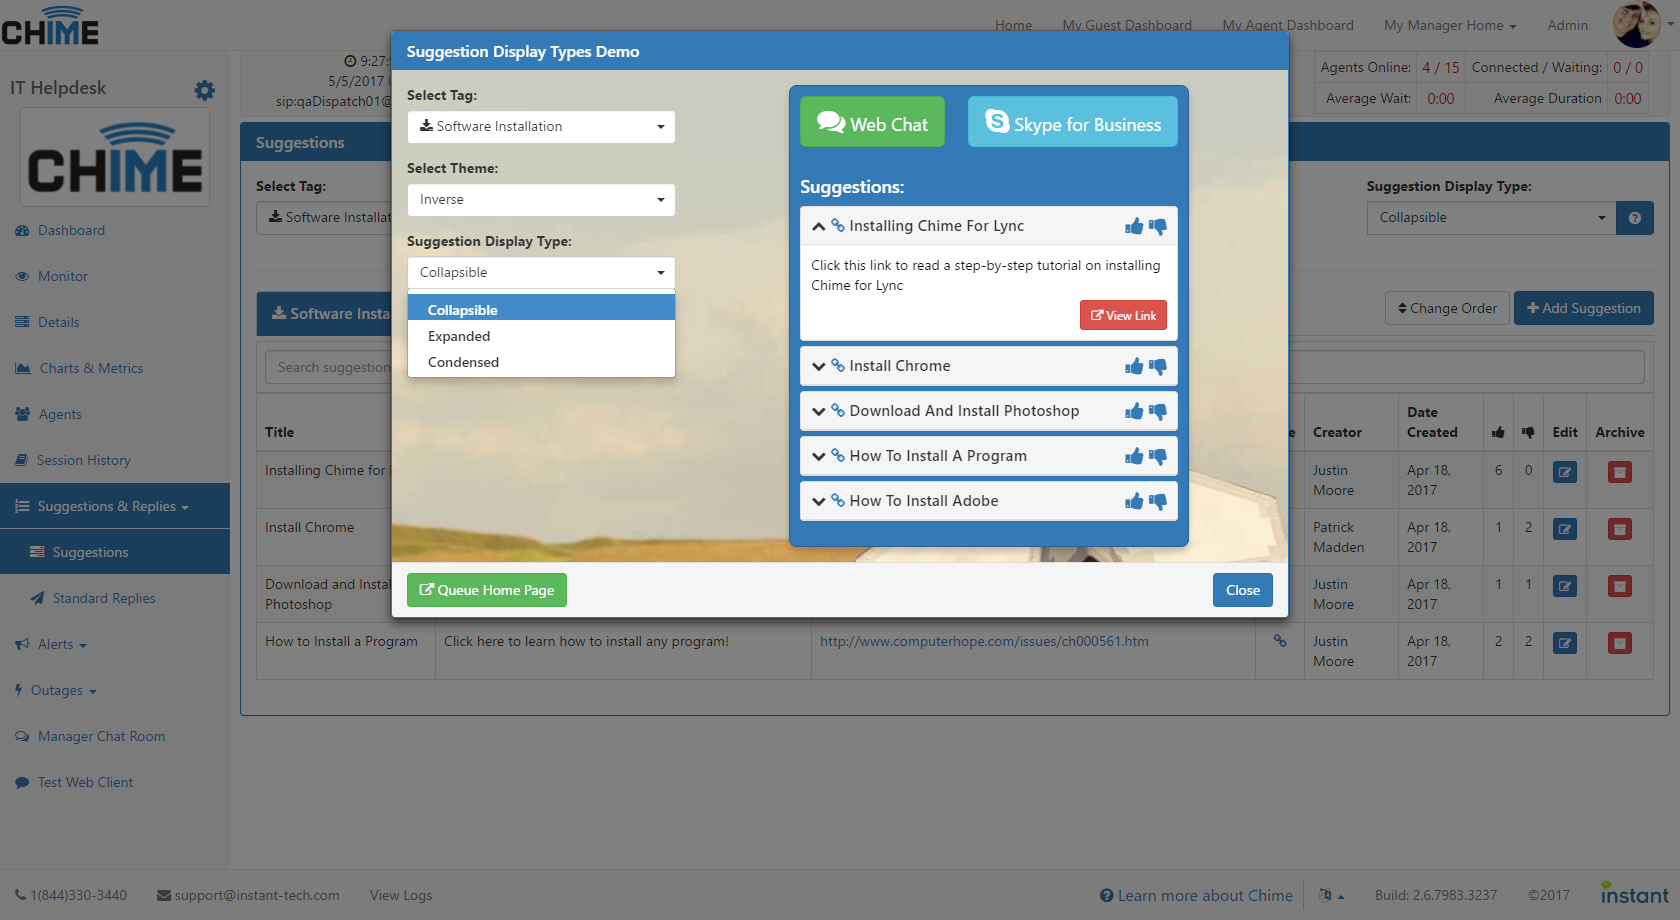
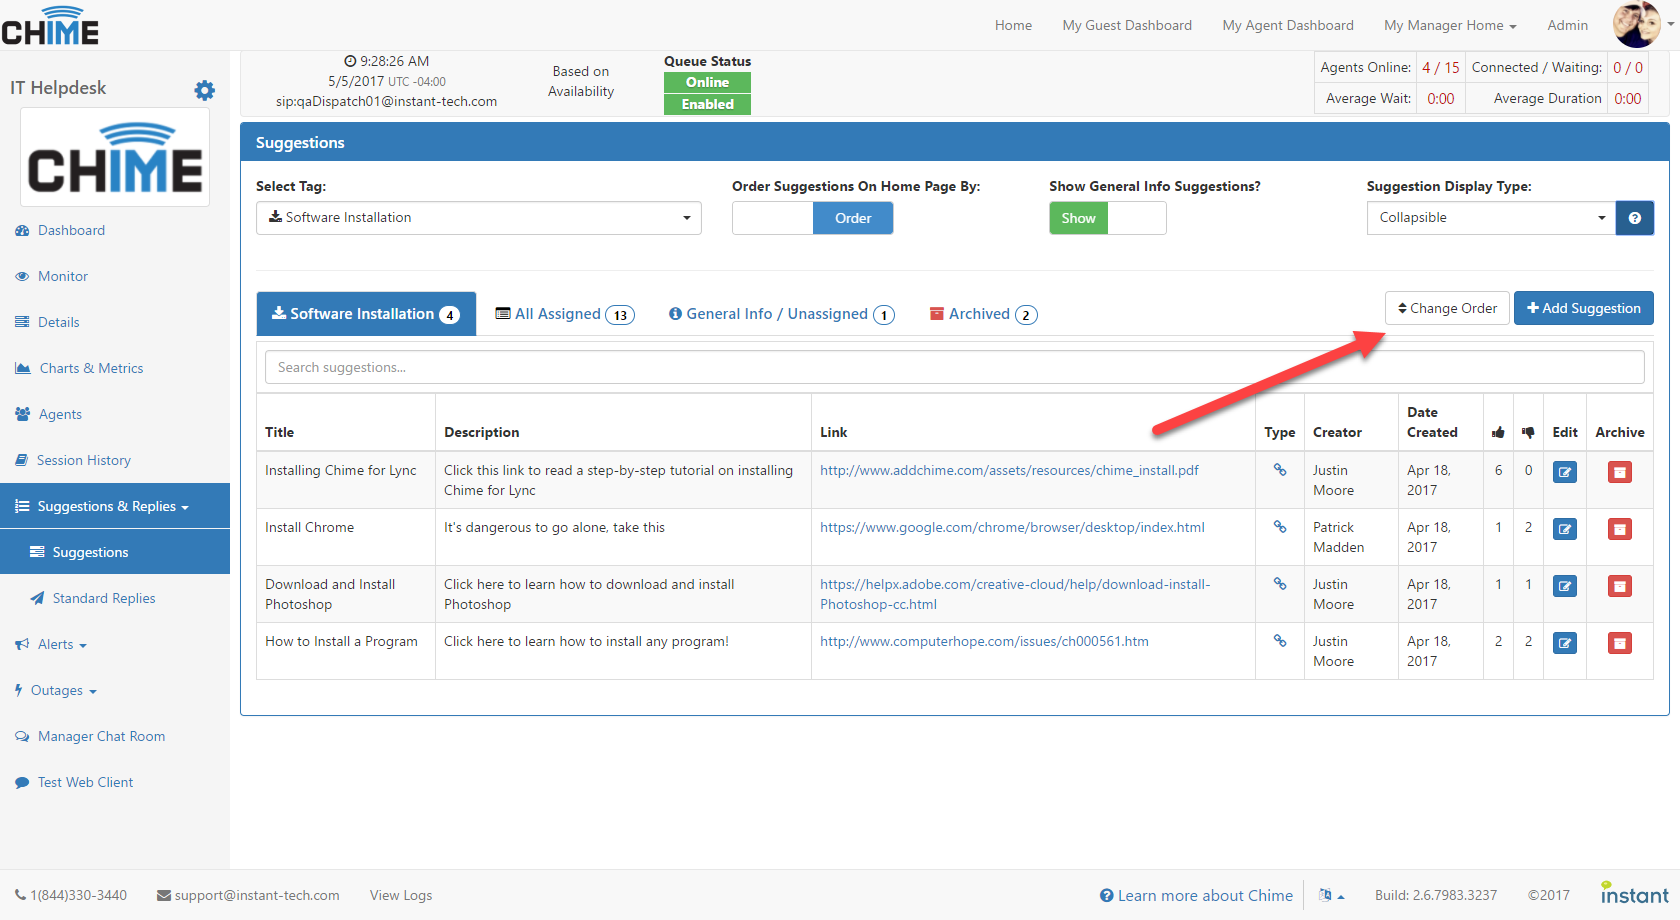
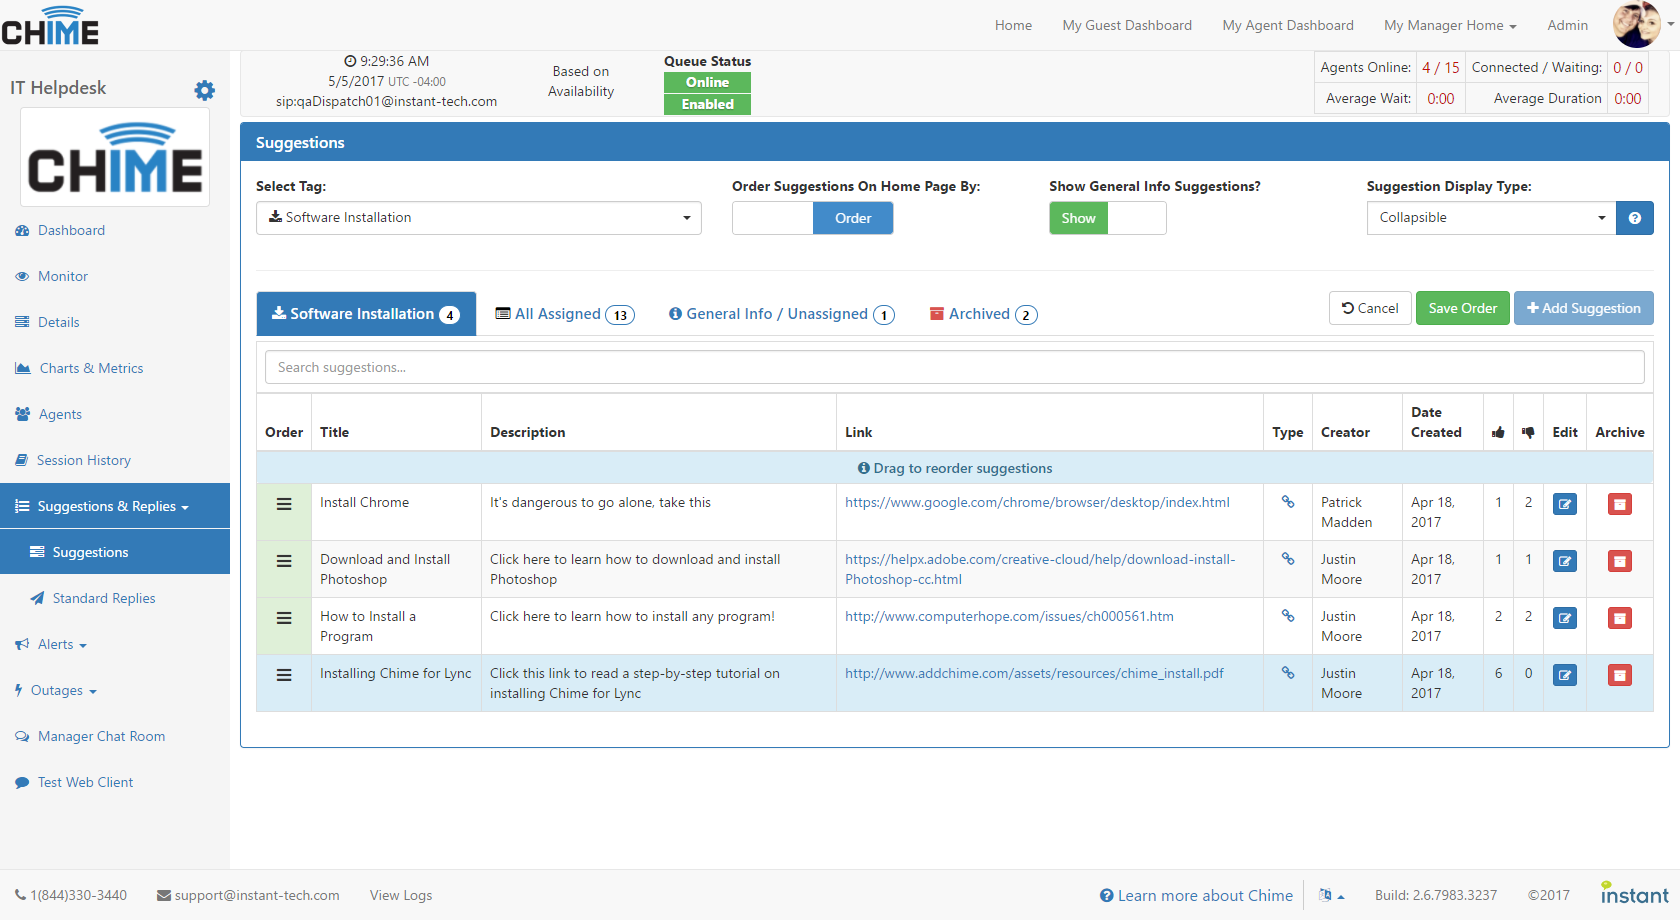
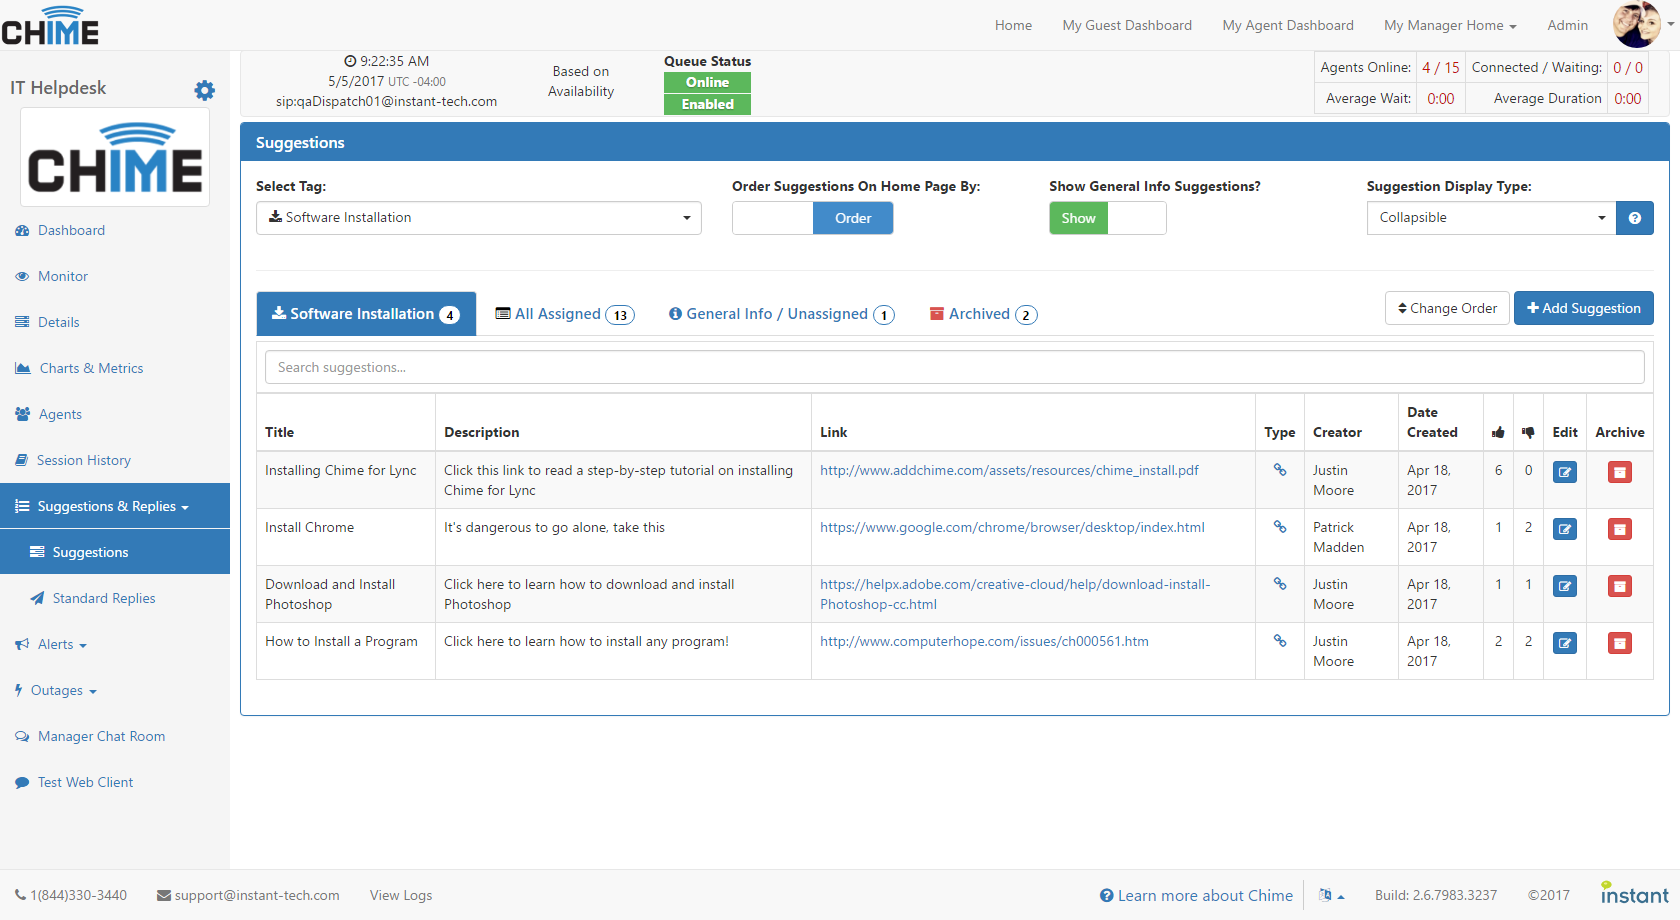 Suggestions (7)